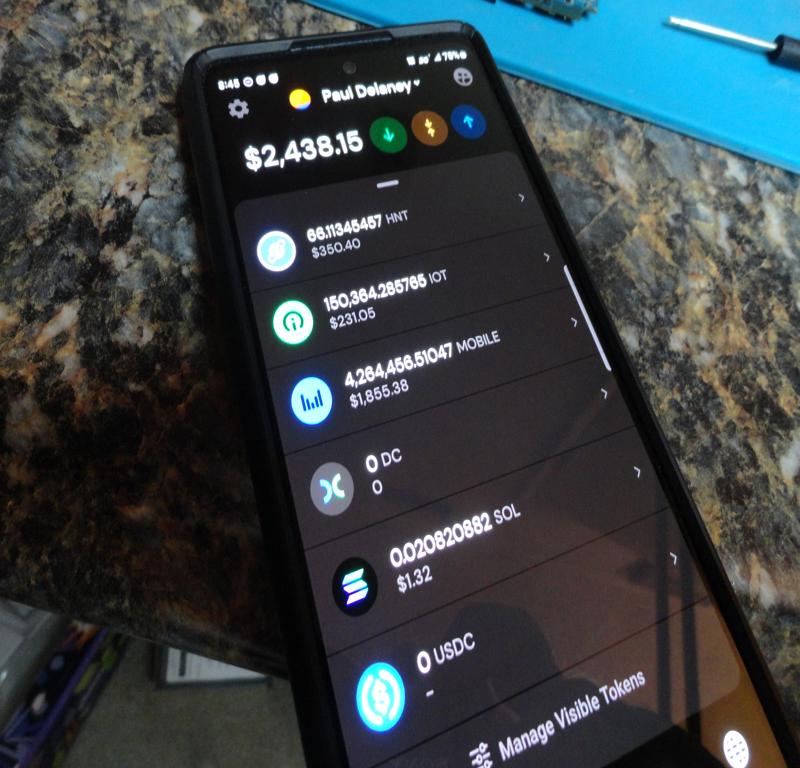
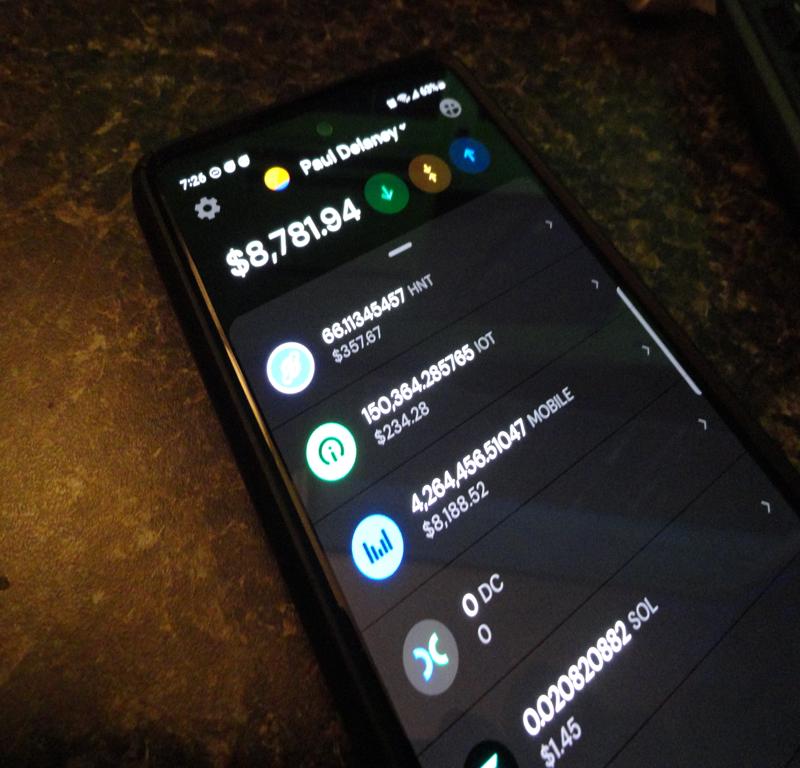
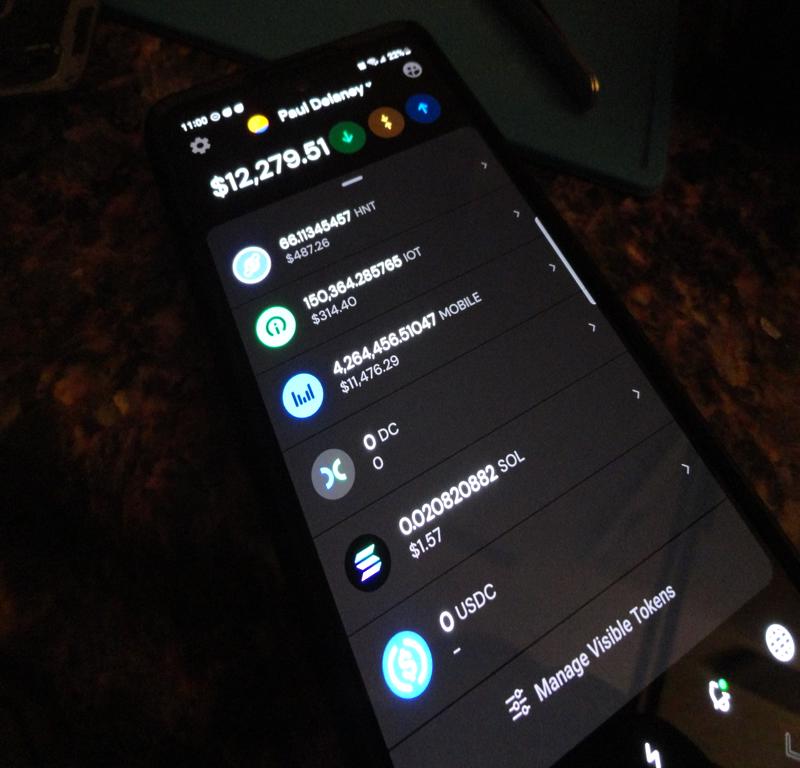
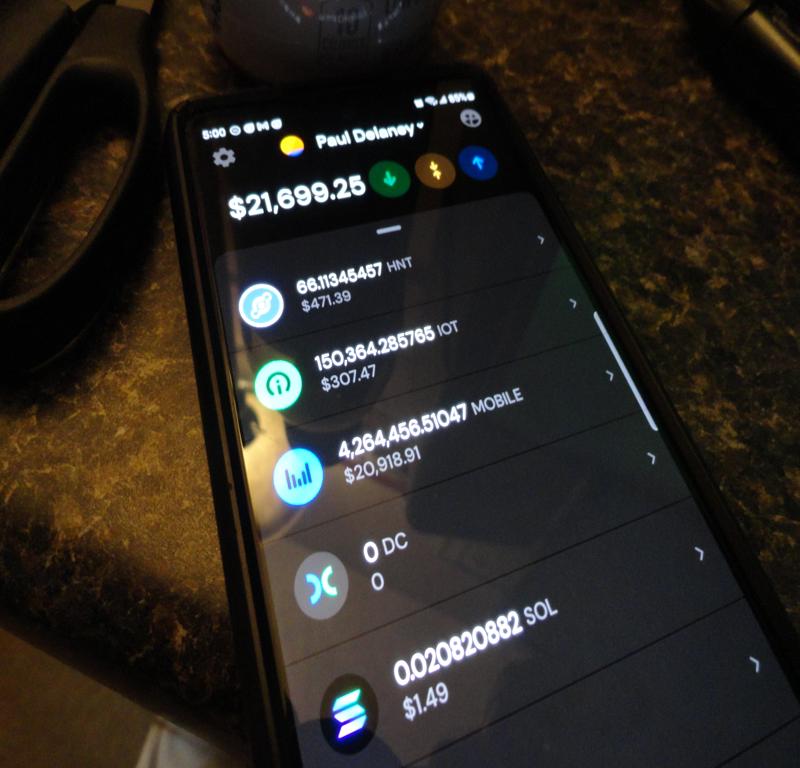
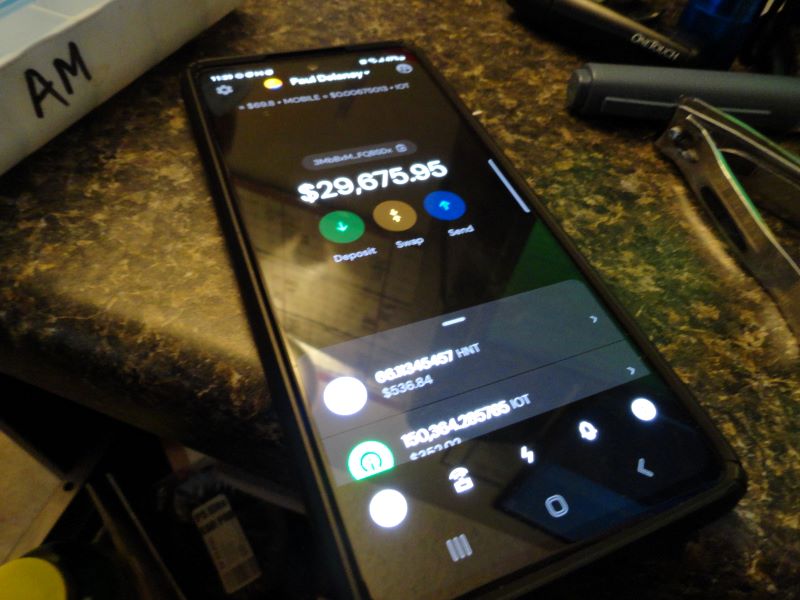
There’s no end in sight for Helium MOBILE Rewards! Cellular Summer into April…
Current $MOBILE Stack: 2,568,486.68 [3/15/23]
Flex Radio 6000 Series – TG-XL / PG-XL
Current $MOBILE Stack: 2,568,486.68 [3/15/23]
A very powerful tool, used to analyze the contents of memory (RAM) from suspect computers. The examiner will take a ‘snapshot’ or ‘image’ of the contents of the target PC’s RAM memory while the machine is still running. Once the image file of the RAM contents has been secured, the Volatility tool analyzes the contents and renders the data into a readable form.
This tool is vital to a thorough examination, as it shows investigators what was taking place on the target PC at the time of capture. We can view what programs were running, what network connections were open (and closed) and many other bits of evidence that can be used to prove a case in a court of law.
Knowing which websites were connected at any given time, along with what programs were running, can lead investigators to resolution of computer virus damage, Malware attacks, and acquisition of other pertinent evidence. Info gleaned from memory can point to other possibly compromised network assets etc.
I have been using Volatility for quite some time now as it is a component or ‘module’ in the Autopsy Software Suite. There are some updates I need to study up on, hence this post.
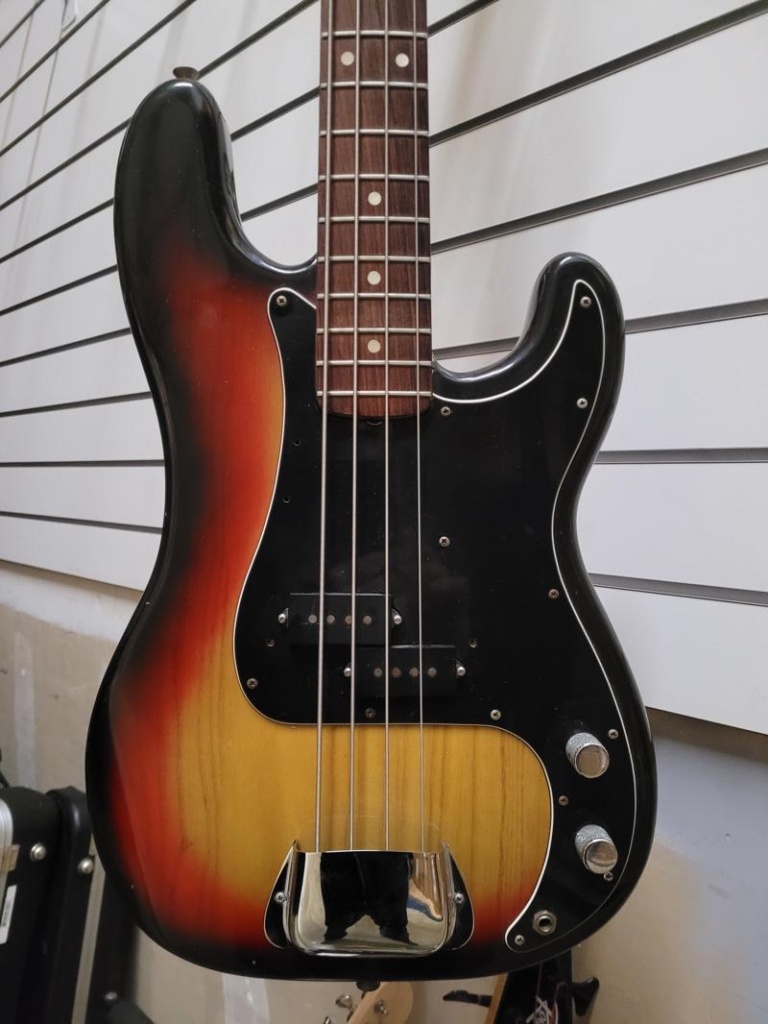
This example from 1976 is in near mint condition! Front and back!
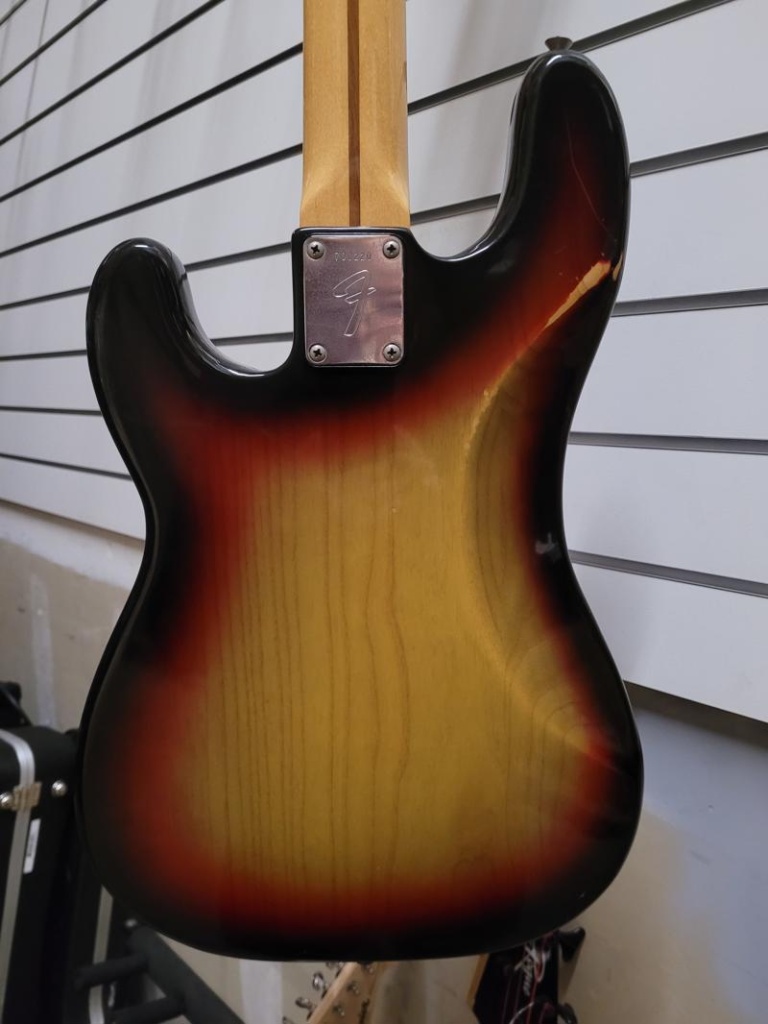
No need to squint! Serial #700xxx
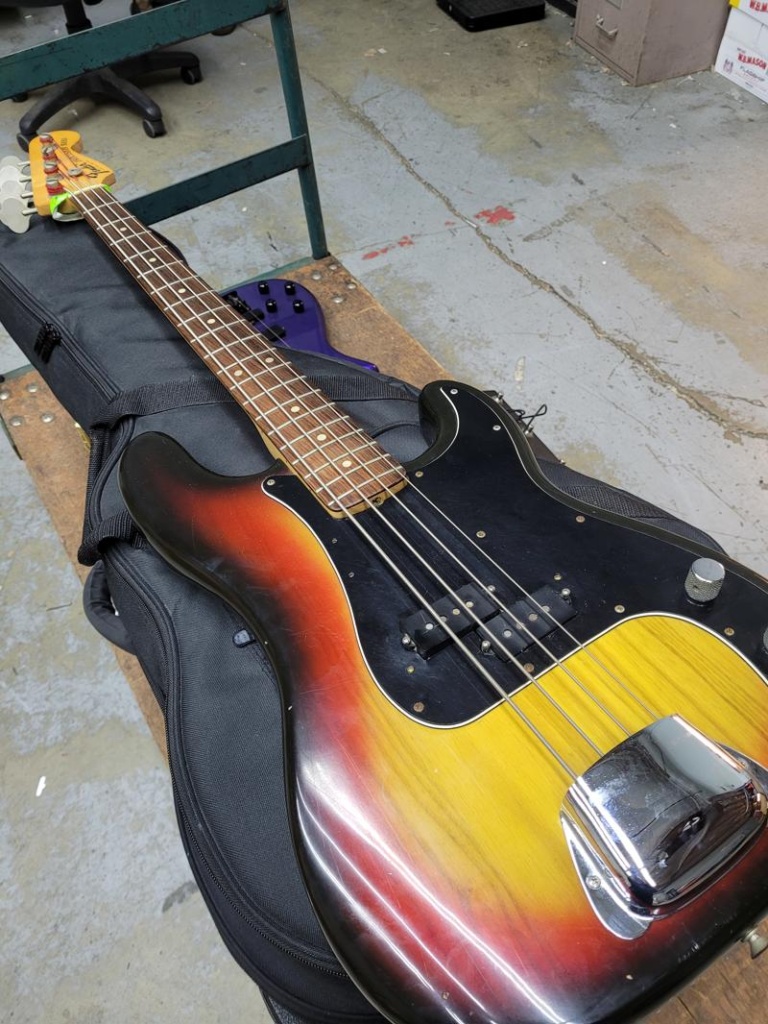
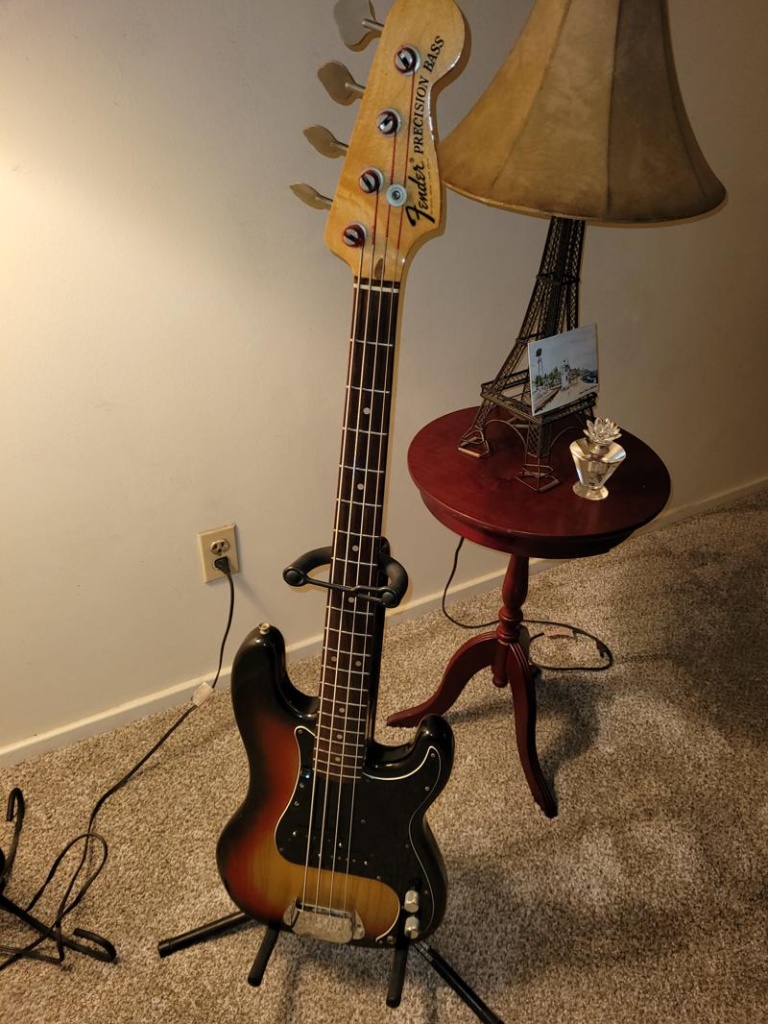
It was “Love at First Sight!” …yes, I have the pickup cover!
More info to follow on the recording setup. It looks like I’ve decided on Presonus Studio One v6 Pro software. Still undecided on the interface.
This iPhone 6S [A1633] has a broken screen. The device works (the phone boots and runs) but it has no touchscreen. The upper left corner of the screen is the only area that still has any touch functionality. The severe screen damage renders this old junk iPhone absolutely useless. Or does it?
Let’s check it out.
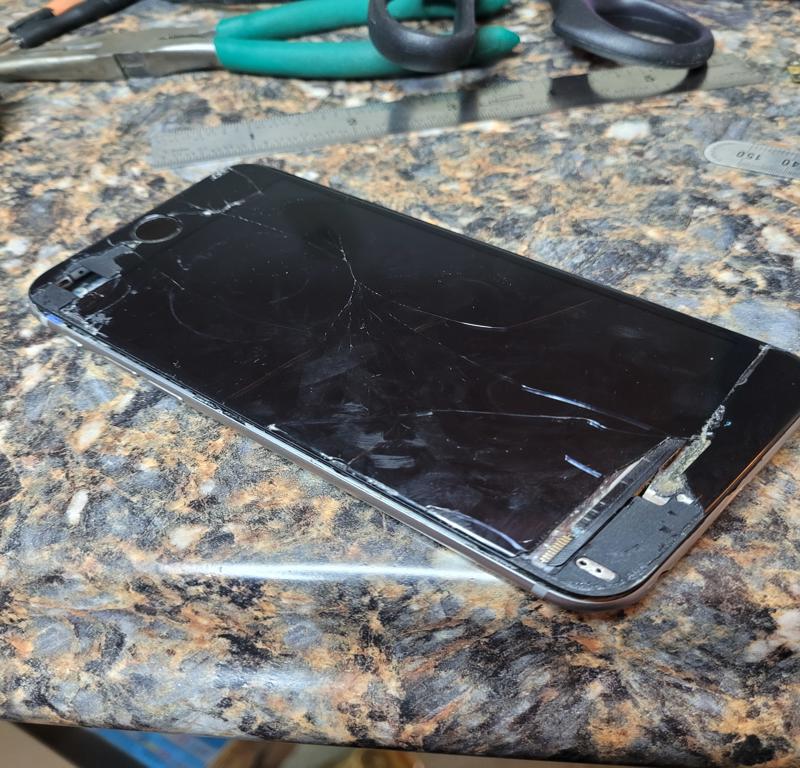
iPhone 6S Model: A1633 (ca. 2015)
Of course, installation of a replacement screen would be a quick solution. In this case, the owner already has all the data, and has no motivation to repair this outdated, broken device. So, why bother?
The truth is, this iPhone 6S sample is a donation. My cousin has been an iPhone user since day one. Like many folks, she’s accumulated a small collection of broken iPhones. In passing, I had mentioned my interest in learning more about iPhone, its disassembly, re-assembly etc. Upon hearing this, my cousin gave me a couple of her old iPhones for research.
In this case, the overall goal is to successfully disassemble the device, while at the same time, leveling up my microsoldering skills. I say successfully, as it is extremely easy to destroy the microscopic size components on this logic board while you’re attempting to remove or replace anything. In this phase of the case, we’ll look at the steps required for disassembly.
In addition to disassembly, later plans may include transplanting components to and from other 6S boards, removing the NAND memory chip, and attempting to read its contents directly from the chip via ACELab PC-3000 Flash, and perhaps, a few other ‘tools of the trade’. <grin>
To get started, I did some research on disassembly of Apple model A1633. I read several documents, and carefully reviewed the procedure shown in this tutorial video. I then purchased an ‘iPhone Tool Kit’ containing the special tools required for disassembly. Before watching this tutorial, I assumed it was going to be very difficult to get the case open. As it turned out, it was quite the opposite, and the screen lifted off easily, just as it was demonstrated in the video.

Remove ‘pentalobe’ screws on either side of the charging port.
Screen removal was straightforward. The first step was to remove the two pentalobe (P2) screws on either side of the charging port. Once removed, the screen can be lifted just enough to get a pry tool under the edge.
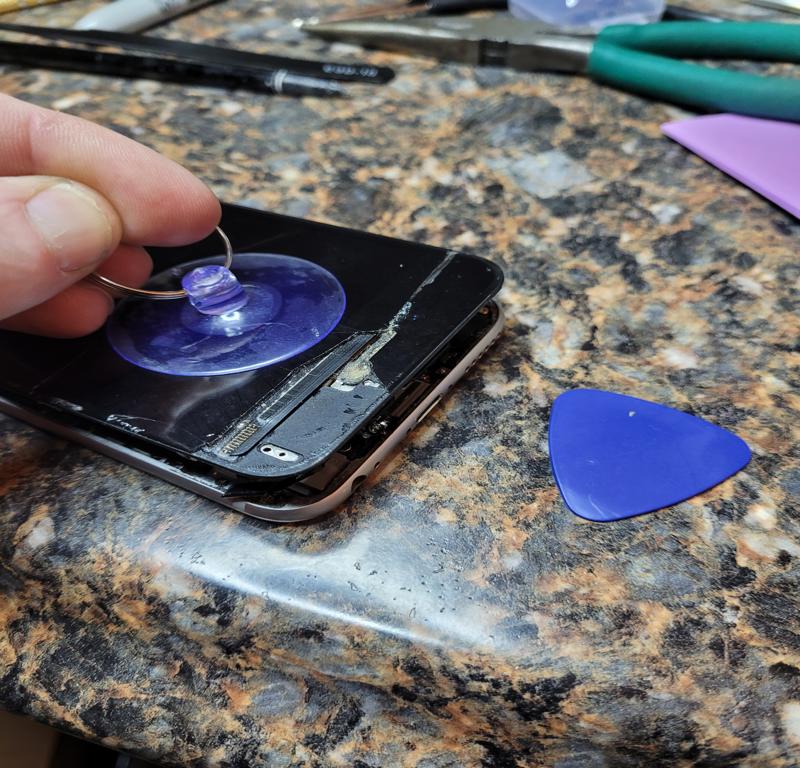
Suction cup applied just above the charging port makes removal fairly easy.
Once the screen was lifted, I used the pry tool (looks like a guitar pick) and slid it along the screen edge, inserted only far enough to pry the screen from the adhesive gasket holding it in place. If you insert the pry tool too far into the case, it’s possible to break off microscopic components mounted along the edges inside. This is a rookie mistake, and a very common mistake. Some of the components are so small, you may not even realize you’ve broken them off.
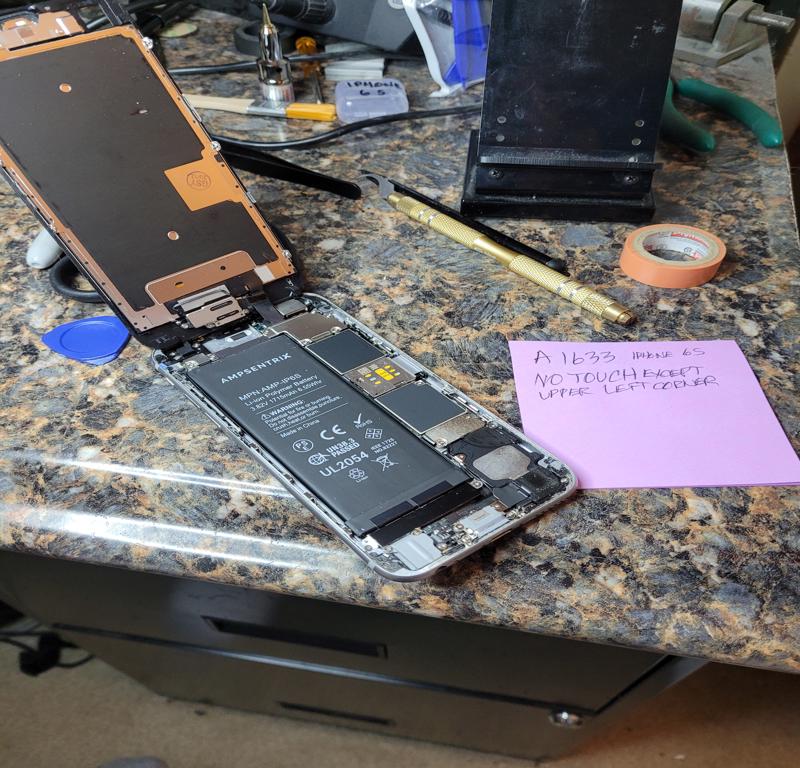
With the screen lifted it’s time to start removal of the circuit board.
Before we can go any further, the battery must be disconnected. Failure to do so will render the device inoperable, and beyond repair. Any time the device is opened, the first step must always be to disconnect the battery. To access the battery connector we first have to remove the metal housing that protects the cable.
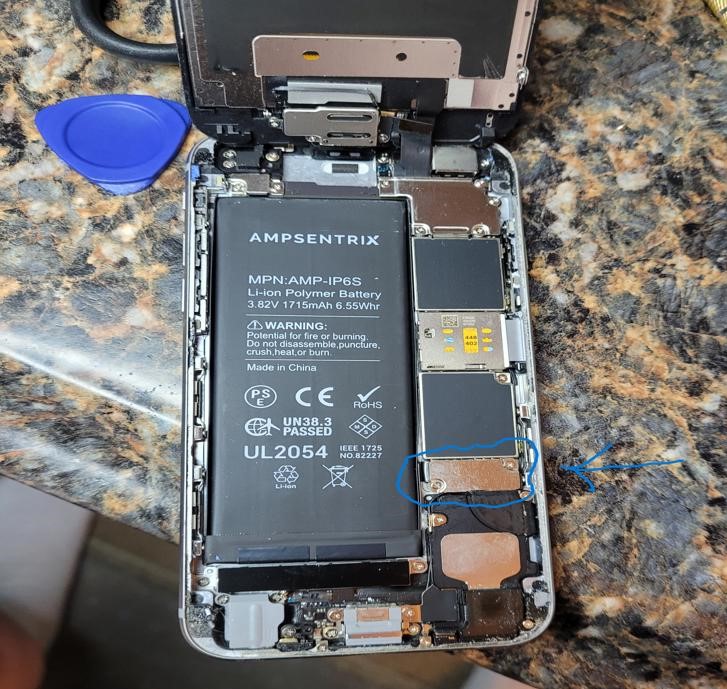
To disconnect the battery, we remove the cover. Two screws hold it down

Metal cover removed to expose the battery connector. Disconnected.


Get your Helium Miner here!
Every once and awhile, I browse through the Craigslist “For Sale / Free” section to see what’s out there. You wouldn’t believe some of the useful items I’ve seen listed for free on CL. People give away a lot of great stuff. Items listed include: plants, electronics, household items, furniture, you name it. So I make it my business to look at the listings fairly often.
I came across a listing for an HP ProLiant ML350p Gen8 Server. The first thing I thought was that it had to be taken already. I emailed the guy anyway, and much to my surprise the owner said he still had it, and it was mine if I could come pick it up right away. He went on to say that he just couldn’t find the time to work on it. He gave me his address, and I quickly agreed to come pick it up. Then he said to make sure I came with two people to move it, because it was too heavy for one person to move by himself. I had nobody to help, so I just drove over there.
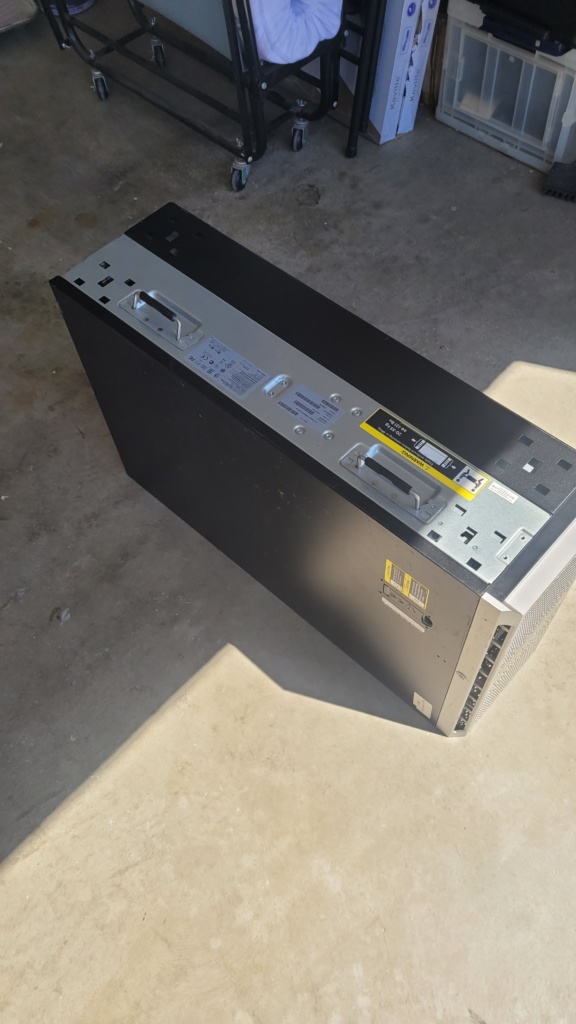
He wasn’t kidding! It didn’t look heavy, as it appeared it was just a bit longer than a desktop PC case. That was, until I tried lifting it. I had to carry it down a flight of concrete stairs. I got it one or two steps down and the guy saw me struggling and helped me down the stairs. At the bottom he said I was on my own, and to wait, as there was a second box, and it was also heavy. The second box contained 24 300GB hard drives, and was pretty heavy. Just as I was scratching my head and thinking about how I would ever get this thing into my car, a young lady and her Mom were unpacking groceries from their car, and the young lady turned to me and said “You’re definitely gonna need help with that” As if she had prior experience moving it. We put it in her shopping cart, and it was still hard to move, but we made it to the car, and she helped lift it into the trunk. Lucky for me, it just fit, and I was on my way home with it.
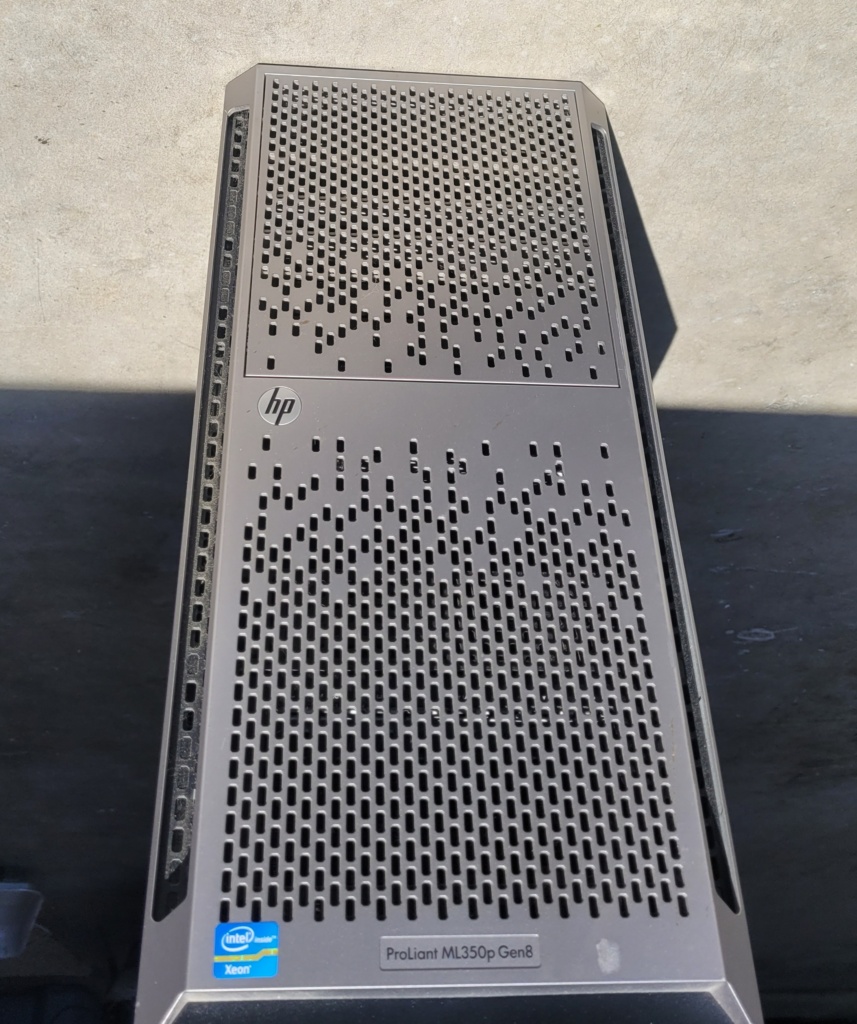
I expected it to be fairly banged up, considering it was 13 years old. It exceeded expectations, as the exterior of the server was in very good condition.
I pulled the cover off and found that it was very clean inside with very little signs of dust anywhere. I was also a bit delighted to see it contained dual Intel Xeon E5-2620 6 Core 2GHz CPU‘s, another thing that I hadn’t considered. I thought it would be a ‘barebones’ chasis at best, instead, it had everything but the air baffle in place. The gift that keeps giving!
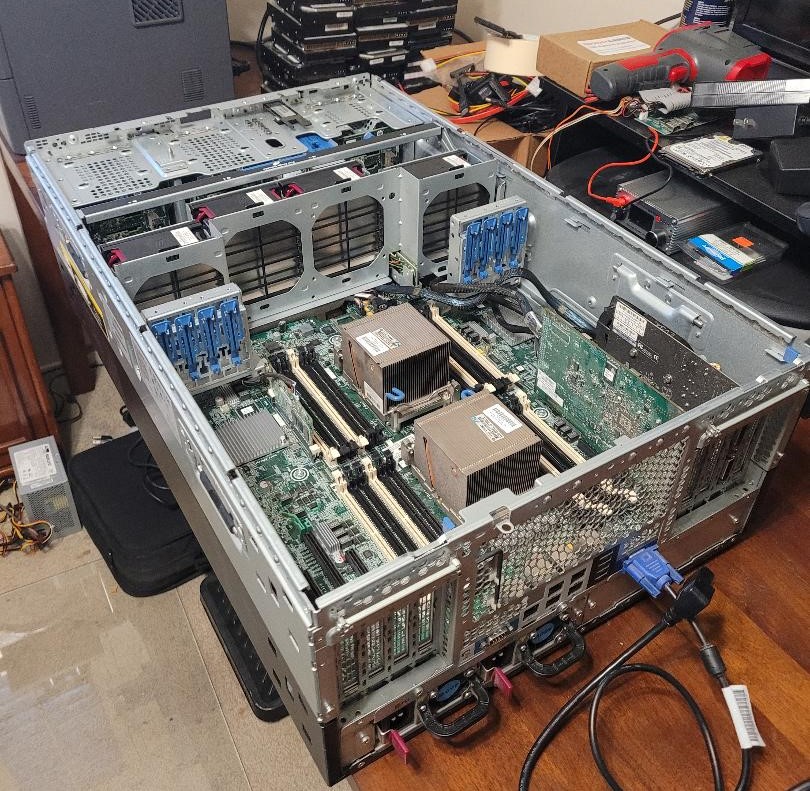
The ML350p was clean inside. A good indication that it was well taken care of.
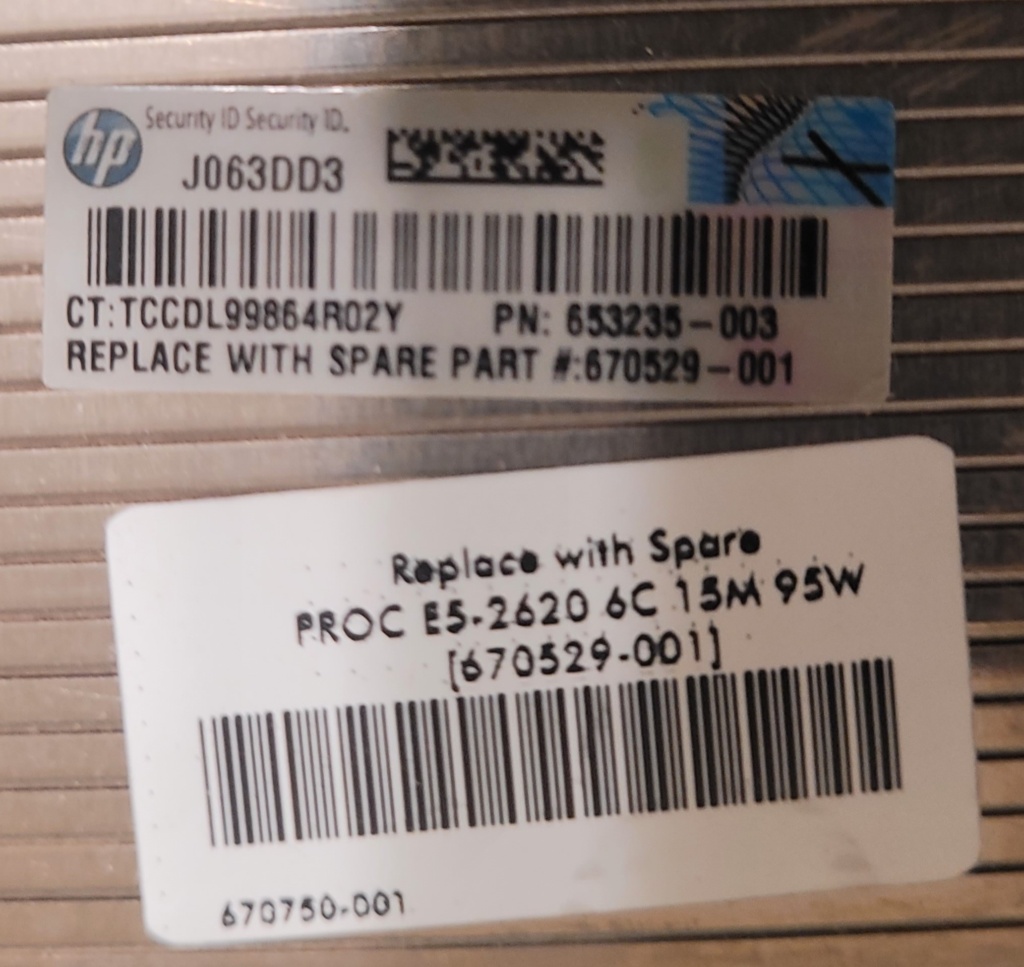
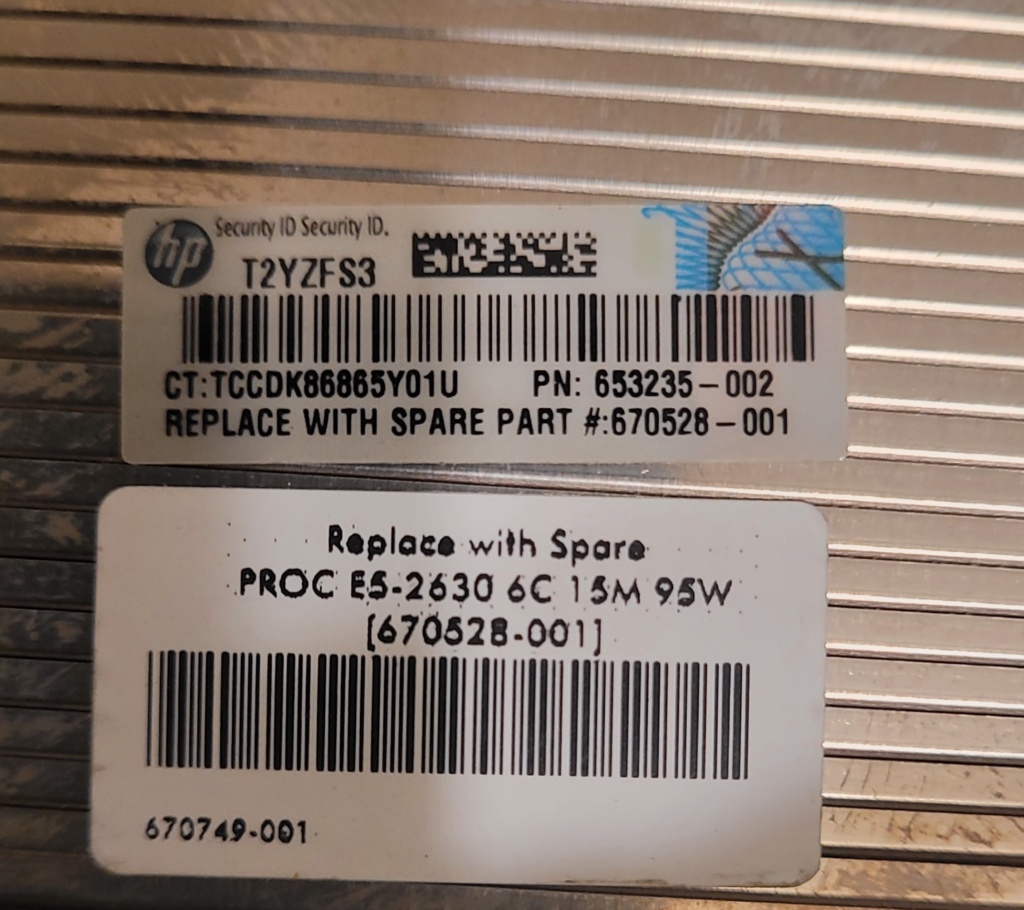
Dual Intel E5-2620 2ghz 6 Core CPU’s
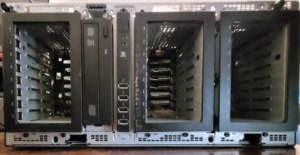
The three drive cages will hold 24 SFF (Small Form Factor) SAS hard drives.
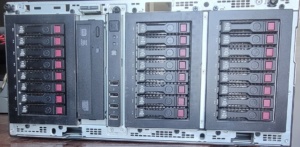
The ML-350p shown above, populated with the included QTY: 24 HP 300GB 10,000 RPM SAS SFF HDD hard drives. The drives weren’t numbered for placement, so I installed them in the order they came out of the box.
Upon first boot, the following error message was displayed, indicating a memory configuration error. The solution was simple.
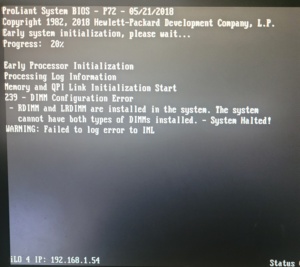
Error message indicating incompatible memory modules were installed.
It didn’t take long to find the culprit. The previous owner had installed one stick of LRDIMM, while all of the other installed memory modules were RDIMM modules. I sorted them out and removed the Hynix HMT84GL7AMR4A 32GB module, and did a reboot.
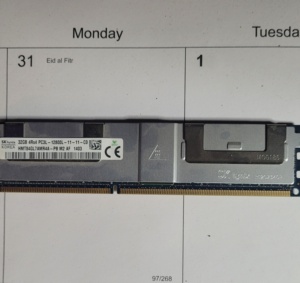
Mixed Up: After removing the Hynix LRDIMM module, the next boot sequence completed sucessfully. I decided to replace the incompatable 32GB stick, and add a few more smaller sticks to total up with 96GB of RAM. I still have some open slots if I deceide it needs more in the future.
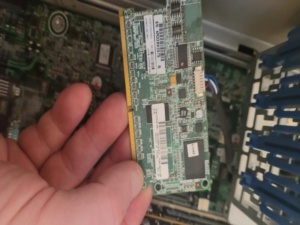
This SAS expander board was installed (I should say inserted), in the server by the previous owner. It was nonfunctional, and apparently incompatible with the ML350p and/or the Windows Server O/S version.
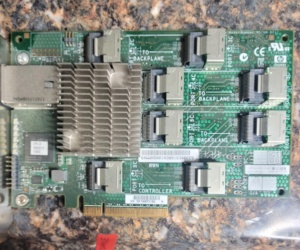
This HDD Expansion board [468405-002] turned out to be useless. It was incompatible with this server (and/or the O/S), and unfortunately it took a lot of research time in order for me to solve the problem. Only 8 of the 24 hard drives were working, so I thought this was the solution to getting all 24 drives spinning, so I stayed with it until I found out the facts. In any event, it would have been overkill (and a waste of an expansion slot) since there were only three HDD bays anyway.
The truth is it may have worked with whatever server O/S version was originally installed, but I was locked out of the system, and the previous owner did not have the password. So I tried a few different Windows Server versions, and none of them I’d tried had a driver for the card. In fact, it was so outdated, even HP no longer offered a driver for it.
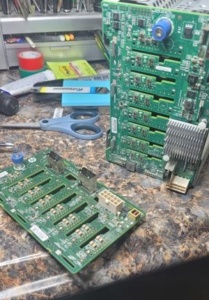
Further research revealed the solution would be to update two of the SAS HDD cages with new backplane boards. There were backplane boards that included expansion as a built in function, thus eliminating the need for any expansion board.
The HP 693610-001 backplane board (with onboard expander) was the solution that would enable the use of all 24 hard drives. However, finding two of them, at an affordable price, would turn out to be quite a challenge, and a significant delay to the project.
Even though the machine was free, I didn’t want to spend more money than the machine was worth trying to get it up and running. I Googled the board number and the first board I found was inexpensive ($74), so I bought it. Great! Let’s buy another one and carry on with the project! Wait. What?
The next listing was $1200! I continued searching and found several available at or around this price point. The next listing was $1540, then one for $940. At this point I was wondering: Did the seller of the first board not know what he had? Or, were the other sellers just insanely overpriced?
Then the next frustration rolled in. I found an overseas supplier selling one for $100 and purchased it immediately. Or so I thought. They responded that they don’t ship to the USA. In the meantime, weeks were passing by. About two months into my search, I found another overseas supplier with a low price, but they wouldn’t ship to the USA either.
At around the four month mark, I found a seller in China offering one for $62, but, the photographs used in the listing were taken from all the wrong angles, and the photo itself was stretched out, and distorted just enough that I could not see if it was the correct board. Also, the label with the board numbers was redacted. It looked fishy, but they accepted returns, and the part number in the listing was correct. I crossed my fingers and bought it.
Board Swap: We have a winner!
Flash Backed Write Cache (FBWC) The 500MB cache module complete with backup capacitor pack.
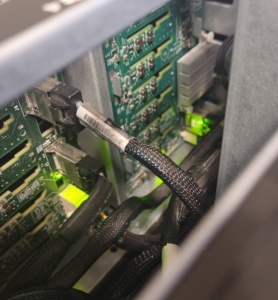
With the new backplane boards in place, a quick change in wiring is all that’s needed to enable all 24 hard drives into service.
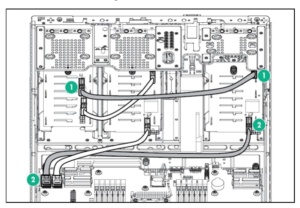
Simple wiring diagram to put all 24 hard drives on line for RAID configuration.

Success! All 24 hard drives are up and running! Soon to be RAID50 Array!
https://www.techpowerup.com/gpu-specs/tesla-k40c.c2505
.
The password in this case is 9 characters in length and is composed of uppercase letters, lowercase letters, and digits 0 thru 9. On a computer with an Intel i7 K875 2.93ghz CPU the time estimated to solve the password is (36,216 years, 188 days) or as Hashcat puts it, “Until the Next Big Bang”
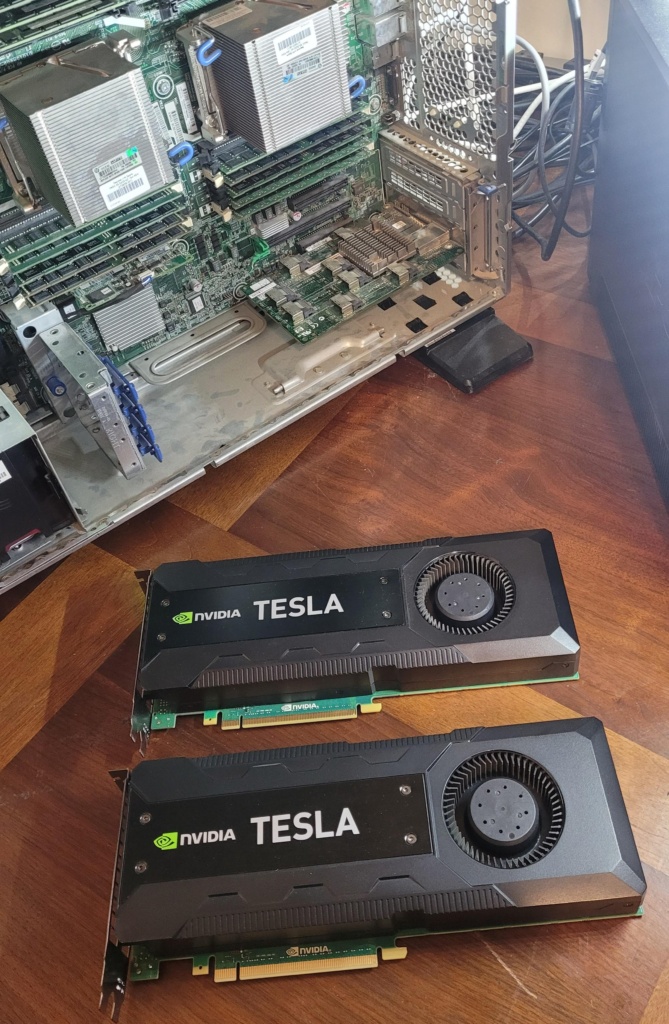
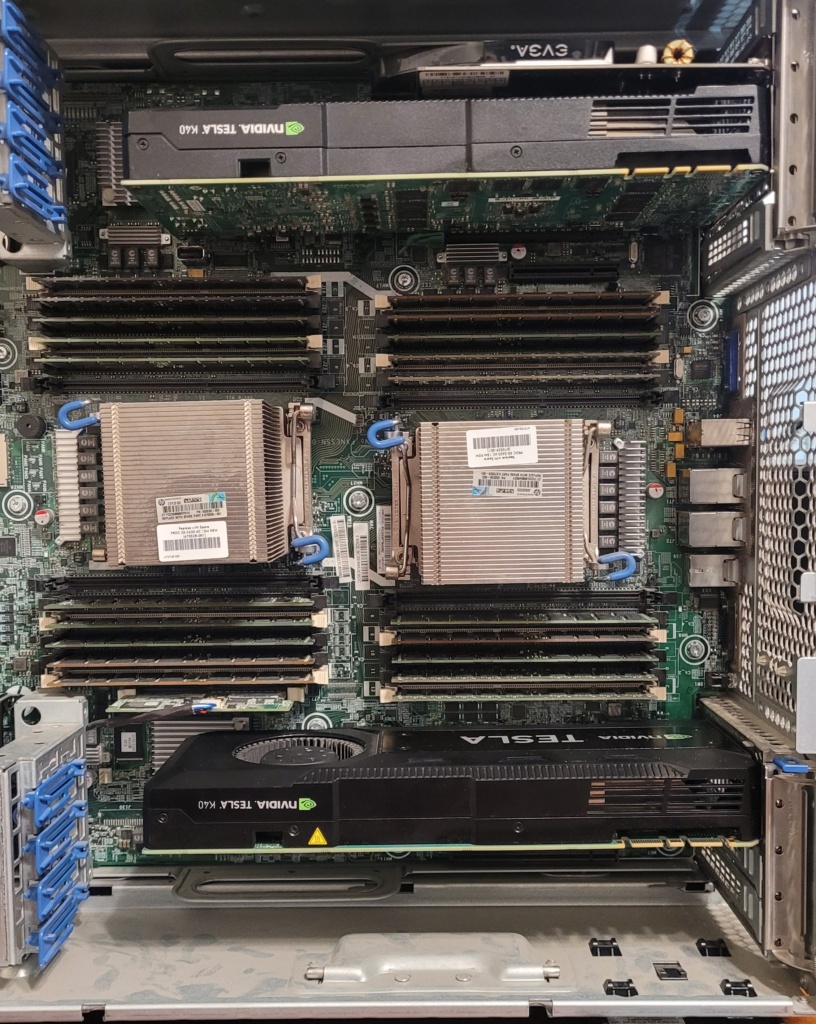
To solve this password I’m utilizing the HP Proliant ML350P Gen8 Server with 24 Intel i7 2ghz CPU cores, plus two NVIDIA Tesla K40c GPU’s, each with 12GB of GDDR5 Memory @3ghz and 2,880 CUDA cores each for parallel computing.
At this point Hashcat has been working for 31 minutes 14 seconds and has eliminated over 22 million combinations, shaving 9 years and 32 days off of the original estimated time.
Given what we know, does anyone want to guess (or calculate) how long it will actually take to solve this password?
Winner gets a chicken dinner!
Well, that’s certainly the case with this item! It arrived in the mail today, and the packaging looked rough. Right away I thought it was (what we in the retail business call) a “repack”.

I plugged it in, and NOT to my surprise, it didn’t work. I decided to have a look inside to see if I could fix it, and here’s what I found.

If you look closely, you’ll see that’s a MicroSD card glued in there! Now considering the highest capacity MicroSD card available on the market today is 2TB, there must be some kind of “magic” going on with this one.
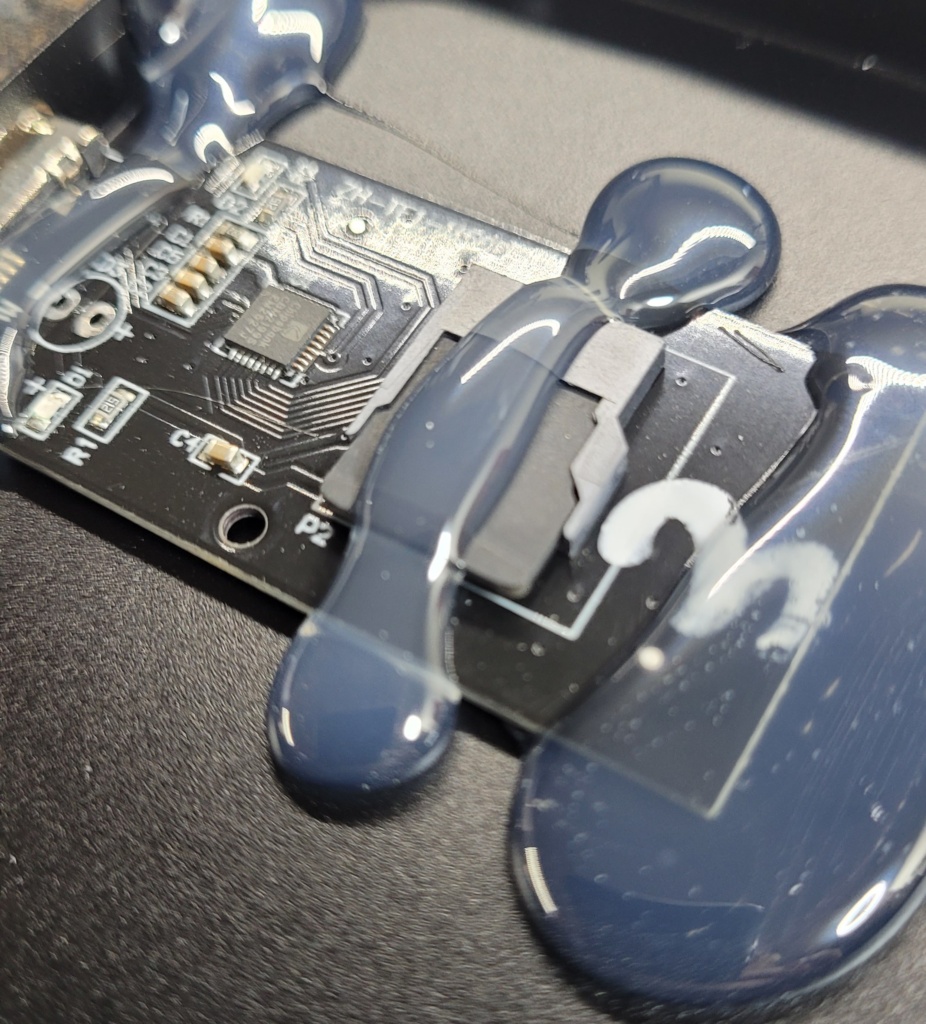
I plan to look into the controller chip to see if I can figure out how they get it to show 3TB capacity, and, to determine the actual capacity of the MicroSD card.
Google says these scams are quite common, but this is my first time actually coming across one.
https://chatgpt.com/c/6a1221c7-0a48-83e8-9961-cee4dcaefd24
I plan to have no less than four O/S running on the HP hardware. Windows 11, Windows Server, Ubuntu Linux, and Kali Linux.
Here’s a quick look at how the “Free Craigslist HP Server” has been rolled out. I configured everything with the help of ChatGPT AI. I wouldn’t have gotten this far, this fast, if it wasn’t for the AI showing me what to do. I find I can work much faster when engaging the AI. I am basically just typing in the error messages that come up along the way, and continue until there are no more errors. As best I can tell, I have it optimally configured for the current hardware.

Proxmox provides multiple “Virtual Environments” that are ‘computers within a computer’ aka “Virtual Machines” capable of running entirely independent of one another, simultaneously.
Can you imagine having Windows 11 Pro, Ubuntu Linux, Kali Linux, and MacOS all available to you at the same time, on any device that has a web browser? I had to find out for myself just how smoothly these operating systems would run, considering they all share the same ‘virtual hardware’ and resources. The results may surprise you. And, to top it off, it’s as if the HP Proliant Enterprise Hardware was made for just this type of implementation.
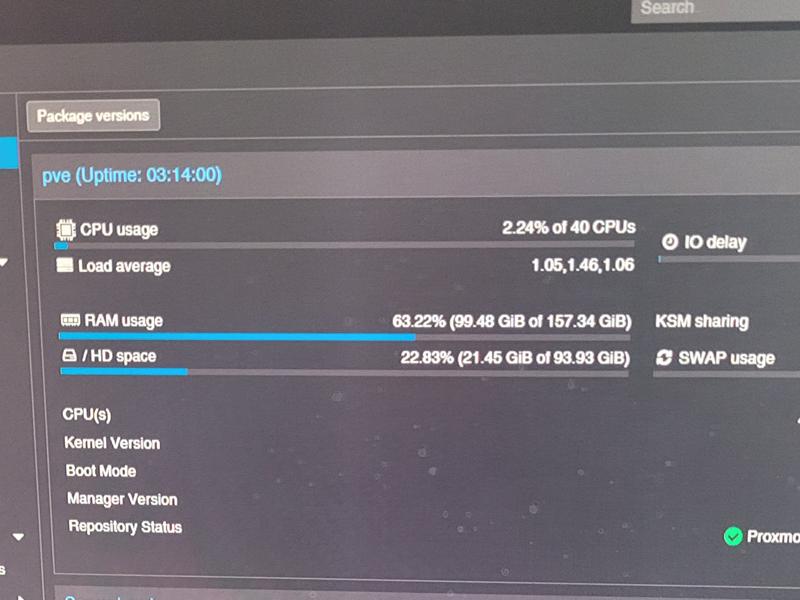
Respectable performance stats with all three Operating systems up and running. I like the CPU usage number. Amazing! 2.24% of 40 CPU’s used. I hope it stands up strong as I begin adding and creating heavy workloads. In addition to multiple O/S platforms, I’m planning on building multiple web servers, a media streaming server, Installing MacOS, and looking forward to harnessing some of these resources in my forensic and penetration testing studies.
Here is the ChatGPT summary of the project so far…
Your hardware is excellent for:
You can comfortably run:
The 160 GB RAM is the strongest part of the system.
The weak point is the K40c generation.
Each K40c:
Many modern AI frameworks no longer officially support Kepler GPUs.
Practical uses:
Not practical:
Compared with modern hardware:
| Hardware | Relative AI Speed |
|---|---|
| Dual Tesla K40c | 1× |
| RTX 3060 12GB | ~3–5× faster |
| RTX 4070 | ~10× faster |
| RTX 5090 | 30×+ faster |
Based on your configuration:
| Storage | Purpose |
|---|---|
| SSD RAID1 | Proxmox OS |
| SSD local-lvm | Active VM disks |
| 6TB RAID50 | Large VM storage, ISOs, datasets |
| 4.5TB Disk | PBS backups |
Approximate:
| Component | Watts |
|---|---|
| Dual E5-2690v2 | 260W |
| 2× Tesla K40c | 470W |
| ML350p platform | 80–120W |
| Drives | 20–40W |
Maximum load:
Typical Proxmox operation:
For a homelab:
For what you’ve already built—dual E5-2690 v2s, 160 GB RAM, Proxmox, RAID50 storage, and two Tesla K40c cards—it’s a very solid virtualization and learning platform. The CPUs and memory are still useful; the K40c GPUs are the component that most limits modern AI workloads.
Given your current setup, the next upgrade that would produce the largest performance increase would be replacing the K40c cards with newer NVIDIA GPUs while keeping the rest of the server unchanged.
