Full Day To Radio Build

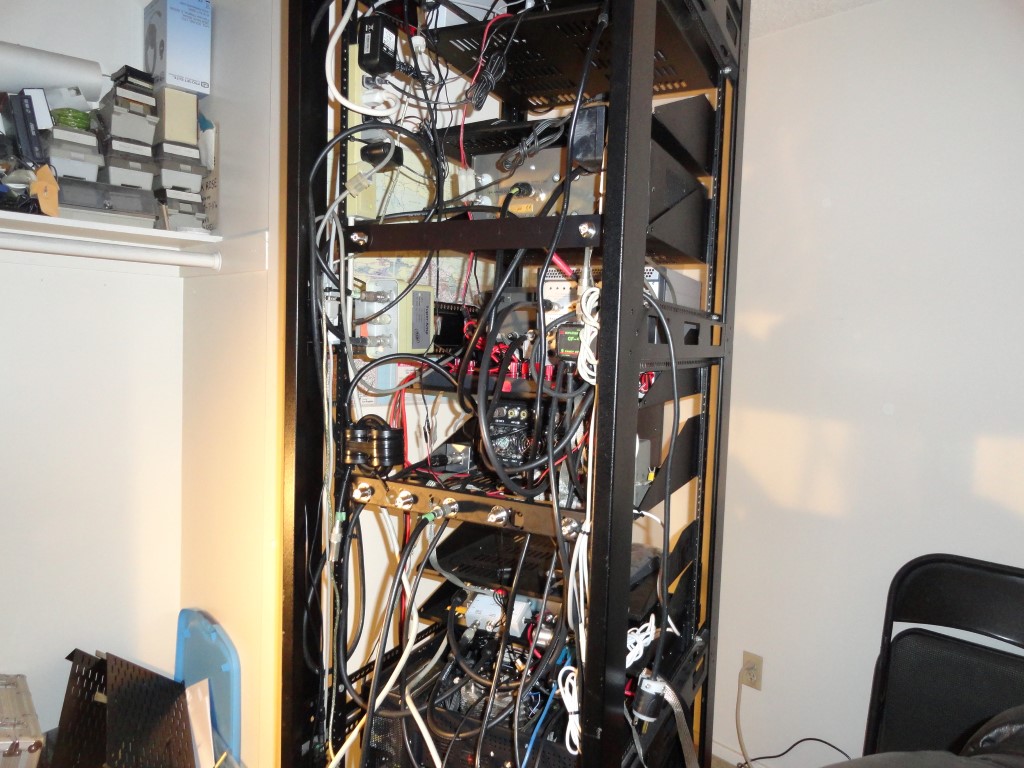
Made some good progress again today on the radio build:

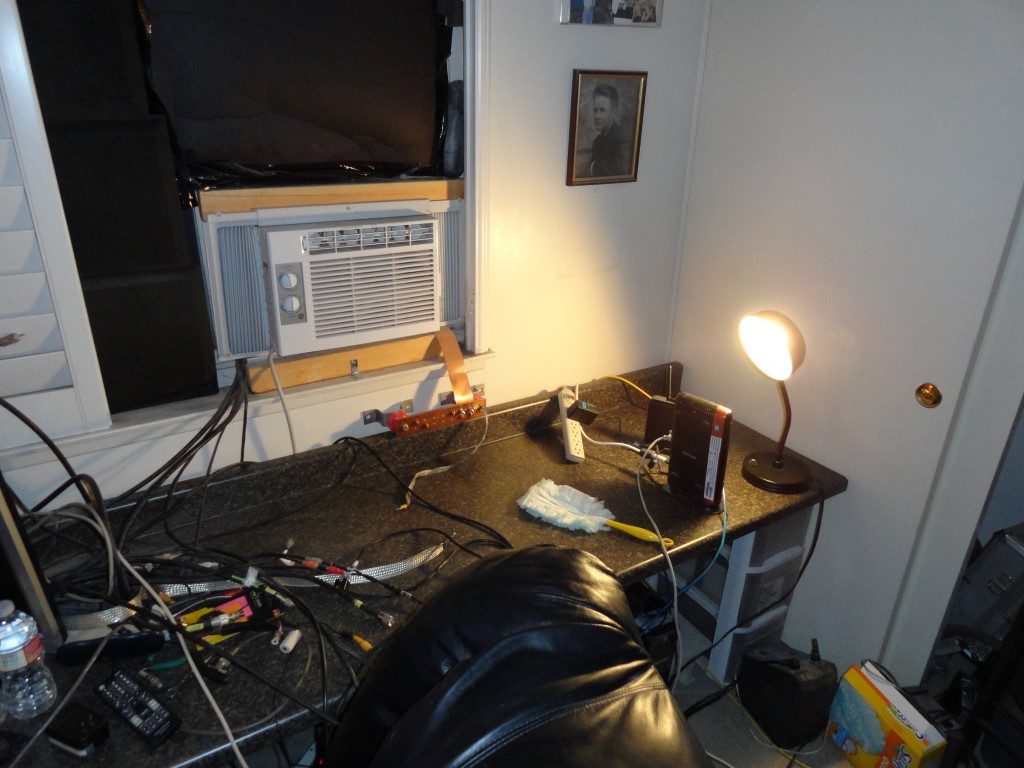
  • Sorted cables and cleaned the desktop
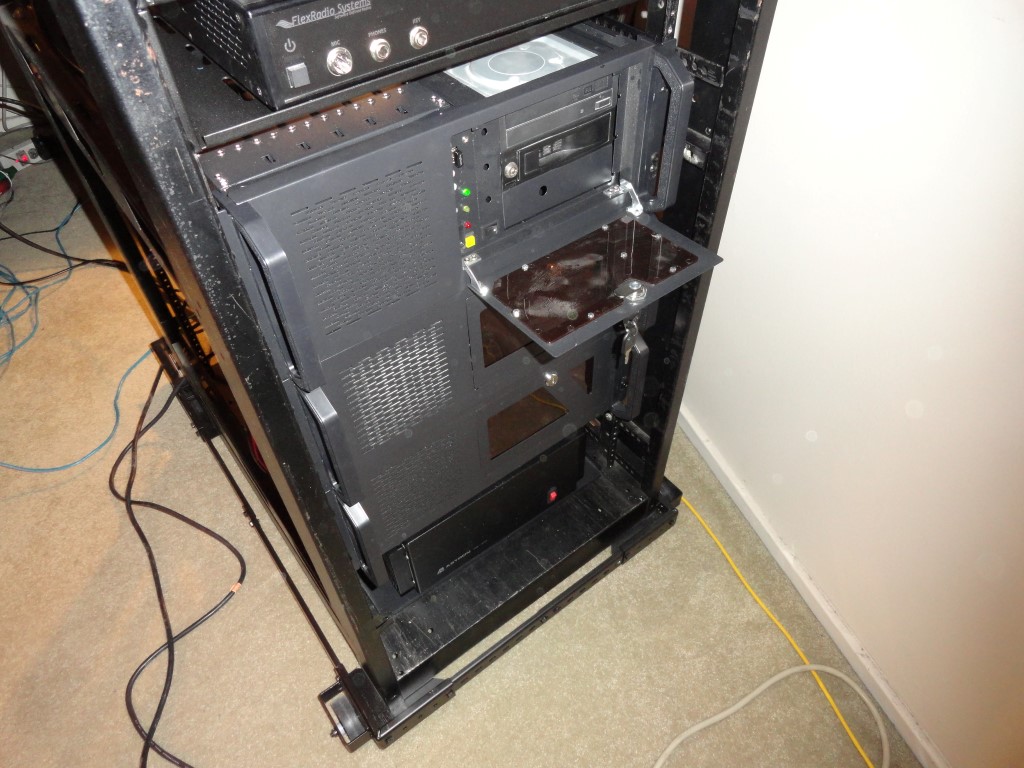
  • Mounted the two remaining PC’s
  • Ran AC supply lines and UPS
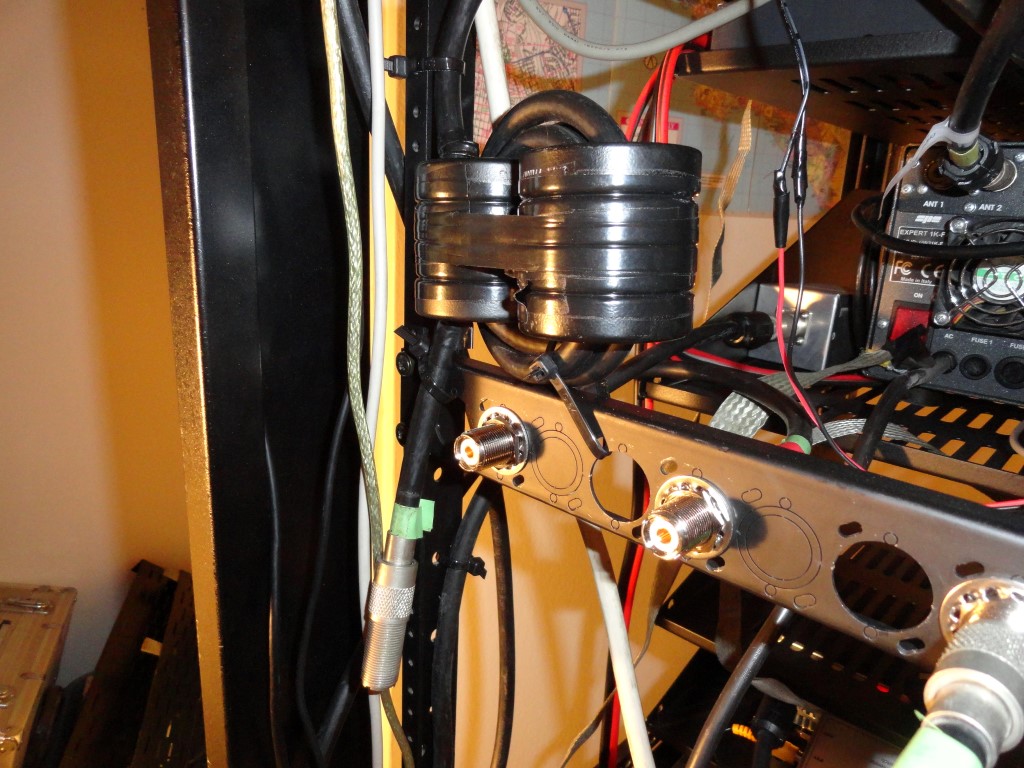
  • Setup Common Mode Choke
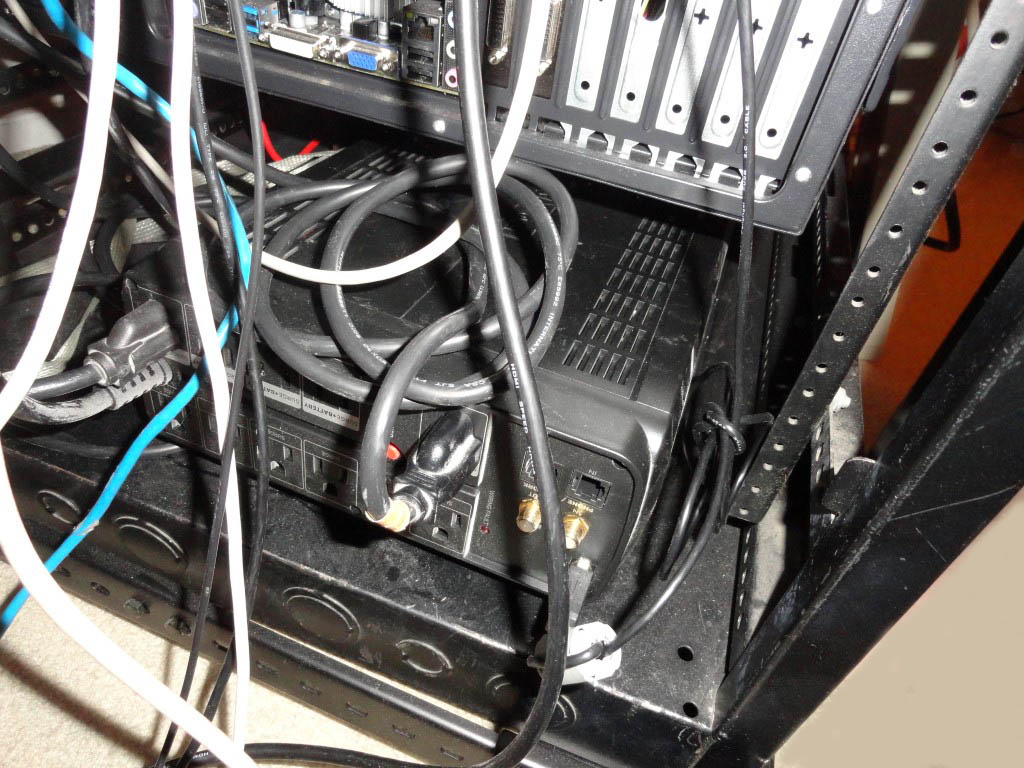
  • Completed some PC wiring
Radio Build
The desktop is cleaning up nicely. Future TRX workbench. See those closet doors? They are a problem…

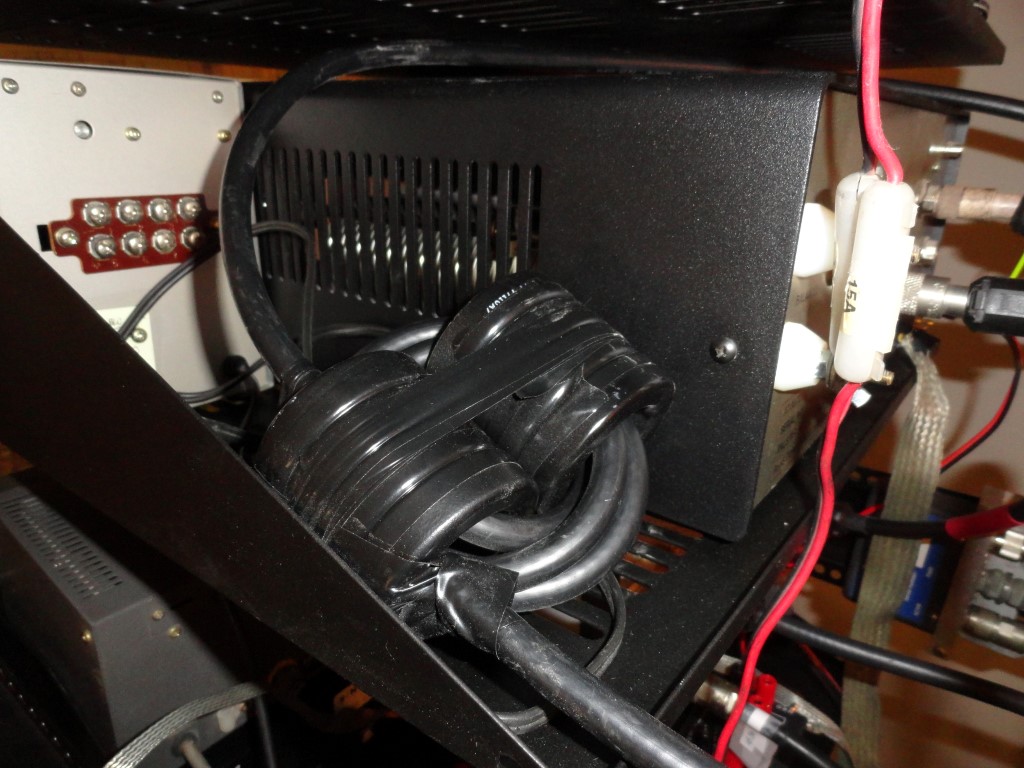
Common-Mode Choke: Research lead me to this great article by Chuck W1HIS. This design will easily handle 1KW output. The choke is inline with my 130ft (height compromised) dipole antenna that I use on the lower HF frequencies.

Big Choke For Radio Build
Common Mode Choke: W1HIS design

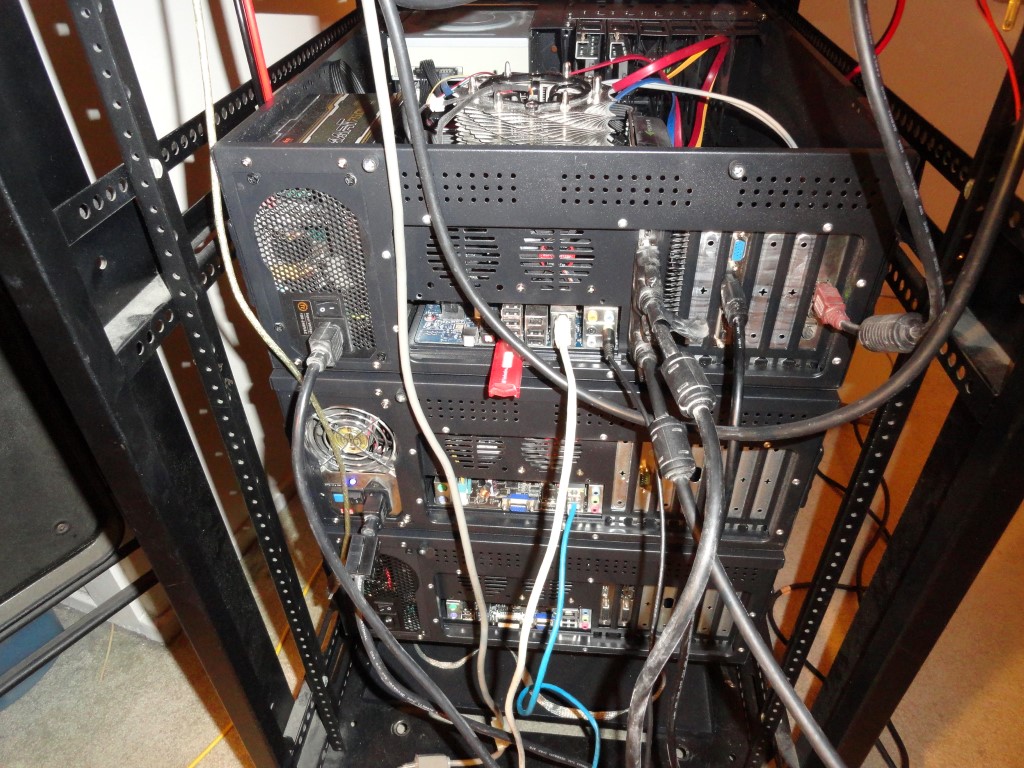
I mounted the last of the PC’s today. The server is back online after approximately 10 hours of downtime. Temporary cable connections were made to get the workstation and server back online asap.

Radio Build - K6HR
Business end of the PC’s (Top to Bottom) Windows 7 64, Ubuntu 13.04, Windows 10

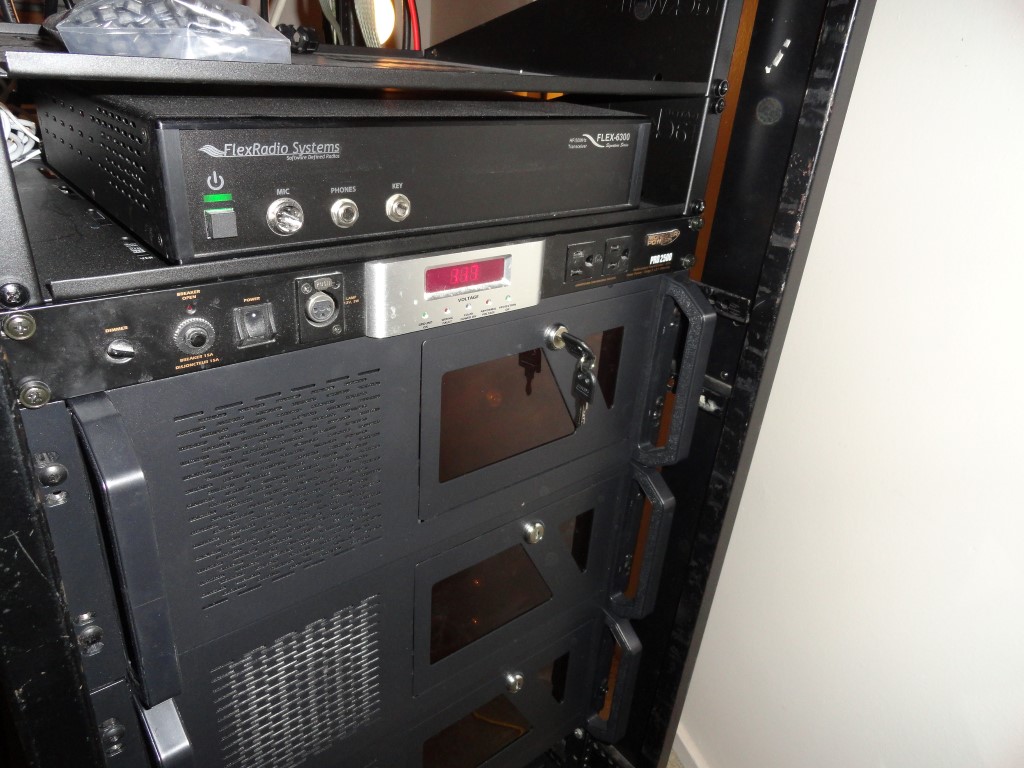
One of my measurements was incorrect. Can you tell which one? You are correct! My measurement for the CPU cooler was way off. I could change the cooler or leave the top off. The PRO 2500 power strip will go in the rack space above this PC since it is only 9.5″ deep, no problem.

Radio Build - K6HR
Evidence of the dust problem! That fan is running directly off 12v (no PWM). Probably too fast, hence the extra dust. It’s quiet enough so it stayed. Soon all the dust will be gone!

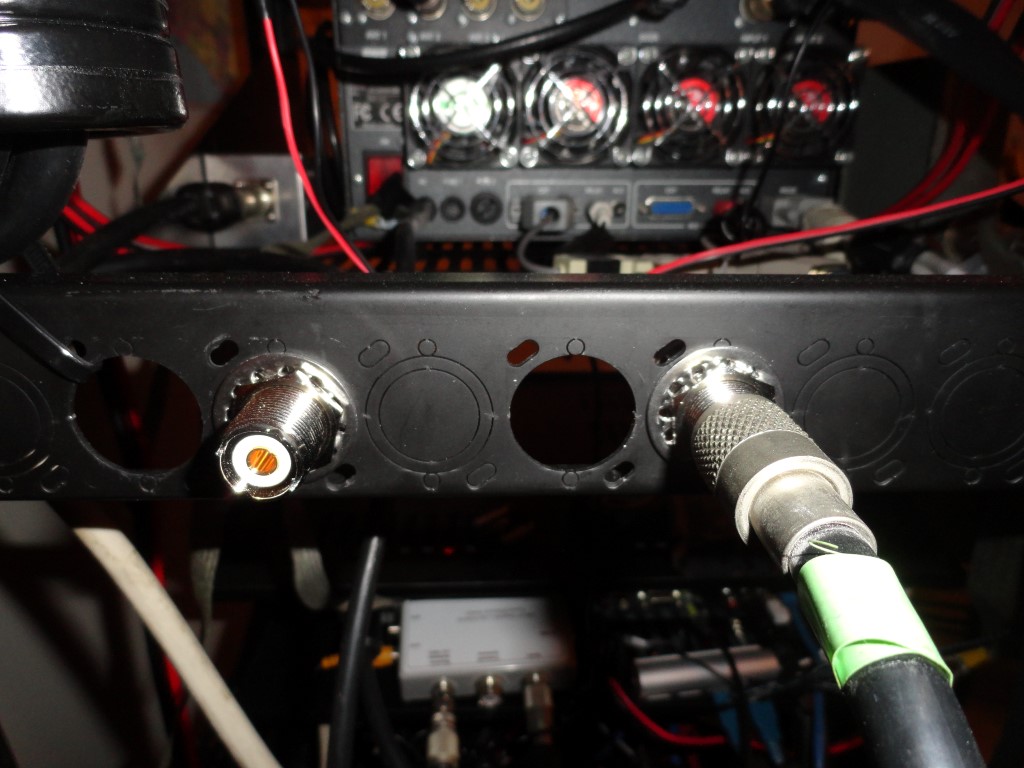
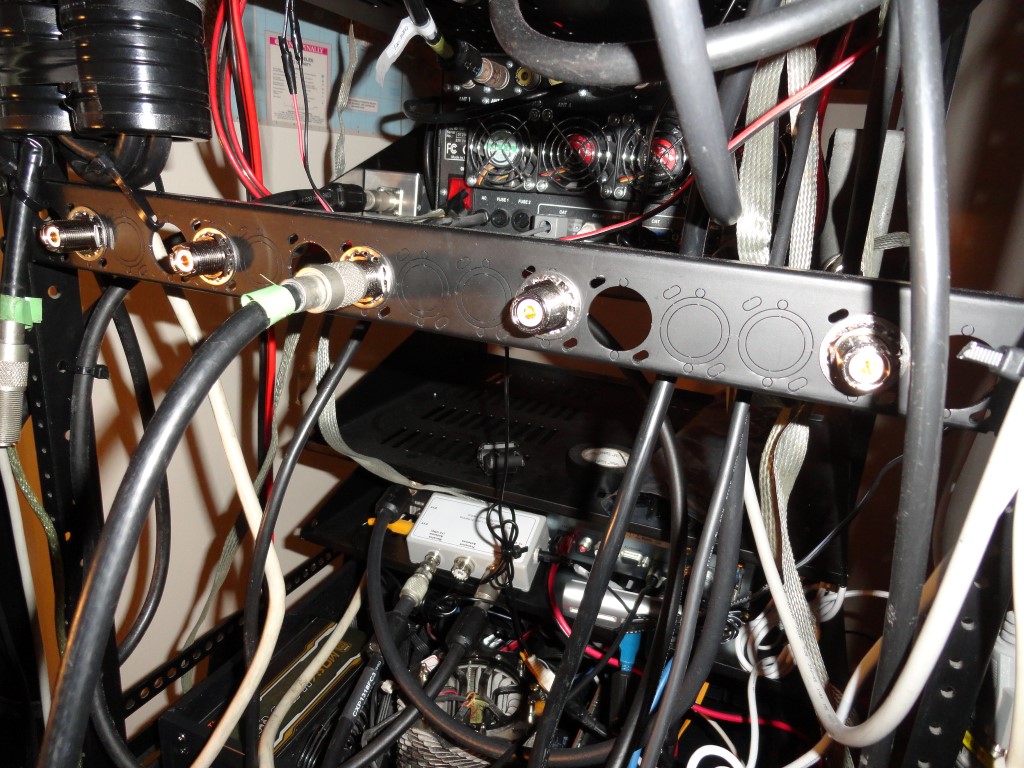
Tomorrow I plan to complete all the internal wiring. Everything will be reconnected with proper fitting snap-on ferrites on both ends of every cable. The antennas will be reconnected using temporary cables until the rear antenna breakout panels are ready. In the previous setup I had several long USB extension cables, long monitor cables, and long audio cables which acted like antennas and introduced RF into the PC’s and other shack devices. I eliminated any RFI problems by choking off cables one by one anytime trouble came around. On some cables (like my Heil headset) the snap-on ferrites could be ‘unsightly’ and/or create cable strain.

Another benefit of the rack installation is the elimination of all the long cables. Replacing them with short (correct length) cables with ferrite chokes on each end will absolutely eliminate all RFI issues, and, improve RX quality.

The next phase of the remodel will be the furniture movement. Since the rack is 22″ wide and will be placed in between the 45 degree mitre joint of the two desktop pieces, calculations show the desktop pieces must each be moved a minimum of 16.5″ in order for the rack to fit. The left desktop is free to move the 16.5″. However, the right side is not. It butts up against the sliding door to a closet (see photo above).

A decision will be made to either reduce the desktop surface by cutting off 16.5″, or, remove the sliding doors on the closet to allow the 16.5″ of desktop to extend into the closet area and eliminate the need to cut the desktop. (using a hand saw)

Where the heck am I gonna put these friggin’ closet doors….

Back To The Front

Common Mode Choke – Friday 011218

Common Mode Choke

Common Mode Choke
RF Breakout panel and Common Mode Choke in place

Today’s work included installation of the Common Mode Choke and the following items:

  • RF Bulkhead Connectors and Panels
  • PRO 2500 Power Strip
  • UPS Backup Power
  • Mounted Common Mode Choke

I decided to add breakout panels for the antenna connections. I want to avoid direct connections to the equipment so that when I have to move the rack I don’t have to worry about the antenna coax pulling the equipment toward the back of the rack. All but two antennas will connect via the panels. The discone antenna for the scanner, and the spare G5RV will connect directly to their receivers.

I had a few 1U panels with audio connectors on them and decided to repurpose them rather than buy new panels and have to drill them. The only problem was the knockouts were already punched out and the 15/16″ hole was too big. The SO-239 bulkhead connectors I purchased did not include any washers. I started looking through the local hardware stores and quickly realized none of them had the right size. I also saw an eHam article saying the same thing, no hardware store will have this size. I knew I had to look elsewhere. I had seen pictures of bulkhead connectors with (what I call) ring washers on them, but where can you find these washers? A pretty obscure part to try to find, especially when you don’t know exactly what its called.

During my research I was very pleased to find a perfect match at American Radio Supply. They call it a “Large Star Washer For SO-239 UHF Bulkhead Connectors”. Yep. Gotta love Google! So here I was stuck with these 15/16″ holes, and BOOM! Look at that! It’s 1.047″ wide!

Done! Ordered! Arrived today!

Common Mode Choke
Hats Off to American Radio Supply! A Perfect Fit!

I also realized the W1HIS Common Mode Choke had to be secured somehow in order to provide some strain relief. The cable that will connect here is LMR-600, since it is so rigid, I thought it best to secure the choke with the connector for the LMR-600 facing down.

W1HIS Common Mode Choke
I secured the Common Mode Choke to the rack frame using cable ties. Set the barrel facing downward for a conection to an LMR-600 antenna lead.
Common Mode Choke
I mounted FIVE SO-239 Bulkhead connectors. Perfect strain relief!

The “Monster Power PRO 2500” was installed today. I mounted it just above the desktop level, as it has two courtesy outlets on the front. The two AC power strips, and the UPS Backup are both connected to the 2500.

FlexRadio 6300
I need to reduce the fan speed on that PC!

I was lucky the UPS Backup fit in the bottom of the rack behind the Astron power supply.

Common Mode Choke
The Cyber Power 1500VA UPS Backup provides approximately 30 minutes run time for the two attached PC’s.

Tomorrow I plan to remove the computer monitors and the left side of the desk so I can move the rack into a better position for testing, to where all the antenna and rotor leads will reach.

Back To The Front