Rack Mounting Project

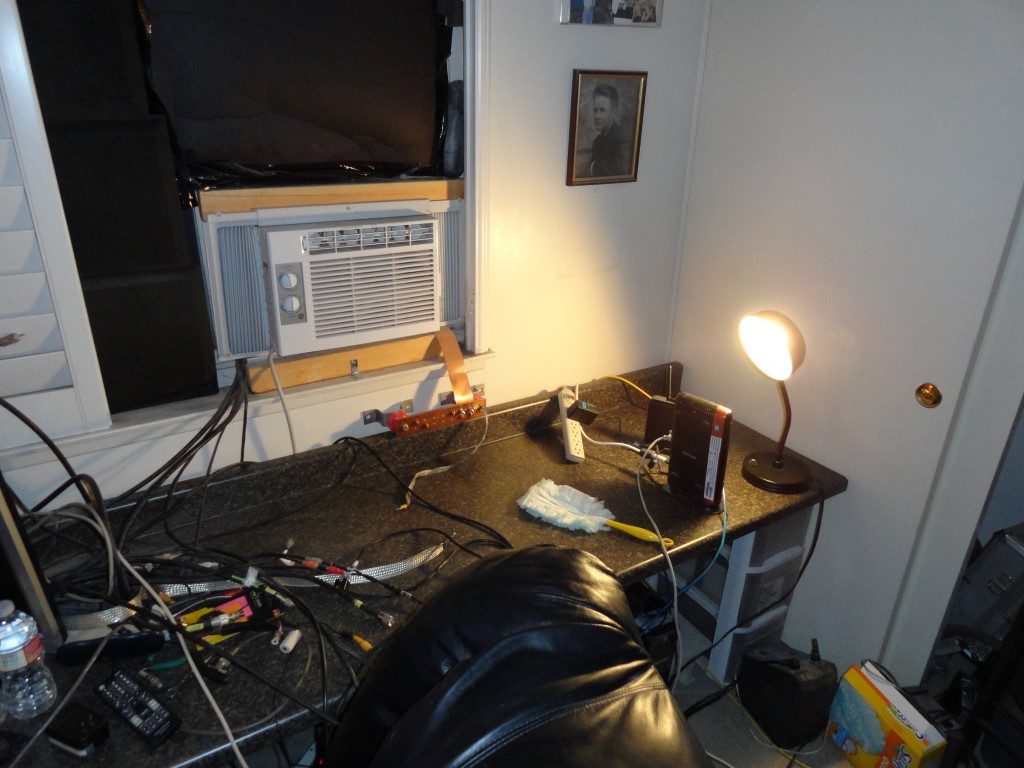
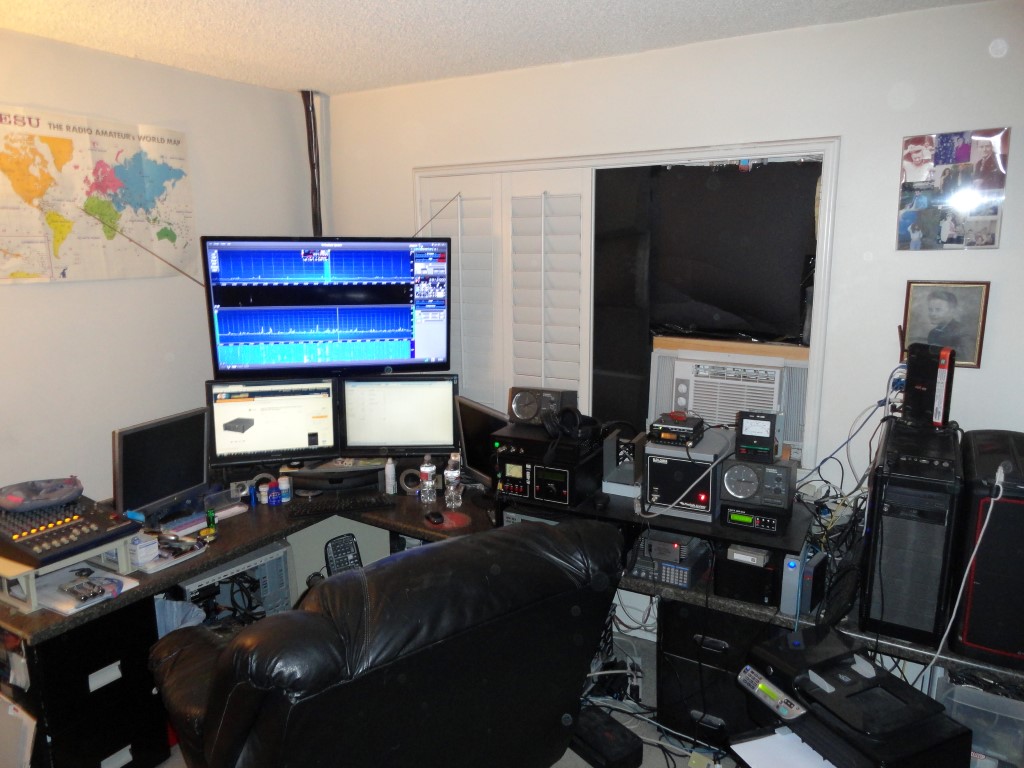
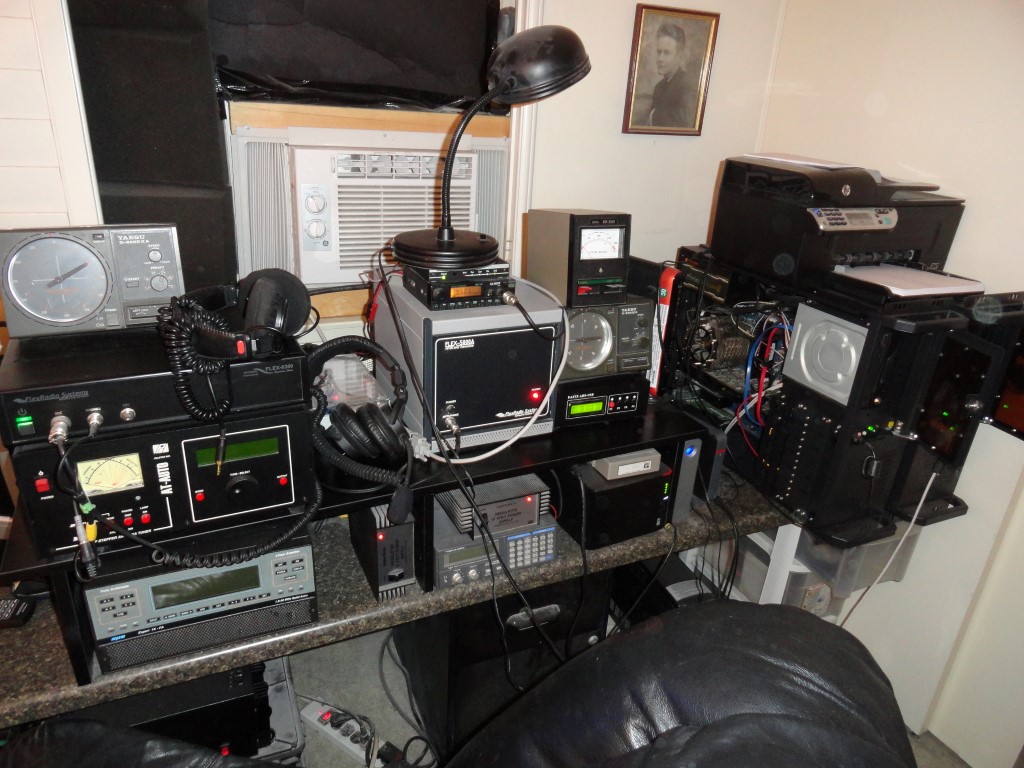
Well, as you can see, the shack is overdue for a seriously needed overhaul! Follow along as I tear this all down and rack mount it. It’s a BIG job, and it will have to be finished before March 3rd. The Rack Mounting Project is officially underway!
K6HR - DM03xv
This will serve as the “Before” picture for the shack overhaul blog

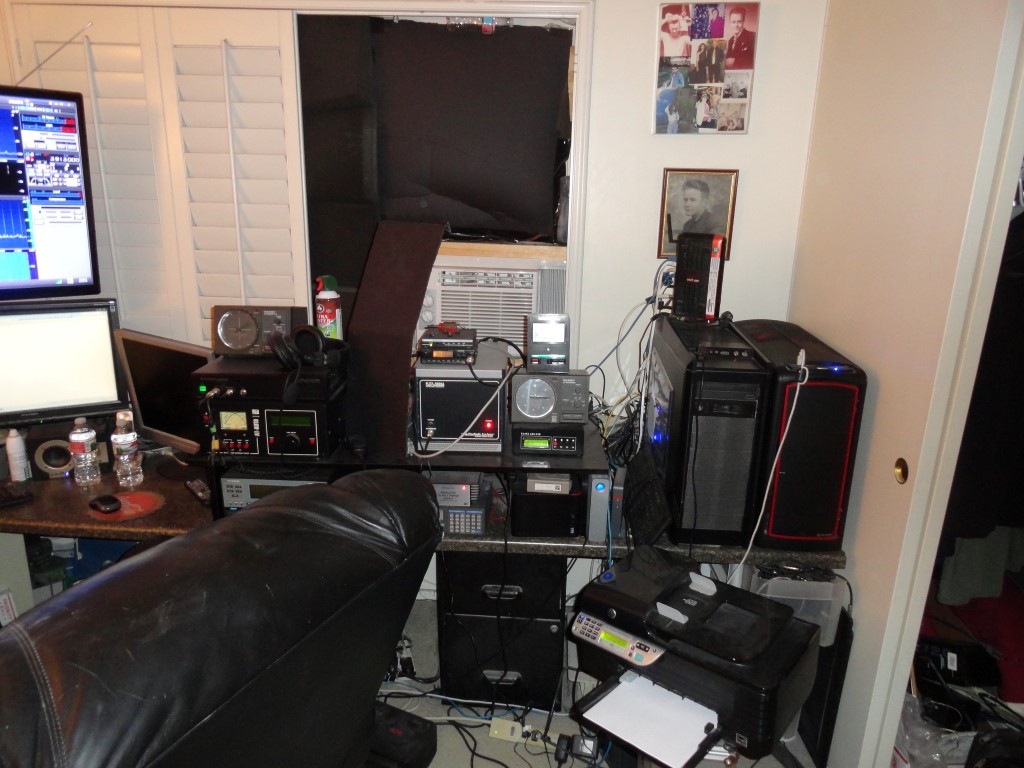
There’s no room for any additional equipment, and trying to work with any of the cables behind the current setup is nearly impossible! I tried adding a TV riser so I could stack more gear, but I still ran out of space.
Rack Mounting Project
I’m out of space both horizontally and vertically. Time for a change!
Rack Mounting Project
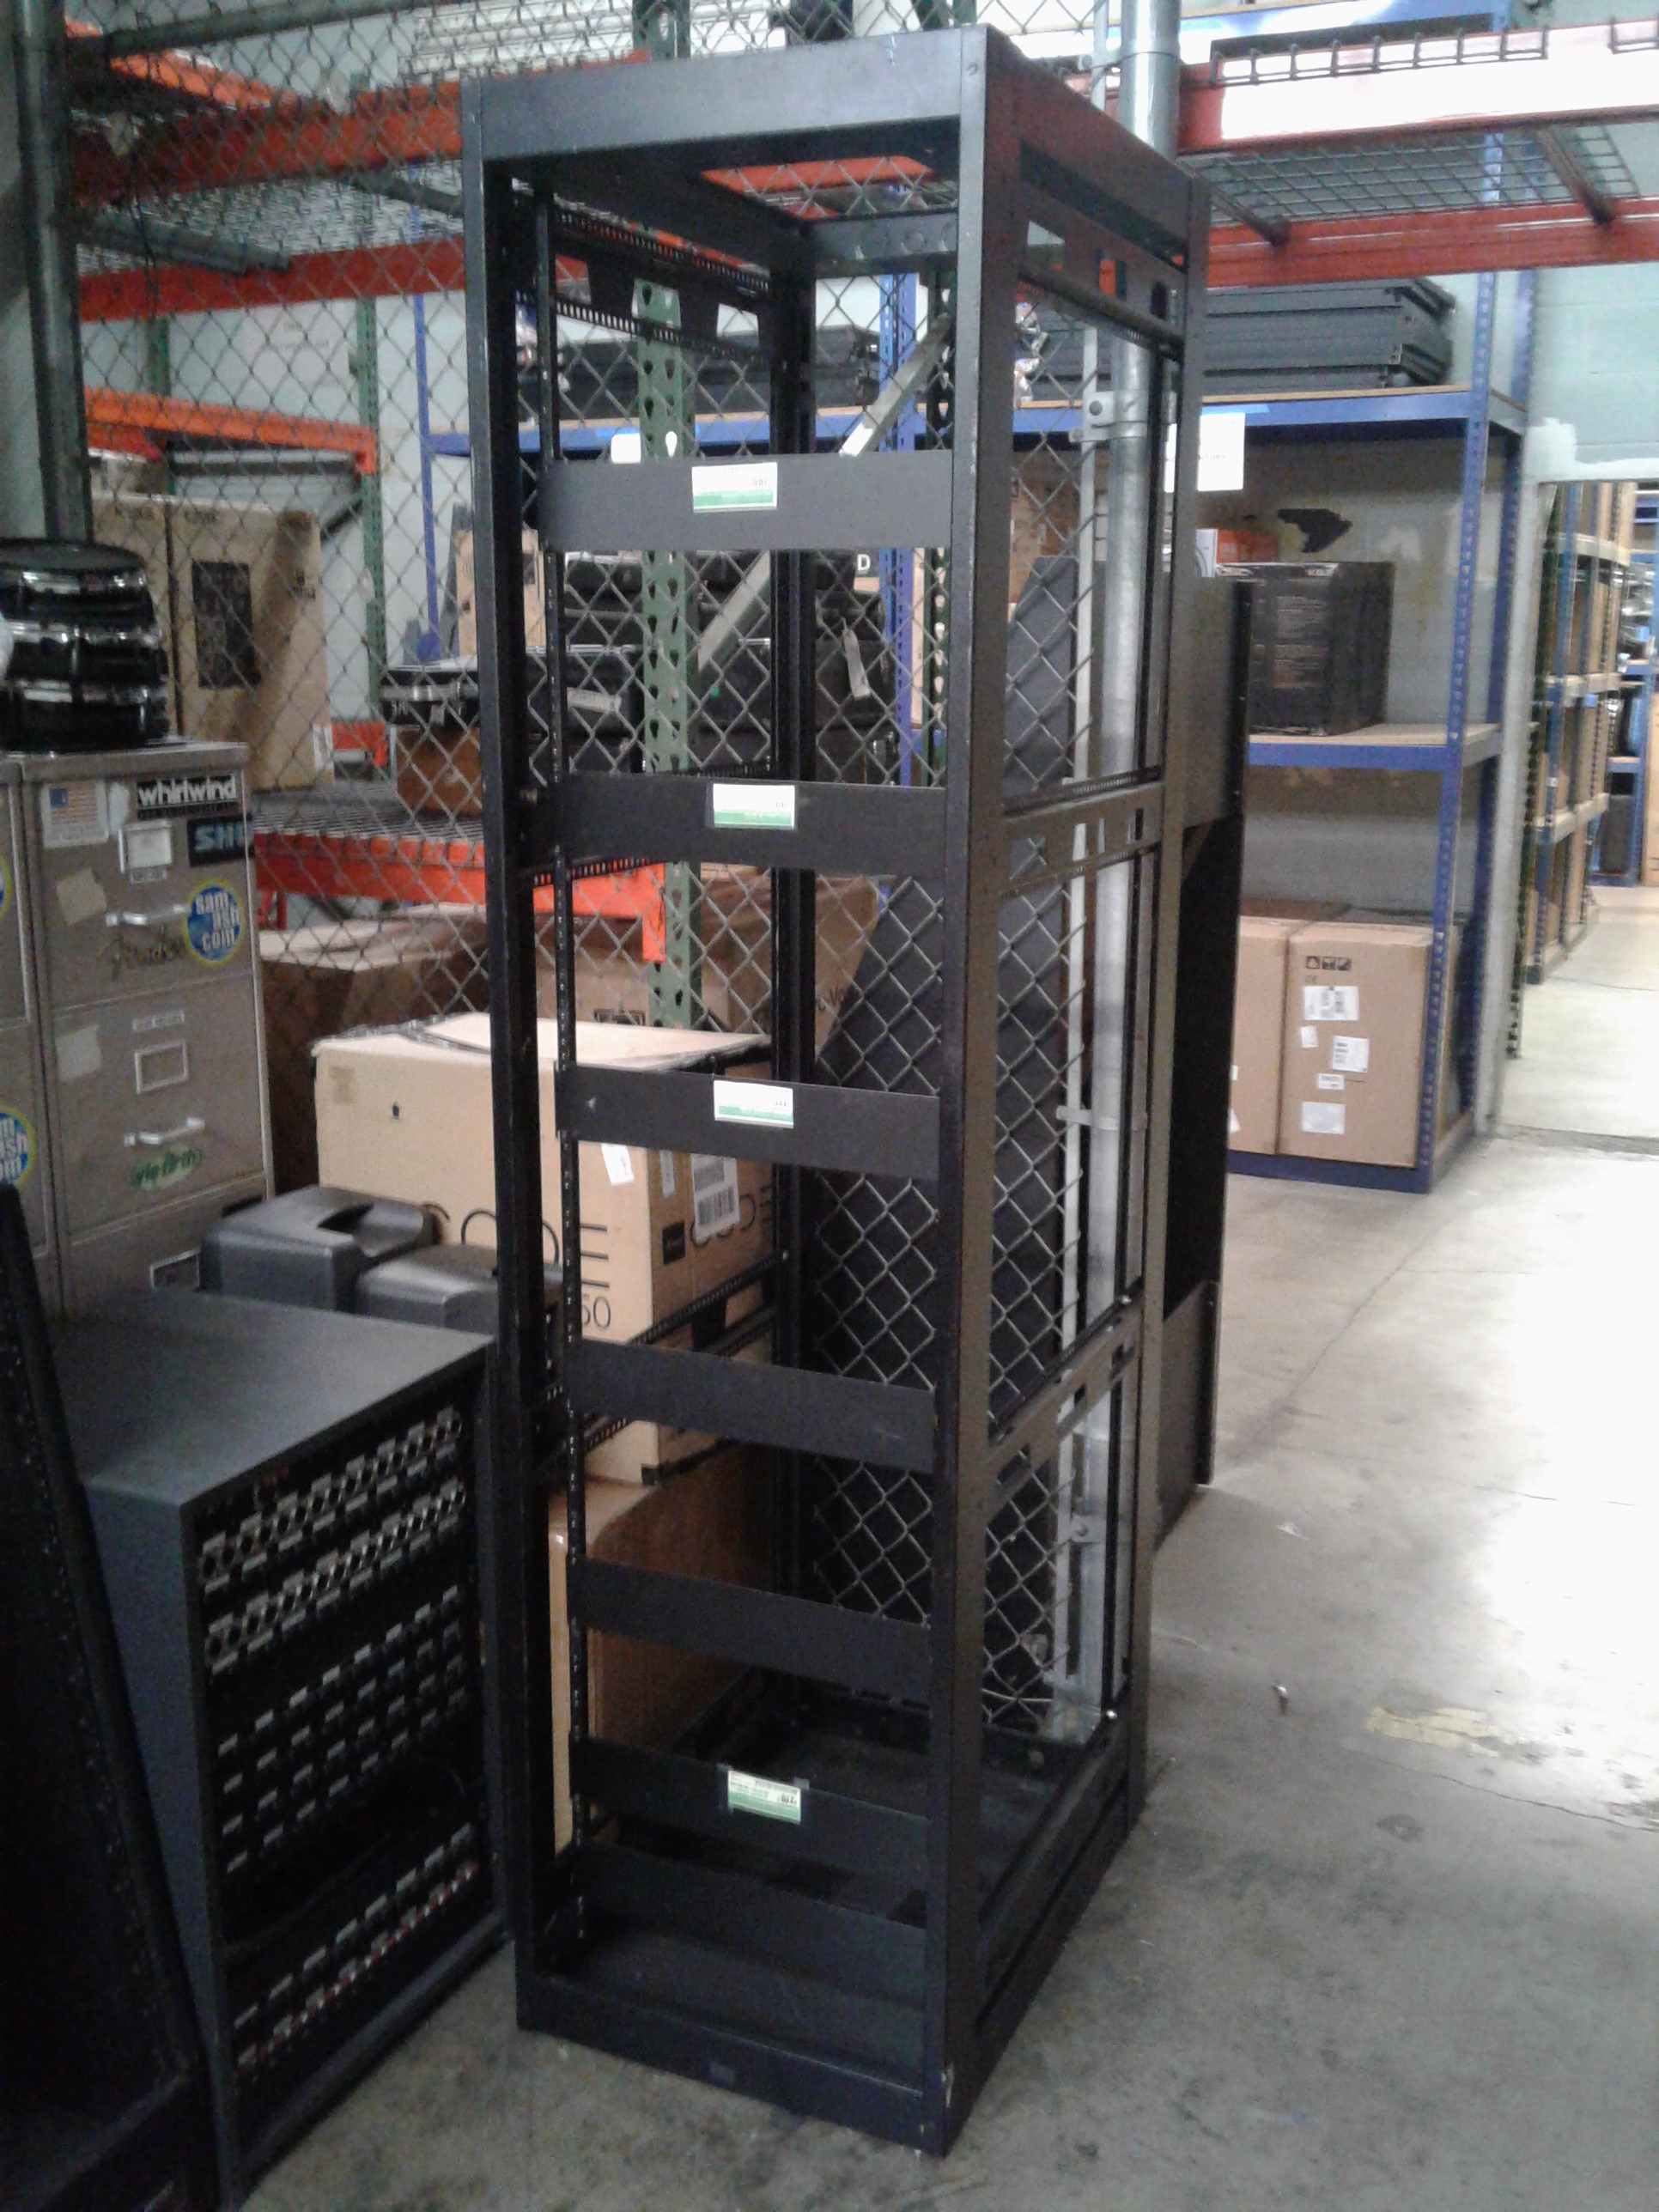
Rescued from the scrap pile, this rack would eliminate my horizontal radio sprawl!

A Nice Save!

I came across this 44U server rack as it was heading for the scrap heap, and got the idea to “go vertical” and transform my radio room into a much more productive space. The idea for the rack mounting project was born!

Yes, this would involve significant planning…<grin>

I started with a measuring tape.

  • Will this rack even fit in my room?
  • Could my gear fit in this rack?
  • How many rack spaces will I need exactly?
  • What hardware will I need in order to mount everything?
  • How will I move it around?
  • There are Grounding and DC distribution considerations
  • Vertical Layout Planning

Once I could see all these numbers were falling into place, I made arrangements to get the rack dropped off. I got the idea sometime in September or  October and started measuring. I had the rack delivered in early November, and started ordering all the parts.

Advance Planning

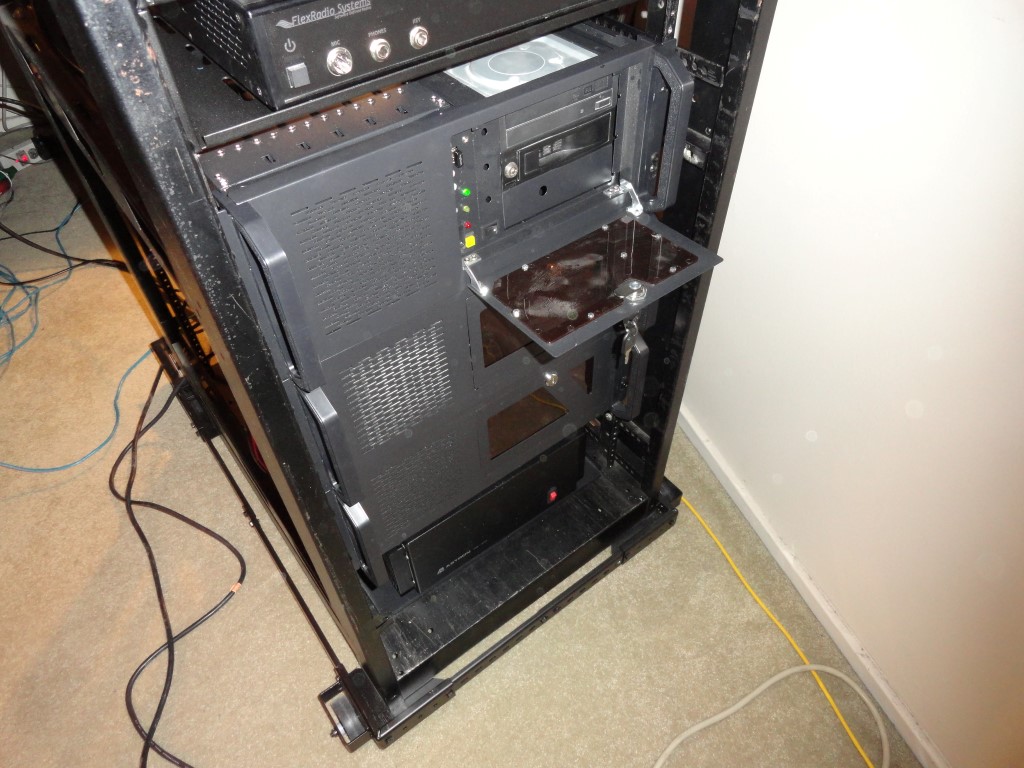
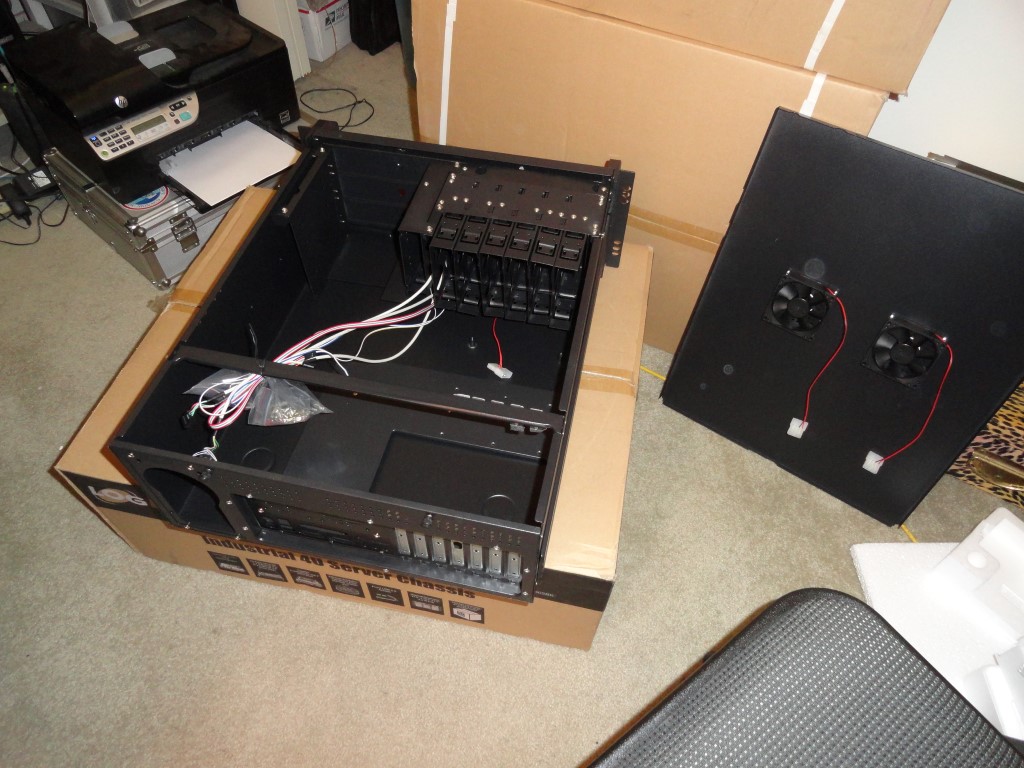
At this point I’ve resolved the mobility issue (Craftsman Mobile Base), rack mounted all 3 PC’s and removed all the unwanted furniture and clutter from the radio room so I’ll have room to start the build.
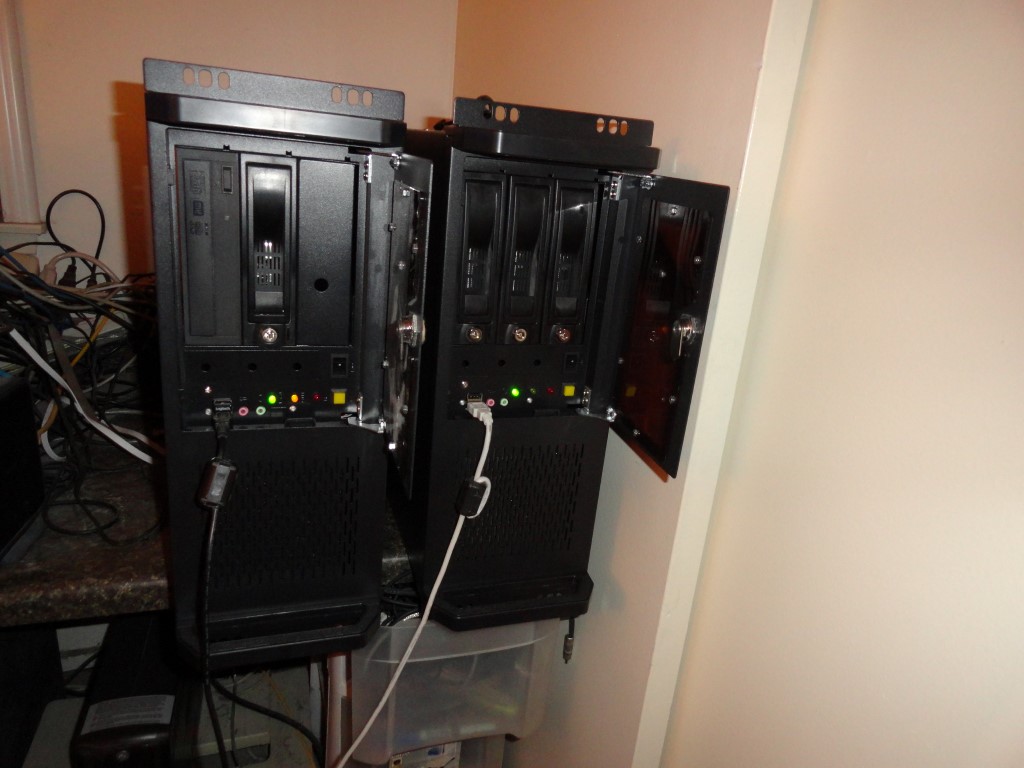
Unboxing the PC rackmount cases
L to R: Windows 7 PC, Ubuntu 13.04 Server

The PC’s went into the rackmount cases without a hitch. I’ll mount them once the shelves arrive.

Today I took a second look at WordPress and decided to install it on the web server here in the shack. It was easy to install, and appears to be up and running OK.

I plan to document the steps taken to complete this rack mounting project as I go along, while at the same time learning WordPress and planning the repair bench that will follow the rack conversion. Right now the rack is still in the garage and will likely stay there until after the holidays.

Back To The Front

Ergonomic Layout

I have just enough space to rackmount everything. Considering I also have rear rack rails, some less important items can be mounted from the rear. This is all about the ergonomic layout. I may even build some breakout panels for the antenna and audio connectors. I’ll be using a combination of 2U and 3U rack shelves (special thanks to the folks at Gator Rackworks!)  I had to go 3U for some shelves in order to get a useable depth. Most of the radio gear will sit on shelves.

The current layout plan (from top to bottom):

  • ROTOR SHELF       4U
  • AT-AUTO HI           4U
  • AT-AUTO LO           4U
  • 2M RADIO / TNC   1U
  • FLEX VU5K            6U
  • 1K-FA                      4U
  • FLEX 6300             2U
  • FLEX 6700             2U
  • AC POWER             1U
  • PC#1 W7                4U  <<< DESKTOP
  • PC#2 W10              4U
  • PC#3 SERVER        4U
  • ASTRON RS-70      4U

I need the radios and amplifier close to the desktop, placing other ‘less touched’ items either down below or up above. I think the ergonomics are OK at this point.

Before I can start building I have to empty the shack so I can remove all the dust. I have a significant dust problem. And the problem was most apparent as I swapped out the cases on the two production PC’s. Choking on dust.

The plan is to empty the room, and mitigate the dust. I plan to use an air compressor to blow off the dust that’s embedded in the stucco-like ceiling, then, I’ll thoroughly vacuum before having the carpet steam cleaned. Going forward I will employ an oversized HEPA filter in the radio room which will run 24/7 to capture all particulates and hopefully eliminate or at least vastly improve my dust problem.

Back To The Front

Working on SEO

I just figured out how to add plugins to WordPress. I installed the  ‘Head Meta Data’ plugin that inserts information for Search Engine Optimization (SEO) into your page code. I am unable to find a single Google search result for this website. The plugin is now running with all the correct metadata.

SEO
Yoast SEO will help the web crawlers understand the content in my web pages

Update: I am unable to validate my URL through Google Services. Probably because of the .ampr.org domain name. It may finally be time to register a commercial URL.

02/19/18 – I was finally able to validate the website through BING. Later for Google, too much of a hassle.

Back To The Front

Soon To Be Rack Mounted!

Now the real fun begins as all this must be torn down. All this gear is soon to be rack mounted to eliminate the clutter.

Soon to be rack mounted
One last look at the old setup. Tomorrow 12/30/17 I begin rack mounting all the equipment.

All this gear is soon to be rack mounted. I did some major dust removal today. Now the room is empty and we will haul the rack up the stairs tomorrow. I’ll start by installing the shelves and mounting hardware etc. The following day (New Years Day) I’ll start placing the equipment and start the wiring.

Back To The Front

Full Day To Radio Build

Made some good progress again today on the radio build:

  • Sorted cables and cleaned the desktop
  • Mounted the two remaining PC’s
  • Ran AC supply lines and UPS
  • Setup Common Mode Choke
  • Completed some PC wiring
Radio Build
The desktop is cleaning up nicely. Future TRX workbench. See those closet doors? They are a problem…

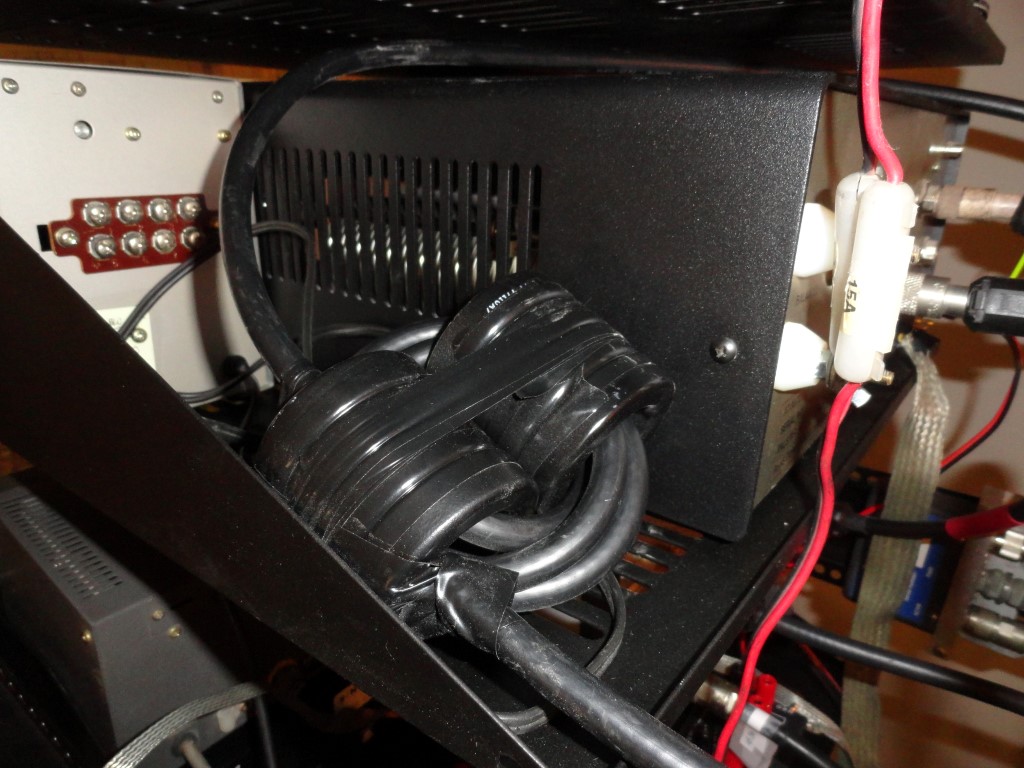
Common-Mode Choke: Research lead me to this great article by Chuck W1HIS. This design will easily handle 1KW output. The choke is inline with my 130ft (height compromised) dipole antenna that I use on the lower HF frequencies.

Big Choke For Radio Build
Common Mode Choke: W1HIS design

I mounted the last of the PC’s today. The server is back online after approximately 10 hours of downtime. Temporary cable connections were made to get the workstation and server back online asap.

Radio Build - K6HR
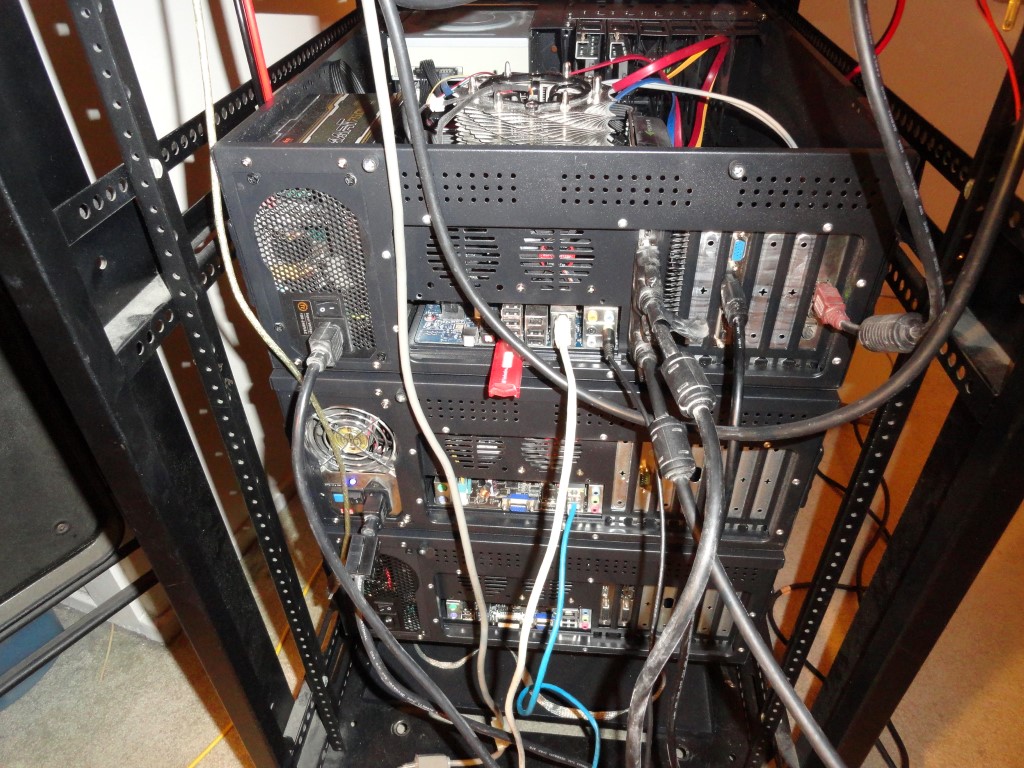
Business end of the PC’s (Top to Bottom) Windows 7 64, Ubuntu 13.04, Windows 10

One of my measurements was incorrect. Can you tell which one? You are correct! My measurement for the CPU cooler was way off. I could change the cooler or leave the top off. The PRO 2500 power strip will go in the rack space above this PC since it is only 9.5″ deep, no problem.

Radio Build - K6HR
Evidence of the dust problem! That fan is running directly off 12v (no PWM). Probably too fast, hence the extra dust. It’s quiet enough so it stayed. Soon all the dust will be gone!

Tomorrow I plan to complete all the internal wiring. Everything will be reconnected with proper fitting snap-on ferrites on both ends of every cable. The antennas will be reconnected using temporary cables until the rear antenna breakout panels are ready. In the previous setup I had several long USB extension cables, long monitor cables, and long audio cables which acted like antennas and introduced RF into the PC’s and other shack devices. I eliminated any RFI problems by choking off cables one by one anytime trouble came around. On some cables (like my Heil headset) the snap-on ferrites could be ‘unsightly’ and/or create cable strain.

Another benefit of the rack installation is the elimination of all the long cables. Replacing them with short (correct length) cables with ferrite chokes on each end will absolutely eliminate all RFI issues, and, improve RX quality.

The next phase of the remodel will be the furniture movement. Since the rack is 22″ wide and will be placed in between the 45 degree mitre joint of the two desktop pieces, calculations show the desktop pieces must each be moved a minimum of 16.5″ in order for the rack to fit. The left desktop is free to move the 16.5″. However, the right side is not. It butts up against the sliding door to a closet (see photo above).

A decision will be made to either reduce the desktop surface by cutting off 16.5″, or, remove the sliding doors on the closet to allow the 16.5″ of desktop to extend into the closet area and eliminate the need to cut the desktop. (using a hand saw)

Where the heck am I gonna put these friggin’ closet doors….

Back To The Front

JNOS UPTIME RECORD!

A JNOS Uptime Record at K6HR

JNOS UPTIME
JNOS UPTIME

JNOS UPTIME has never been anywhere near this number! A JNOS Uptime record has just been set!

It’s been running for over 6 months at this point. How long will it go?

What is JNOS?

From Maiko’s JNOS Website:

JNOS Is a monolithic software application for amateur packet radio (ax.25) and ip networking. JNOS’ origin traces back to Phil Karn’s KA9Q/NOS software. Widely considered as the foundation of TCP/IP over radio.

In fact, NOS was the linux of it’s time, transforming simple DOS machines into multiuser/multitasking TCP/IP environments. Also worth noting are MFNOS by Barry Siegfried (K2MF), TNOS by Brian Lantz (KO4KS), and WAMPES by Dieter Deyke (DK5SG/N0PRA) – each (including JNOS) taking ideas and bits and pieces from the others.

JNOS is first and foremost a router for ax.25, netrom, and ip protocols – ip over rf is possible by encapsulating the ip in ax.25 frames. The original JNOS v1.11f and earlier distributions do not support a lot of the features we enjoy in todays version.

Features currently available in the JNOS 2.0 distribution started back in October of 2004. Over the years, JNOS 2.0 has made it to 4 different platforms – DOS, Linux, WIN32, and Mac. Linux has been the primary development platform for years now.

Back To The Front