Rack Mounting Project

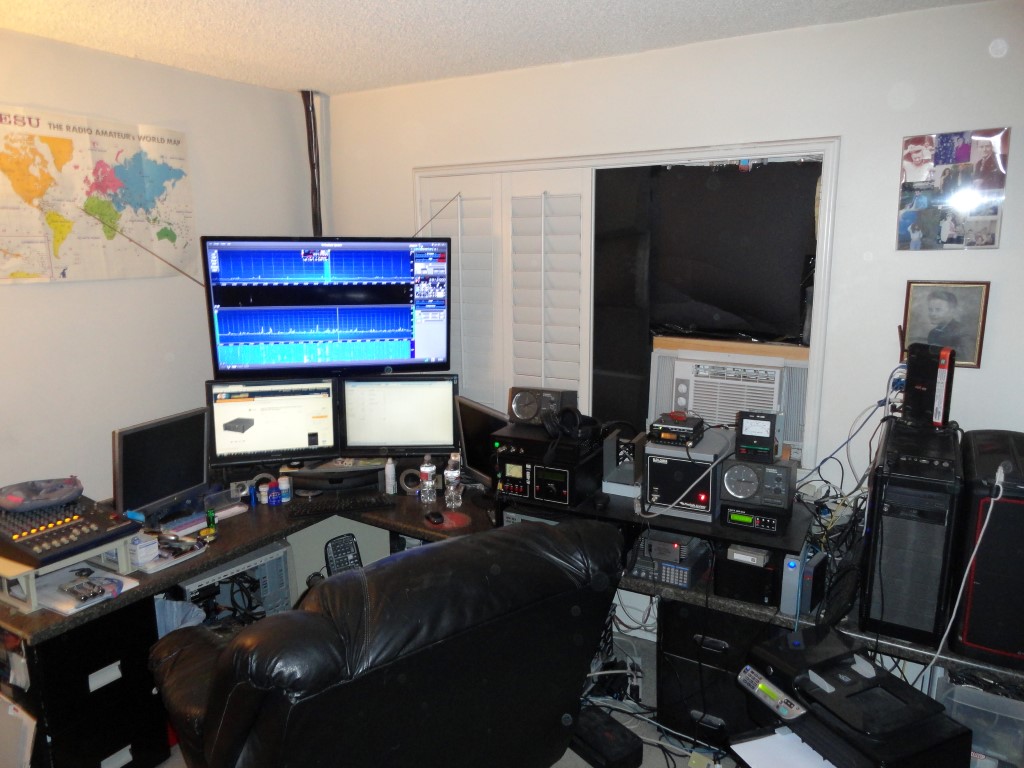
Well, as you can see, the shack is overdue for a seriously needed overhaul! Follow along as I tear this all down and rack mount it. It’s a BIG job, and it will have to be finished before March 3rd. The Rack Mounting Project is officially underway!
K6HR - DM03xv
This will serve as the “Before” picture for the shack overhaul blog

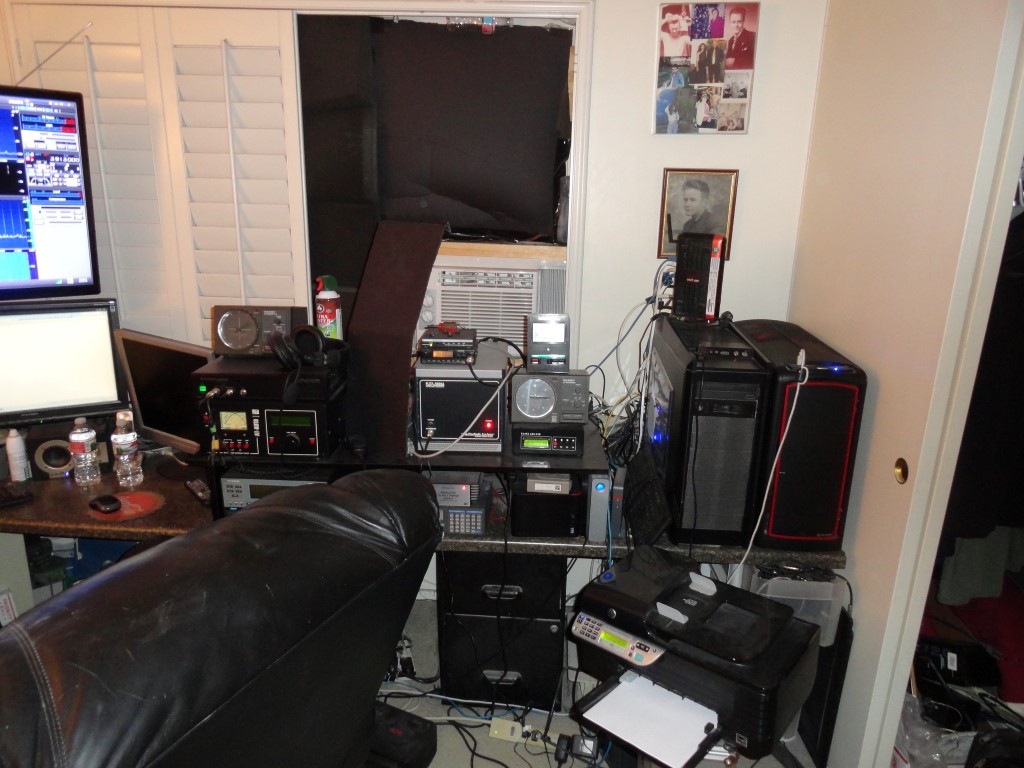
There’s no room for any additional equipment, and trying to work with any of the cables behind the current setup is nearly impossible! I tried adding a TV riser so I could stack more gear, but I still ran out of space.
Rack Mounting Project
I’m out of space both horizontally and vertically. Time for a change!
Rack Mounting Project
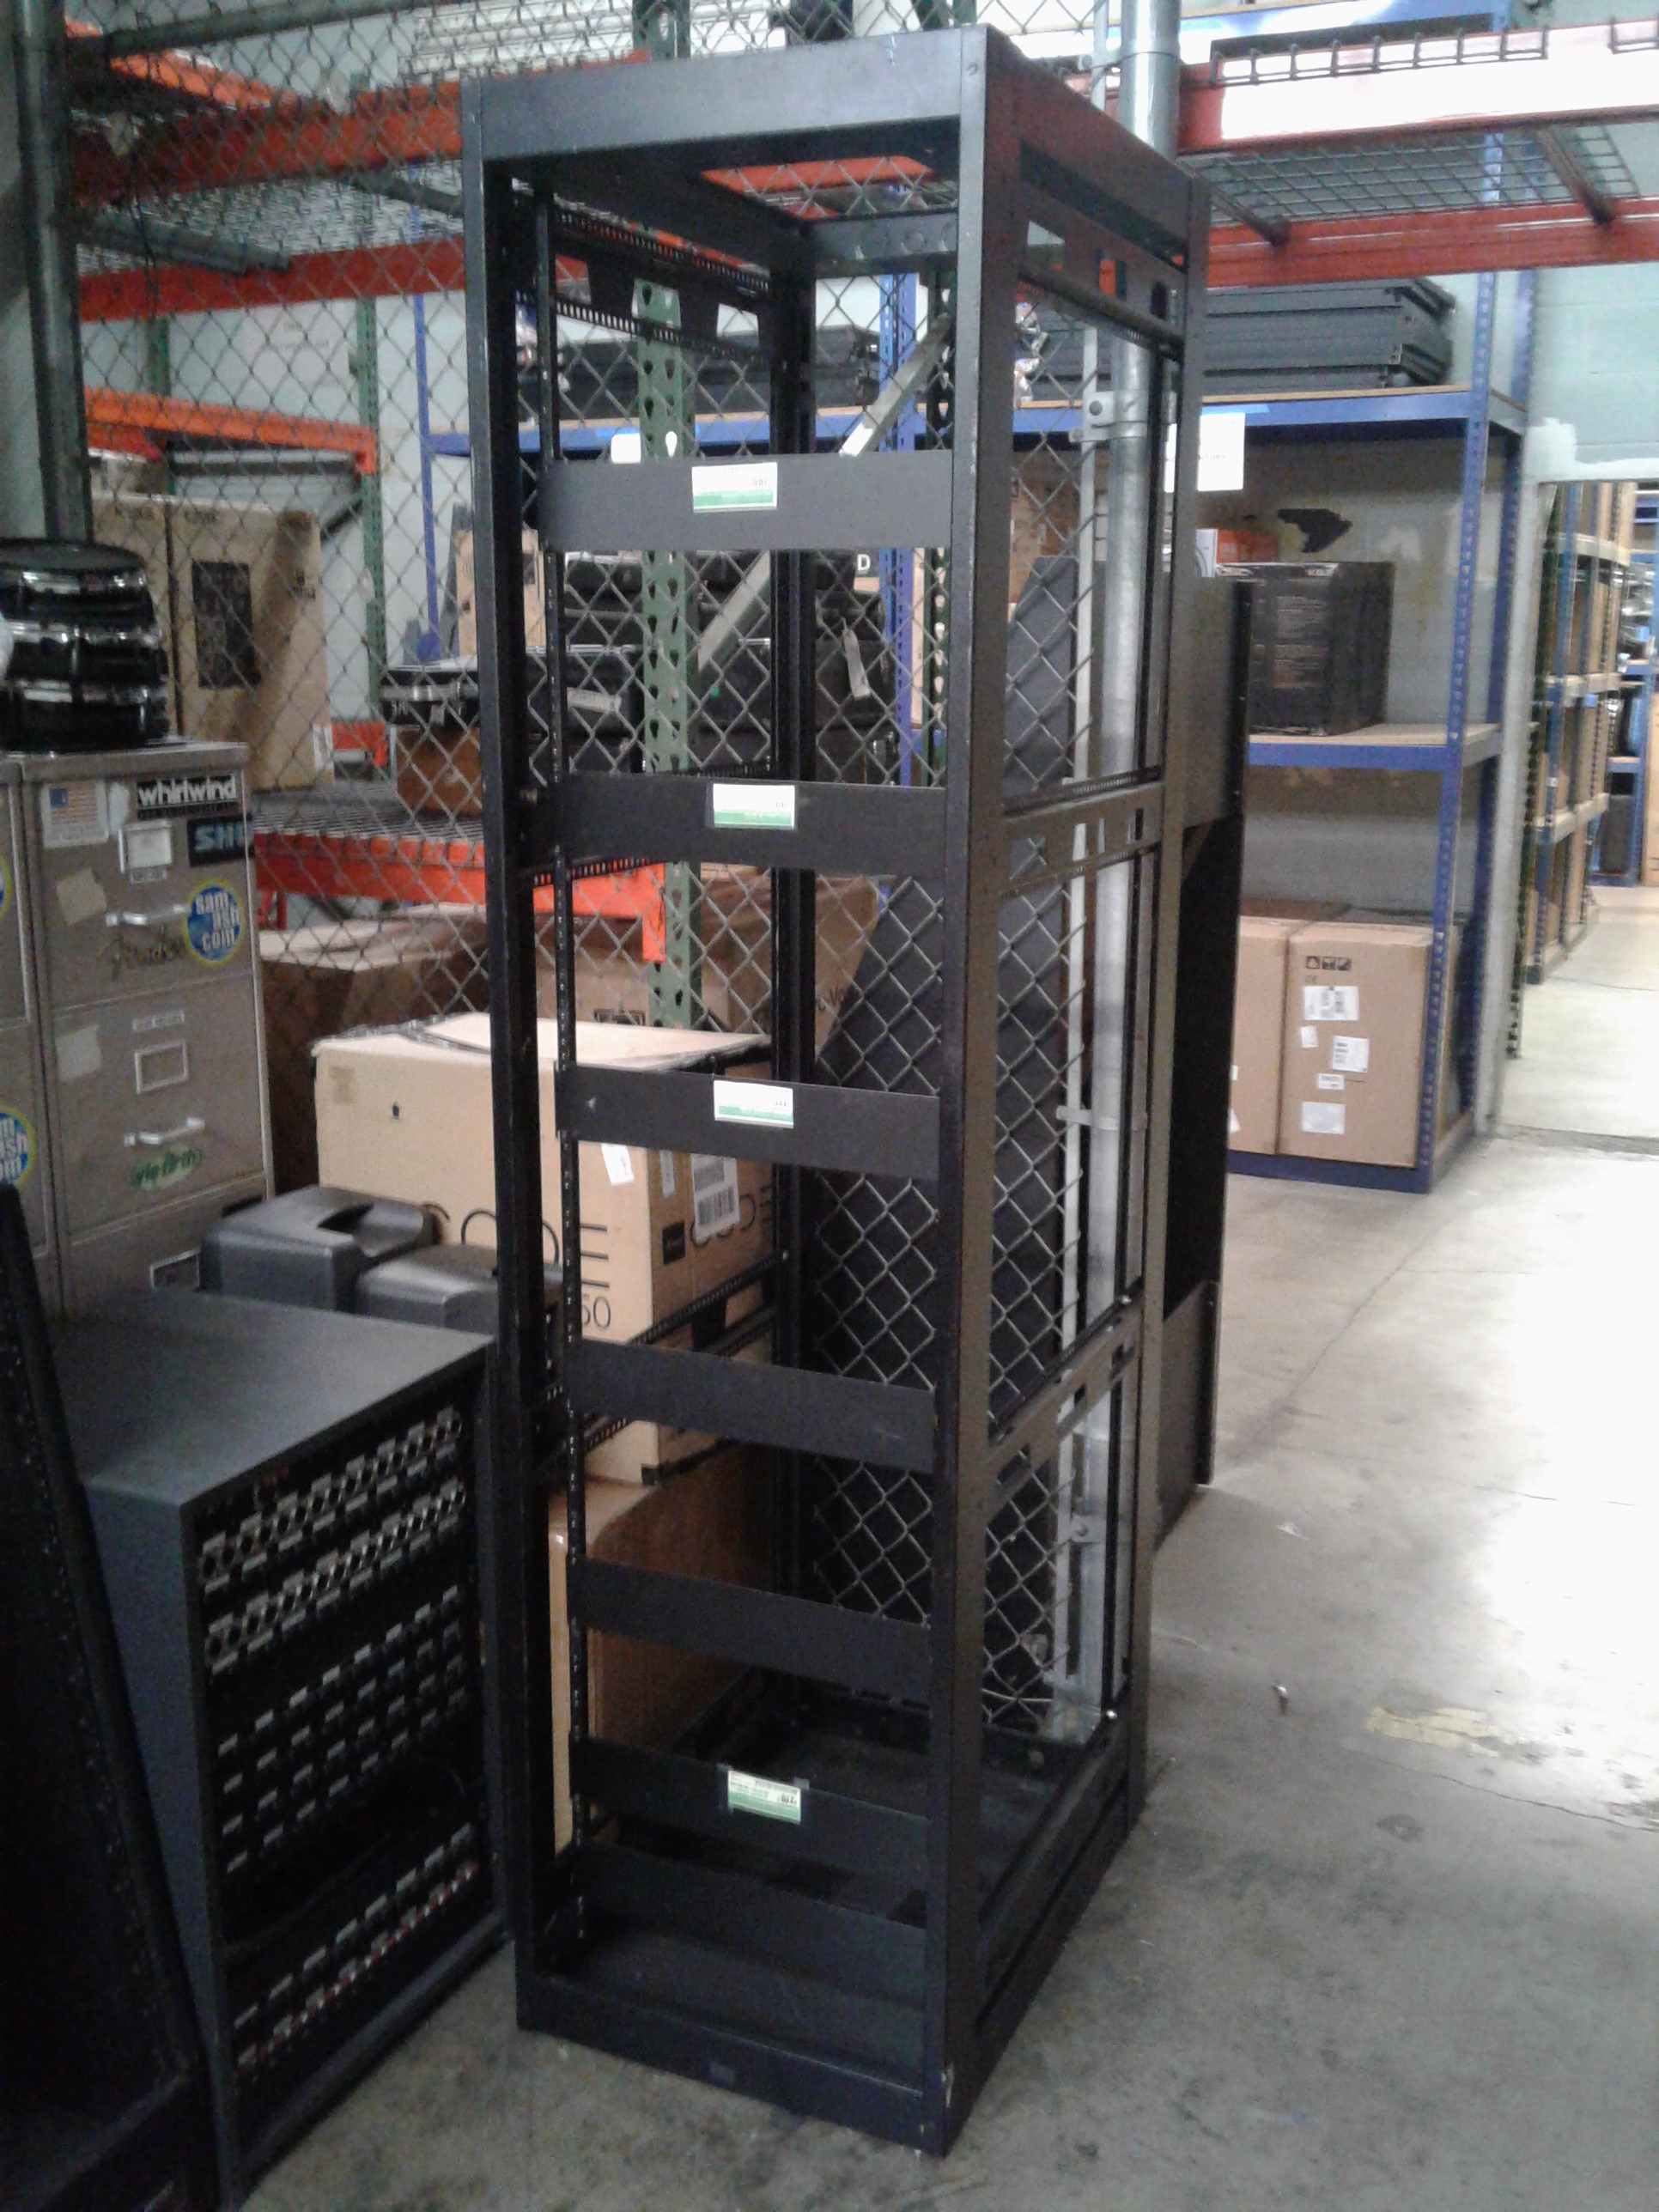
Rescued from the scrap pile, this rack would eliminate my horizontal radio sprawl!

A Nice Save!

I came across this 44U server rack as it was heading for the scrap heap, and got the idea to “go vertical” and transform my radio room into a much more productive space. The idea for the rack mounting project was born!

Yes, this would involve significant planning…<grin>

I started with a measuring tape.

  • Will this rack even fit in my room?
  • Could my gear fit in this rack?
  • How many rack spaces will I need exactly?
  • What hardware will I need in order to mount everything?
  • How will I move it around?
  • There are Grounding and DC distribution considerations
  • Vertical Layout Planning

Once I could see all these numbers were falling into place, I made arrangements to get the rack dropped off. I got the idea sometime in September or  October and started measuring. I had the rack delivered in early November, and started ordering all the parts.

Advance Planning

At this point I’ve resolved the mobility issue (Craftsman Mobile Base), rack mounted all 3 PC’s and removed all the unwanted furniture and clutter from the radio room so I’ll have room to start the build.
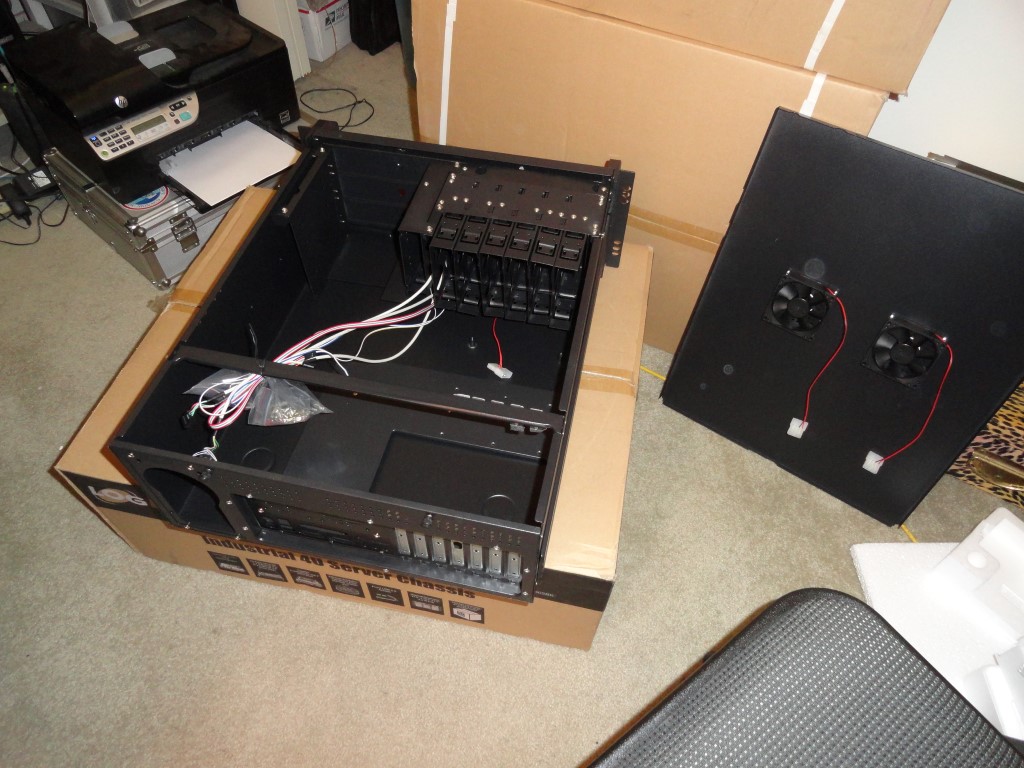
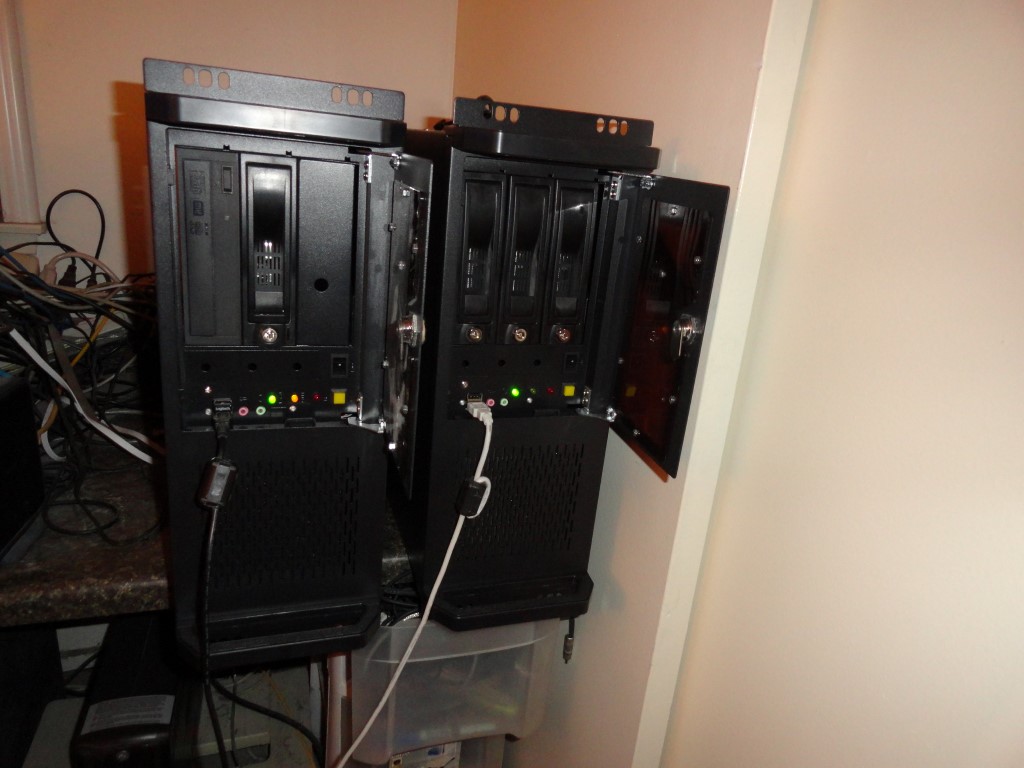
Unboxing the PC rackmount cases
L to R: Windows 7 PC, Ubuntu 13.04 Server

The PC’s went into the rackmount cases without a hitch. I’ll mount them once the shelves arrive.

Today I took a second look at WordPress and decided to install it on the web server here in the shack. It was easy to install, and appears to be up and running OK.

I plan to document the steps taken to complete this rack mounting project as I go along, while at the same time learning WordPress and planning the repair bench that will follow the rack conversion. Right now the rack is still in the garage and will likely stay there until after the holidays.

Back To The Front

Ergonomic Layout

I have just enough space to rackmount everything. Considering I also have rear rack rails, some less important items can be mounted from the rear. This is all about the ergonomic layout. I may even build some breakout panels for the antenna and audio connectors. I’ll be using a combination of 2U and 3U rack shelves (special thanks to the folks at Gator Rackworks!)  I had to go 3U for some shelves in order to get a useable depth. Most of the radio gear will sit on shelves.

The current layout plan (from top to bottom):

  • ROTOR SHELF       4U
  • AT-AUTO HI           4U
  • AT-AUTO LO           4U
  • 2M RADIO / TNC   1U
  • FLEX VU5K            6U
  • 1K-FA                      4U
  • FLEX 6300             2U
  • FLEX 6700             2U
  • AC POWER             1U
  • PC#1 W7                4U  <<< DESKTOP
  • PC#2 W10              4U
  • PC#3 SERVER        4U
  • ASTRON RS-70      4U

I need the radios and amplifier close to the desktop, placing other ‘less touched’ items either down below or up above. I think the ergonomics are OK at this point.

Before I can start building I have to empty the shack so I can remove all the dust. I have a significant dust problem. And the problem was most apparent as I swapped out the cases on the two production PC’s. Choking on dust.

The plan is to empty the room, and mitigate the dust. I plan to use an air compressor to blow off the dust that’s embedded in the stucco-like ceiling, then, I’ll thoroughly vacuum before having the carpet steam cleaned. Going forward I will employ an oversized HEPA filter in the radio room which will run 24/7 to capture all particulates and hopefully eliminate or at least vastly improve my dust problem.

Back To The Front

SSTV – Slow Scan Television

Click here to visit my original SSTV webpage!

I started in Slow Scan TV (or SSTV) in 1995. I began by using a shortwave radio and a Commodore 64 computer to decode the images.

My first ever SSTV RX image! de W5NOO July 24, 1995

As can be seen elsewhere on this site, I’ve been very active in SSTV for many years. I operate a Live 24/7 SSTV Cam that copies images on 14.230 during the day, and on 7.171 in the evenings. I also have a cam on 14.233 for EasyPal digital image reception. My Worldwide SSTV Cams can be viewed here.

Over the years I have gradually upgraded my abilities to include Amateur Satellite operations.

SSTV on the International Space Station

You heard that right! The International Space Station has Slow Scan equipment on board. Not only that! They transmit pictures on 145.8 mhz in the Amateur Radio 2 Meter Band. Slow Scan TV operations aboard the ISS are special occasions. Both the Russian and US astronauts participate.

NASA On The Air!

Received: February 10, 2019 @ 02:54 UTC

50th Anniversary of Apollo 8
NASA – Iconic Image of Earth Rise

Special thanks to Brad, KO6KL and AMSAT’s Clint Bradford (K6LCS) for sending me a heads up about this event. I set my satellite station to track the ISS exclusively, in an attempt to capture any images that could be heard. There were several good passes, and the images shown above are the best of the lot this time around. I have the San Bernardino mountains to my north. Once the satellite, or the ISS in this case, gets behind the mountains, the pass is over as there is no longer any reception.

The best source for Slow Scan TV information is the WA9TT SSTV Website run by Larry, in Appleton, Wisconsin.

I read somewhere that at least one of the newly lauched satellites will support SSTV once it’s educational mission has been fulfilled, and the satellite can be released for amateur use. Something to look forward to!

Back To The Front