I have just enough space to rackmount everything. Considering I also have rear rack rails, some less important items can be mounted from the rear. This is all about the ergonomic layout. I may even build some breakout panels for the antenna and audio connectors. I’ll be using a combination of 2U and 3U rack shelves (special thanks to the folks at Gator Rackworks!) I had to go 3U for some shelves in order to get a useable depth. Most of the radio gear will sit on shelves.
The current layout plan (from top to bottom):
- ROTOR SHELF 4U
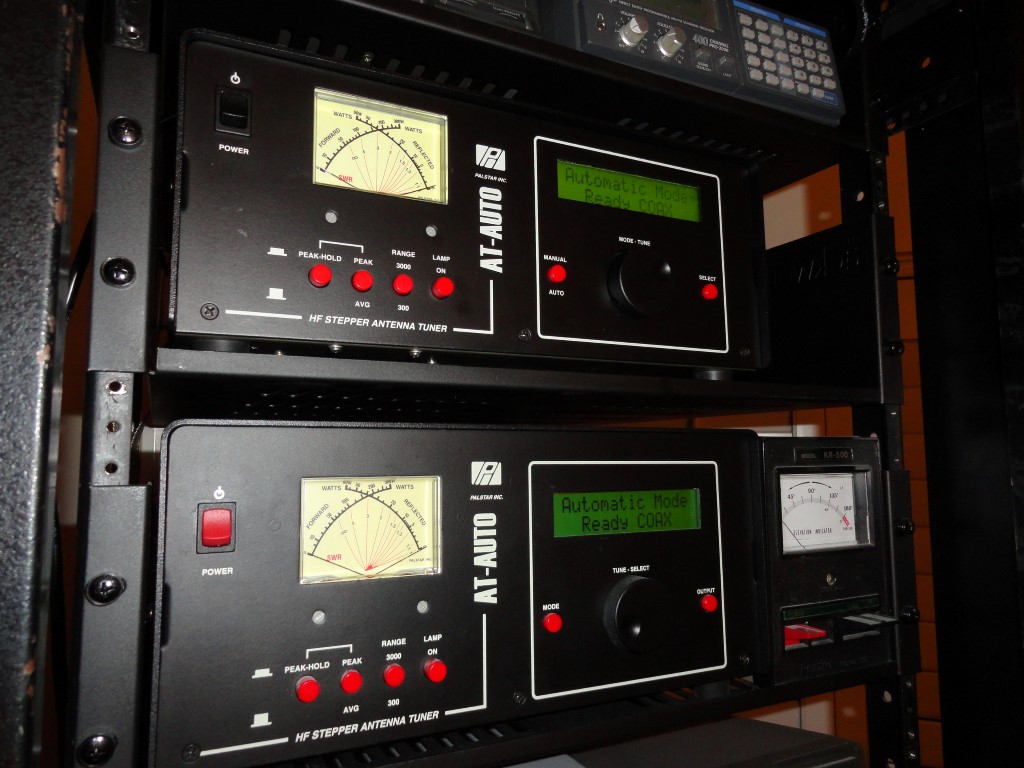
- AT-AUTO HI 4U
- AT-AUTO LO 4U
- 2M RADIO / TNC 1U
- FLEX VU5K 6U
- 1K-FA 4U
- FLEX 6300 2U
- FLEX 6700 2U
- AC POWER 1U
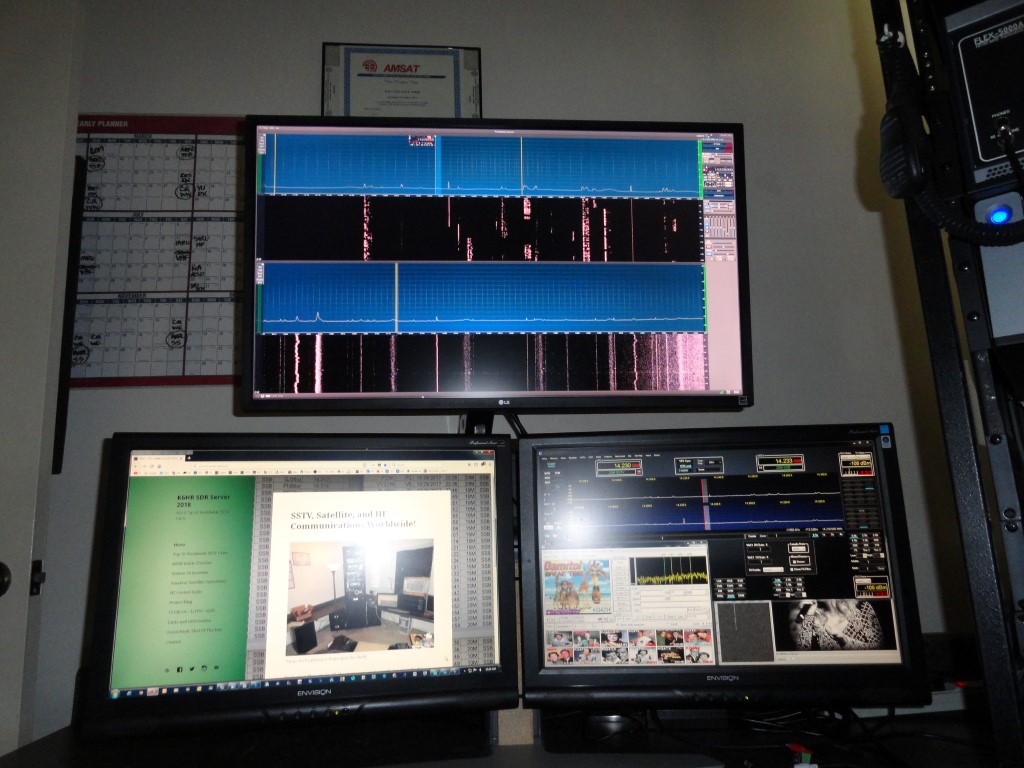
- PC#1 W7 4U <<< DESKTOP
- PC#2 W10 4U
- PC#3 SERVER 4U
- ASTRON RS-70 4U
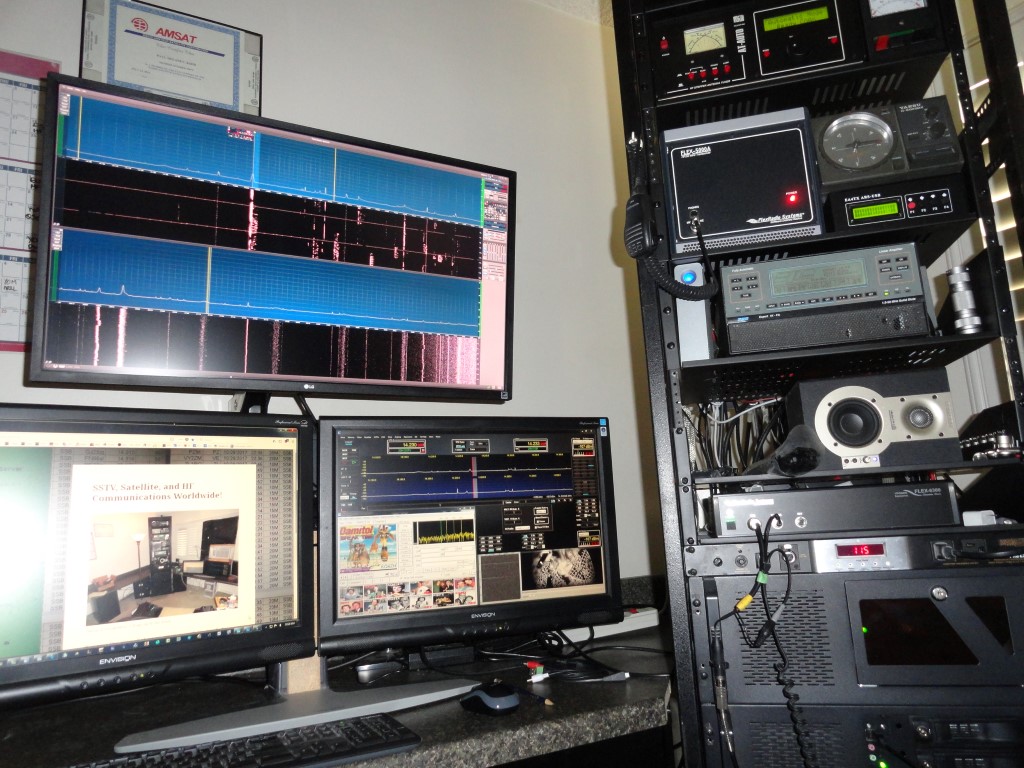
I need the radios and amplifier close to the desktop, placing other ‘less touched’ items either down below or up above. I think the ergonomics are OK at this point.
Before I can start building I have to empty the shack so I can remove all the dust. I have a significant dust problem. And the problem was most apparent as I swapped out the cases on the two production PC’s. Choking on dust.
The plan is to empty the room, and mitigate the dust. I plan to use an air compressor to blow off the dust that’s embedded in the stucco-like ceiling, then, I’ll thoroughly vacuum before having the carpet steam cleaned. Going forward I will employ an oversized HEPA filter in the radio room which will run 24/7 to capture all particulates and hopefully eliminate or at least vastly improve my dust problem.