Recovering Data from Monolithic Flash Media using ACELab PC-3000 Flash
These days MicroSD cards are used in a variety of consumer devices due to their tiny size and huge data capacity. Cameras, cellphones, drones, and GPS receivers all use MicroSD cards for storage. These tiny monolithic storage devices are currently available in capacities up to 1TB. In this post I will discuss the process of MicroSD monolith data recovery.
Unfortunately, like anything else, these microSD devices can fail unexpectedly. Often, failures occur involving important data (Like your wedding pictures!) and such failures could potentially be devastating.
However, all is not lost! MicroSD Monolith Data Recovery is possible!
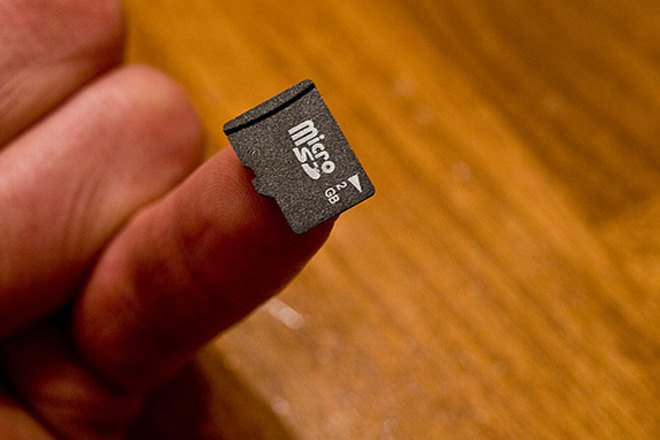
Failed MicroSD Cards can be recovered!
But…How do you do it?
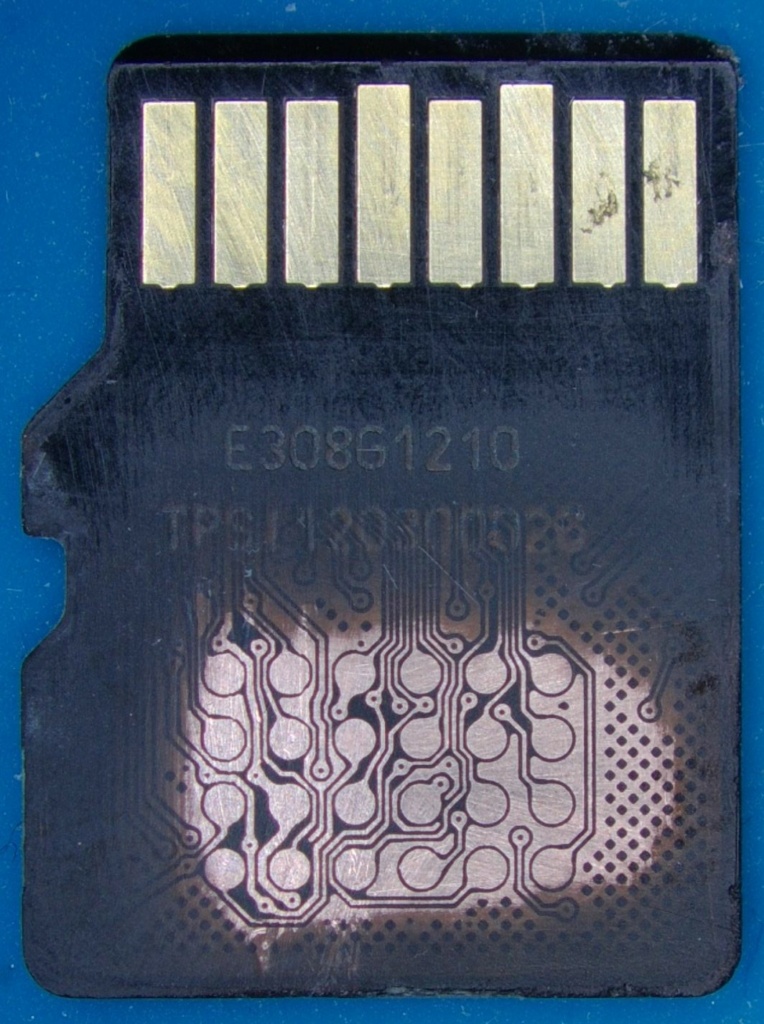
With the right tools and training it is possible to retrieve the data from your failed MicroSD cards. We start the process by removing the outer coating of the card to reveal the service pads, (or technological pads).
Just beneath the surface of the monolith’s outer coating we can see the pads we need to connect to.
To remove the coating I use a commercially available ‘fiberglass scratch pen’. The technician must be careful not to destroy the traces or pads during the removal process. It is fairly easy to scrape the traces and pads off if you apply too much pressure during the removal process. If any of the traces or pads are lost, the card may be rendered entirely unrecoverable.
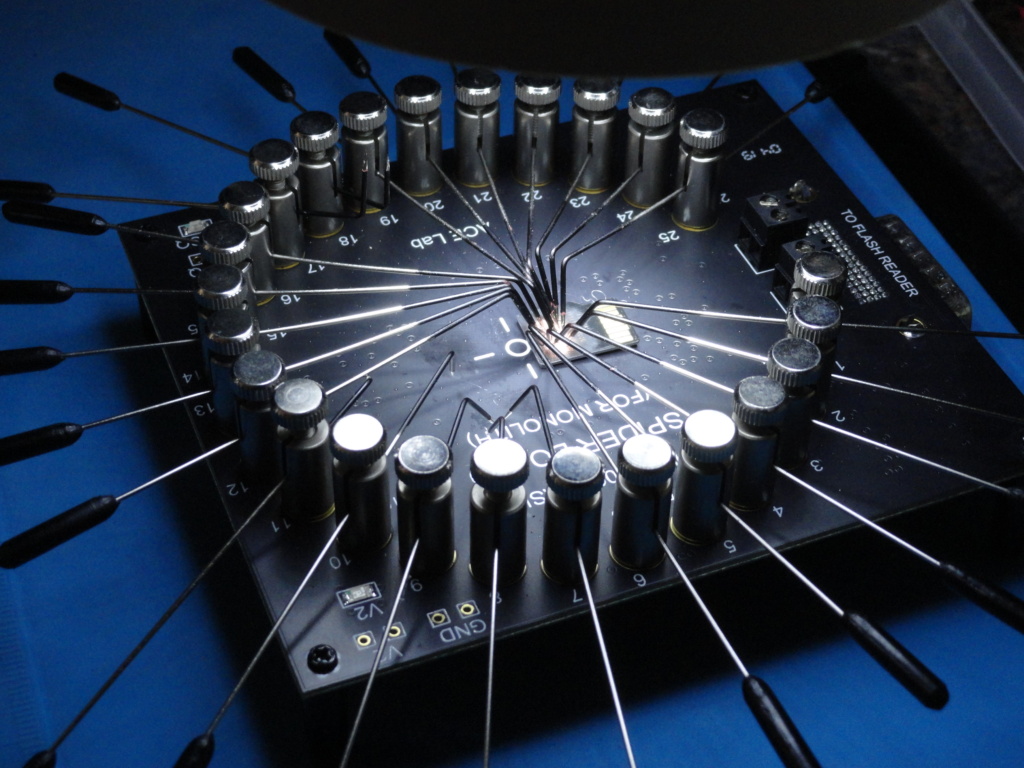
Connections to the pads can be accomplished a couple of different ways. Some techs will micro-solder tiny wires to the pads. Others may use specially designed adapters. I’m using ACELab’s Spider Board adapter. The Spider Board adapter employs precision contacts with needle tips that can be set upon the pads with the aid of a microscope.
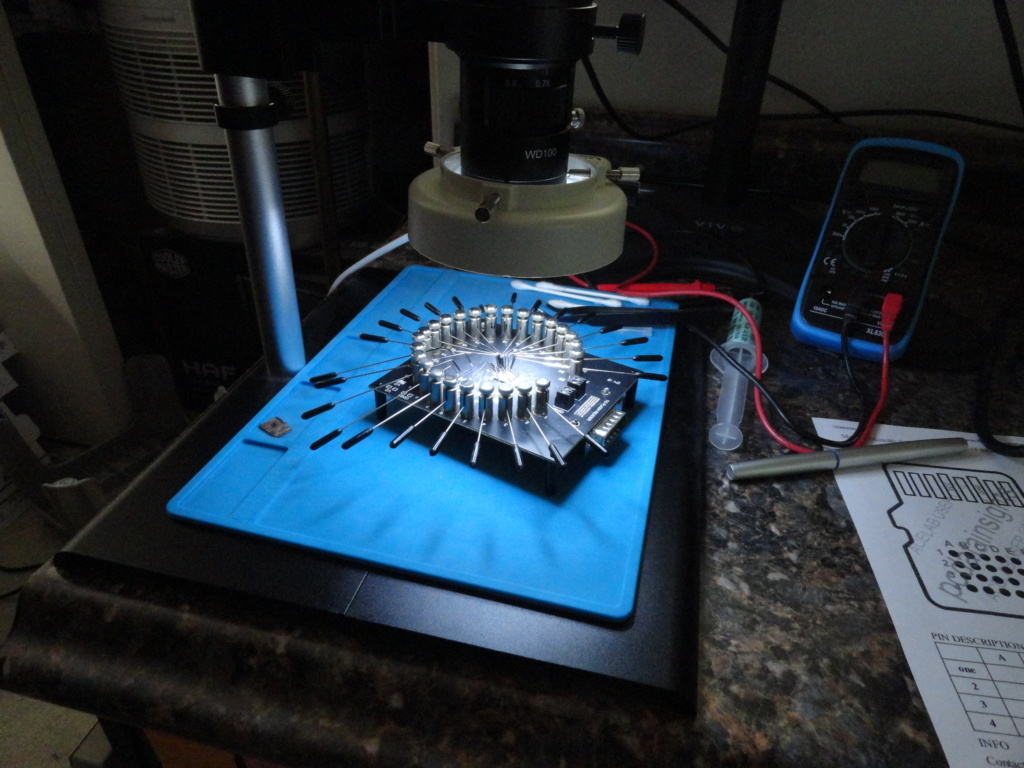
The Spider Board adapter eliminates the need for micro-soldering, and saves a lot of time when the shop gets busy.
Monolith Database
AceLabs provides a database for all MicroSD types. The pad layouts and assignments vary by manufacturer. The AceLabs database is comprehensive. A few clicks, and we are ready to set the pins.
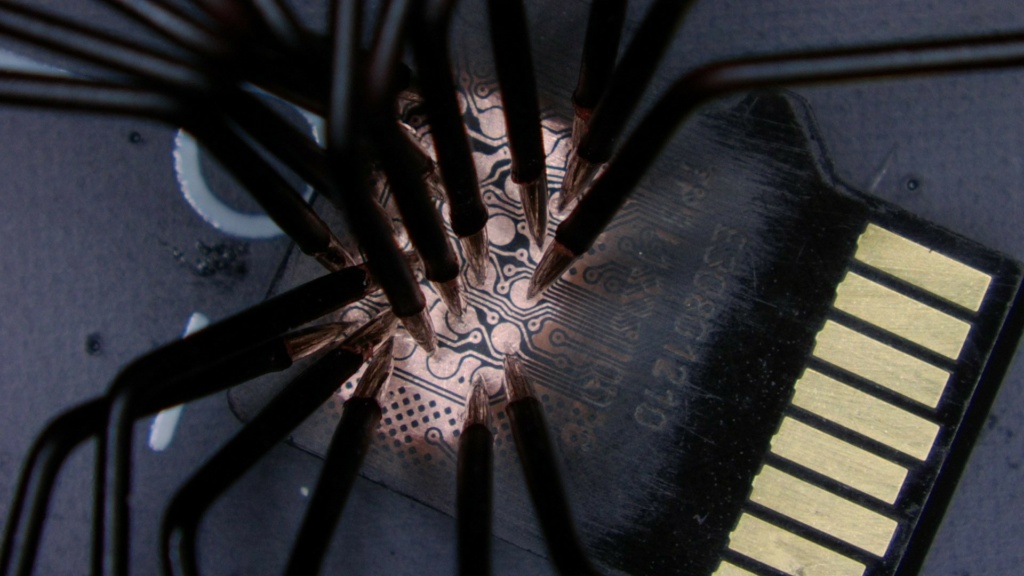
Once the pins are in place, the adapter is connected to the PC-3000. We then input which number pins are connected to which pads on the card. The PC-3000 system then verifies that the pins have been correctly set, and/or if any pins are shorted. If all goes as planned we can move on to the next step.