New Years Day 2018 – Rack Mount Day

Here we go! The station is disassembled and most of the equipment is in the rack. I got a lot done today. Back to work tomorrow so progress will slow during the week. I was able to rack mount almost everything.

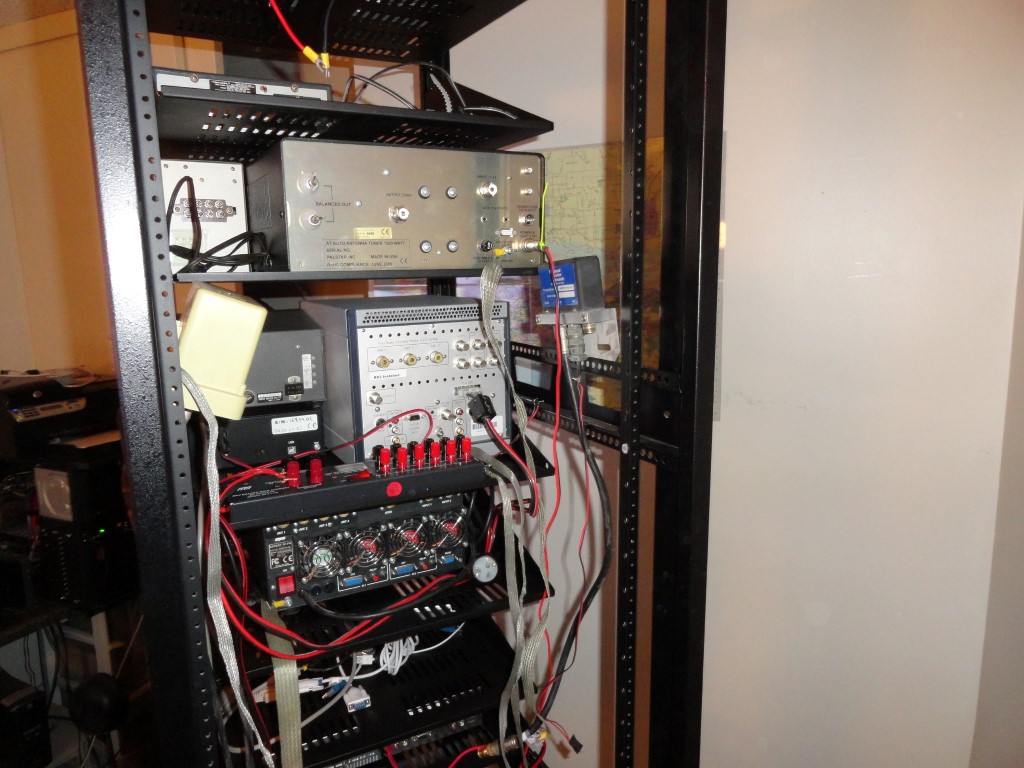
Now you can see why I needed to get moving on this. Whenever I needed to trace a cable back there it was virtually impossible. It was a rat’s nest, and, I could no longer reach behind the gear once I added the TV riser. This is what happens when you don’t have a walk space behind your desk. Even worse, every time I added gear, I would just overlay the cables in the back! Hence the rat’s nest.
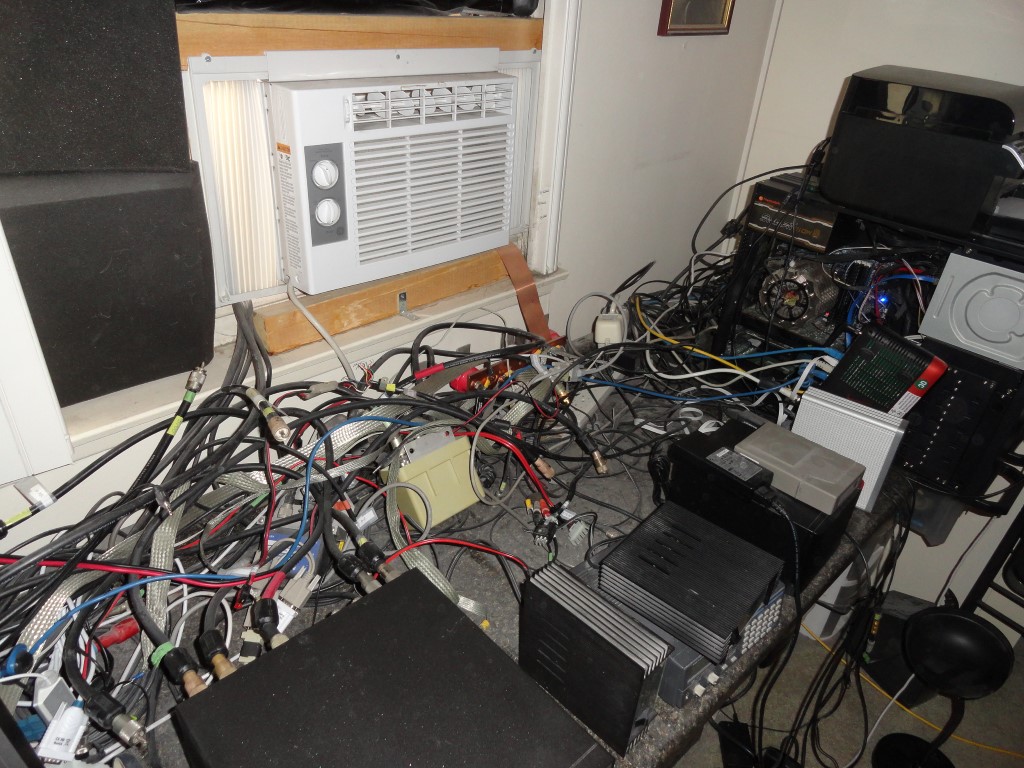
Cabling rats nest
This is what it looked like behind the TV riser. Never again…

During my research for this remodel I looked at a lot of shack photos for ideas. Special thanks to Roger K7ERQ for the detailed desk plans and layout he sent me, that really got me thinking. All these great looking and functional shacks had one thing in common…They all had a walk space behind them. So I knew I had to have the ability to walk behind and work behind my gear, albeit for the first time after all these years!

The dust was unbelievable today. I was choking on the dust. Never again! The new shack will employ an oversized HEPA Filter. By the time I’m done, this room will be dust free, and stay that way thanks to the air purifier. I know, why didn’t I think of the HEPA filter sooner!

The Astron RS-70A power supply will have a PC mounted above it. The PC case is much deeper than the RS-70 which would have made it difficult to access the power supply. So, I came up with the idea to use this leftover cover from a PC to sit the power supply on.
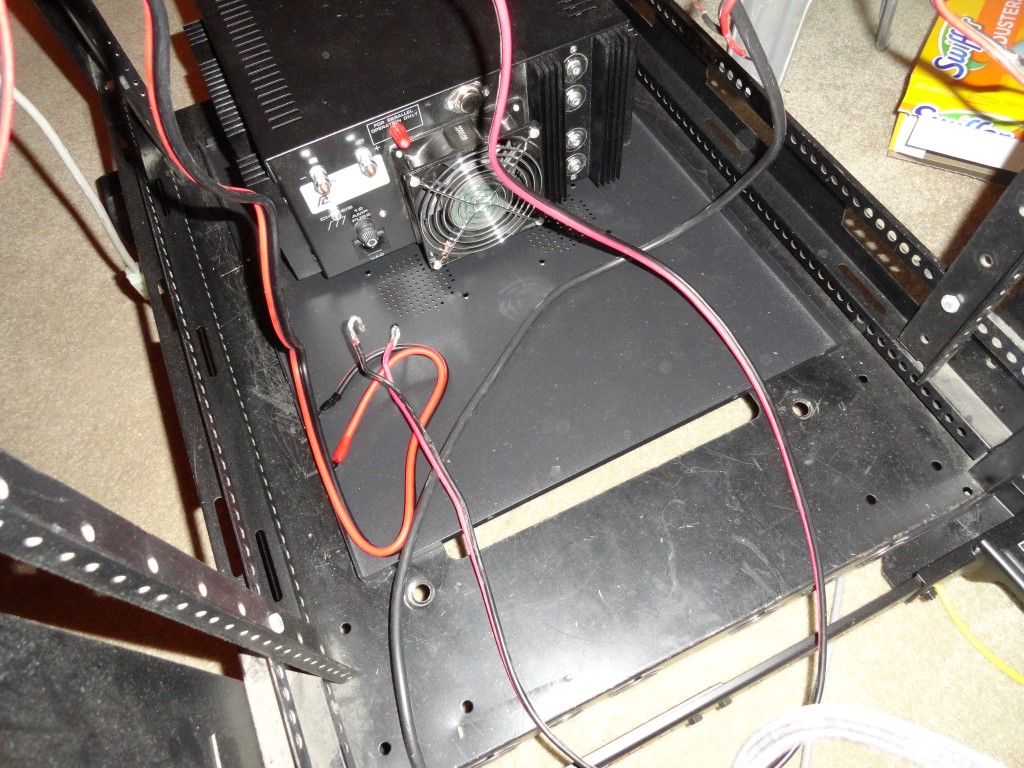
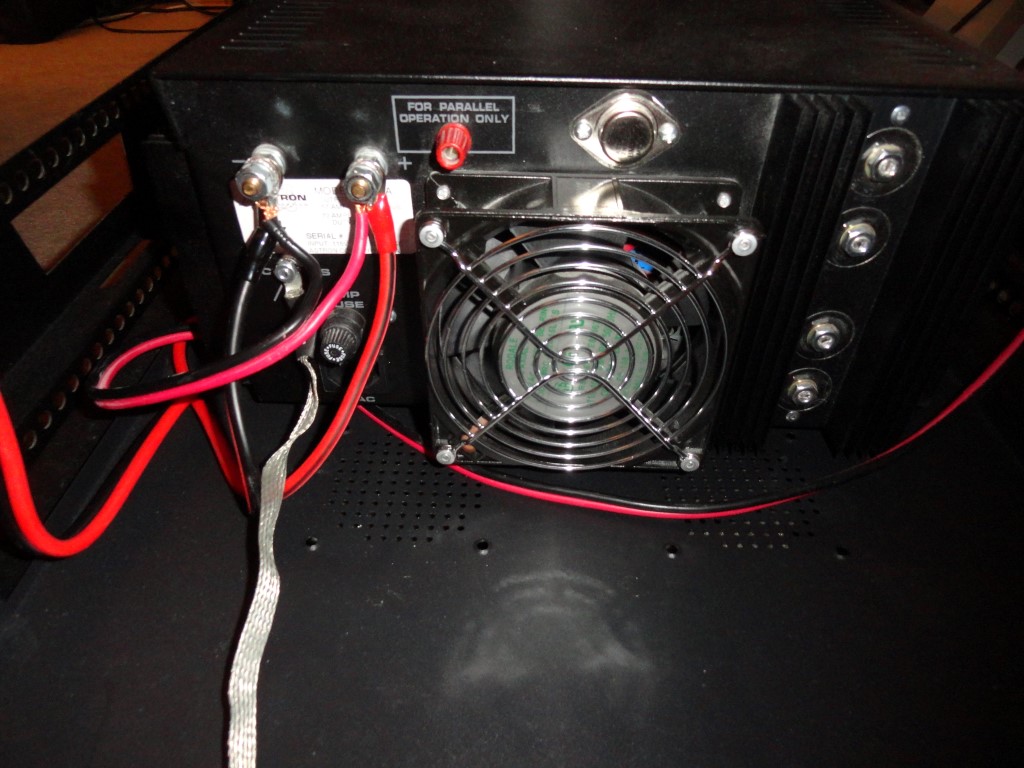
Astron RS-70A
Makeshift sliding shelf for the Astron RS-70 Power supply

There’s enough clearance with the PC mounted above so I can slide the power supply forward or backward for service!
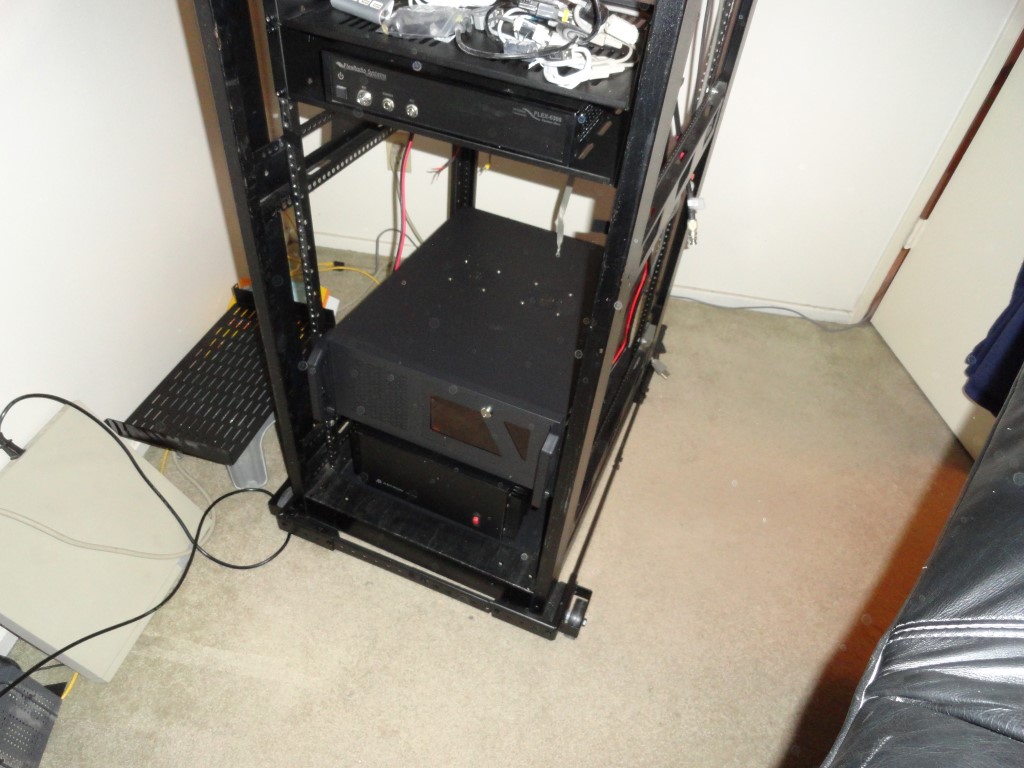
Astron RS-70A
The Windows 10 PC mounted above the Astron Power Supply is deep!

I connected the Flex 6300 directly to the power supply. I also connected an MFJ-1118 to get DC distribution to all the other components. I’m considering some of the Samlex power supplies to replace my aging RS supplies.
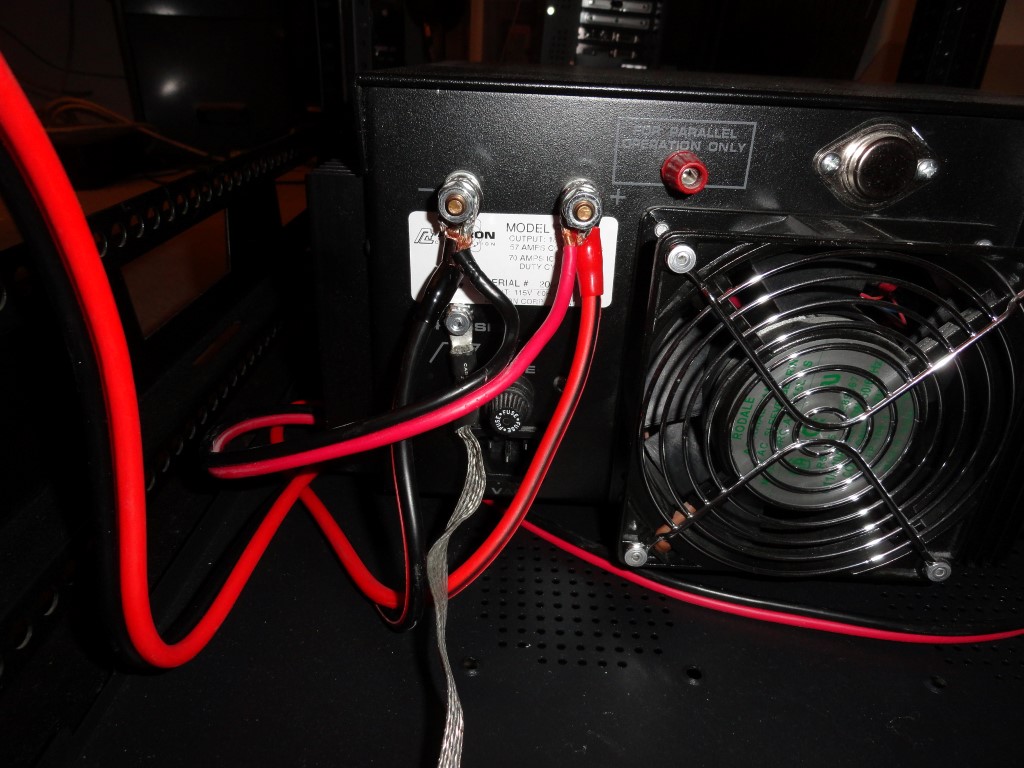
Astron RS-70A
Only two direct connections to the Astron RS-70A

I’m connecting the Flex 5000 to the 35A terminals on the MFJ after discovering during planning that the 5000’s power lead would be too short to reach the RS-70 at the bottom of the rack. The 5000 only draws 25A max on TX, so the 35A DC distro panel was chosen. When I add the 6600/6700 radio later this year, it will also be connected directly to the power supply.
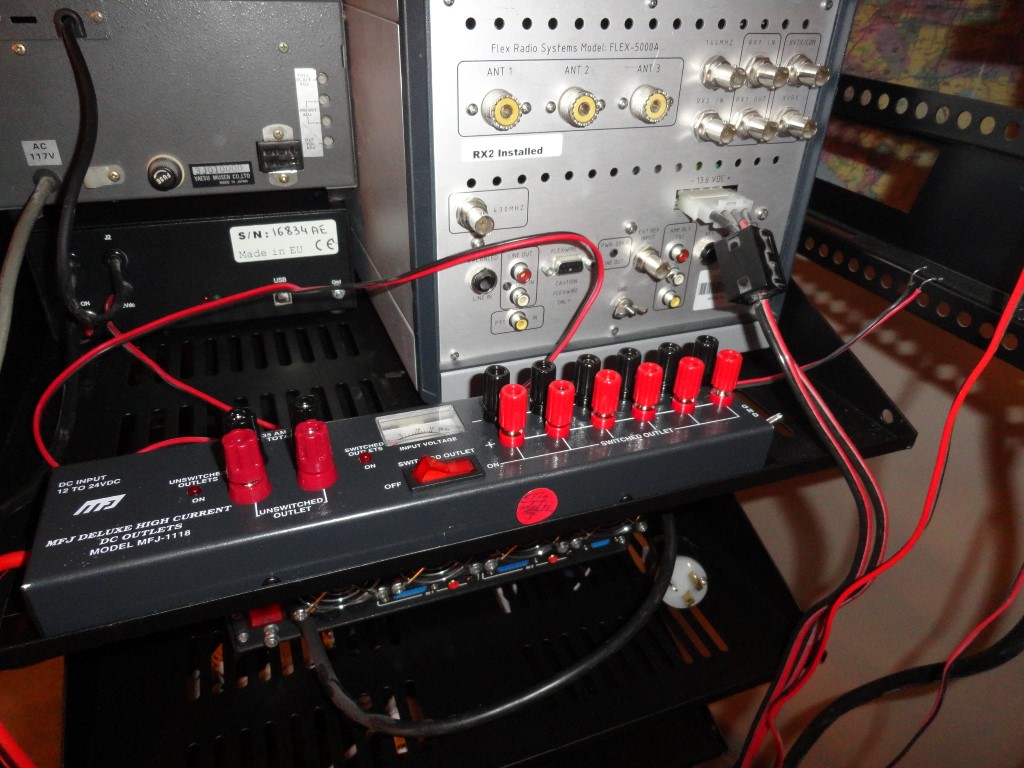
MFJ-1118
The Flex 5000 will connect to the 35A terminals on the MFJ DC Distro

I also connected all the Single Point Ground leads. They will all tie to the station Grounding Bar which will be mounted on a rear pack panel when the project nears completion.
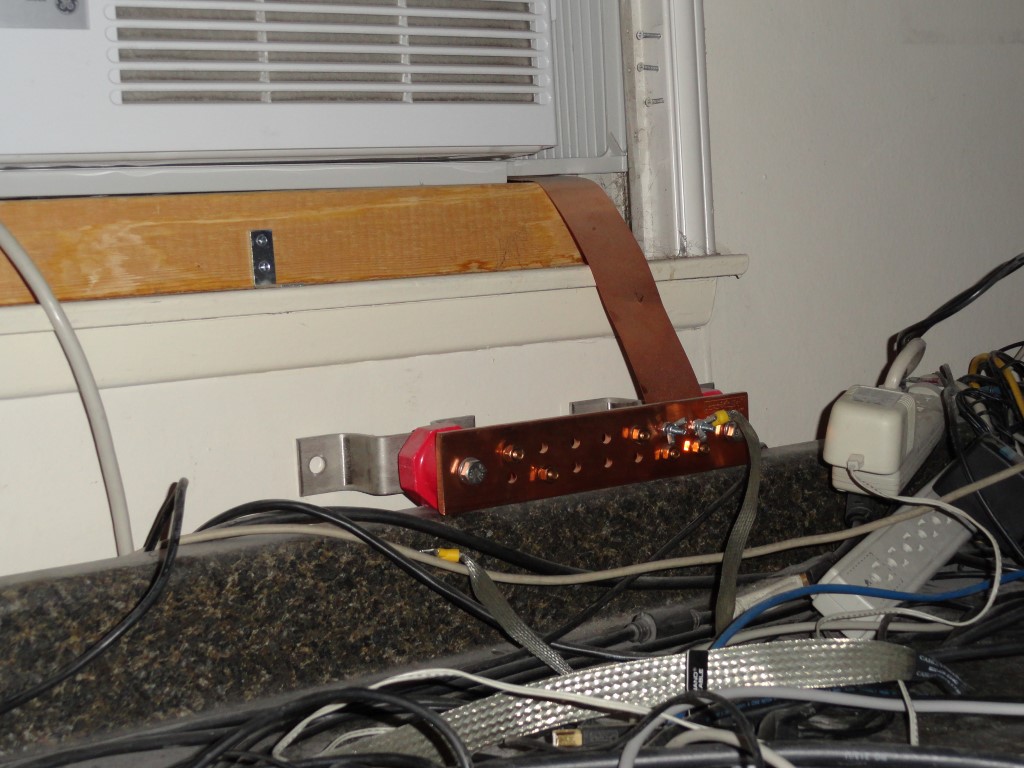
Georgia Copper
The Ground Bar will be mounted on a rear rack panel. The 2″ strap will be extended to meet the rack in the corner of the shack.
Single Point Ground
The Single Point Ground leads are also in place.

All the leads will be trimmed and dressed to make the wiring as clean and concise as possible. The complete opposite of what it was before. I also ordered sufficient numbers (and sizes) of Mix 31 Snap-On Ferrites. I will have proper fitting ferrite beads on both ends of every cable in the rack for RFI suppression.
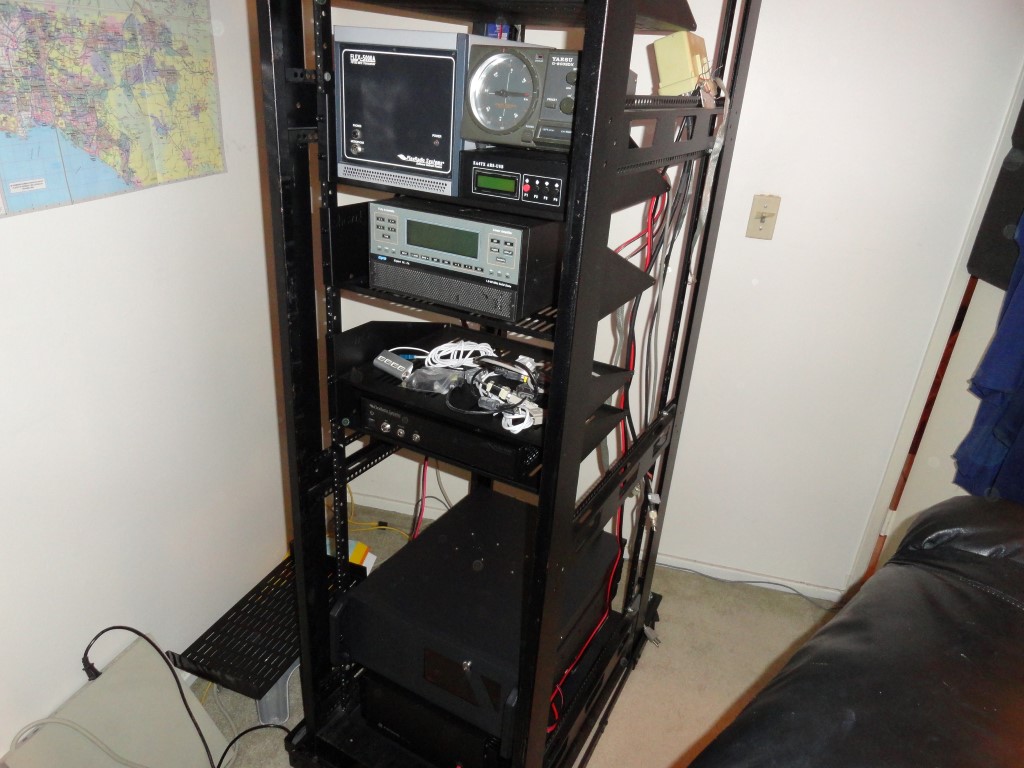
Rack Mount everything
Good progress made today! The rack is getting heavy, but still rolls like a champ on the carpet!

I’ll continue wiring weeknights after dinner.
Back To The Front

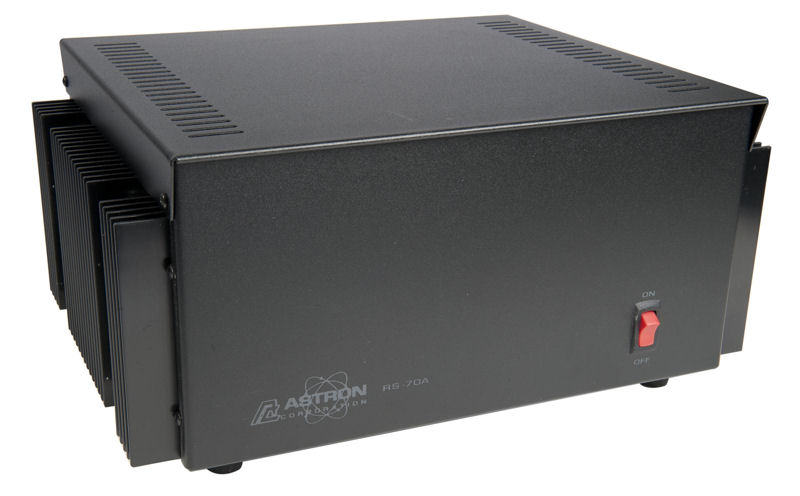
Astron RS-70A Regulated Power Supply

Astron RS-70A Regulated Power Supply

I purchased the Astron RS-70A Regulated Power supply after obtaining less than desirable results from some of the smaller Astron supplies. I’d also accumulated a few too many of the small Radio Shack 12v supplies. As everytime one was taxed, I’d just add another one.

Astron RS-70A regulated Power Supply
I decided it was time to invest in the last power supply I would ever need


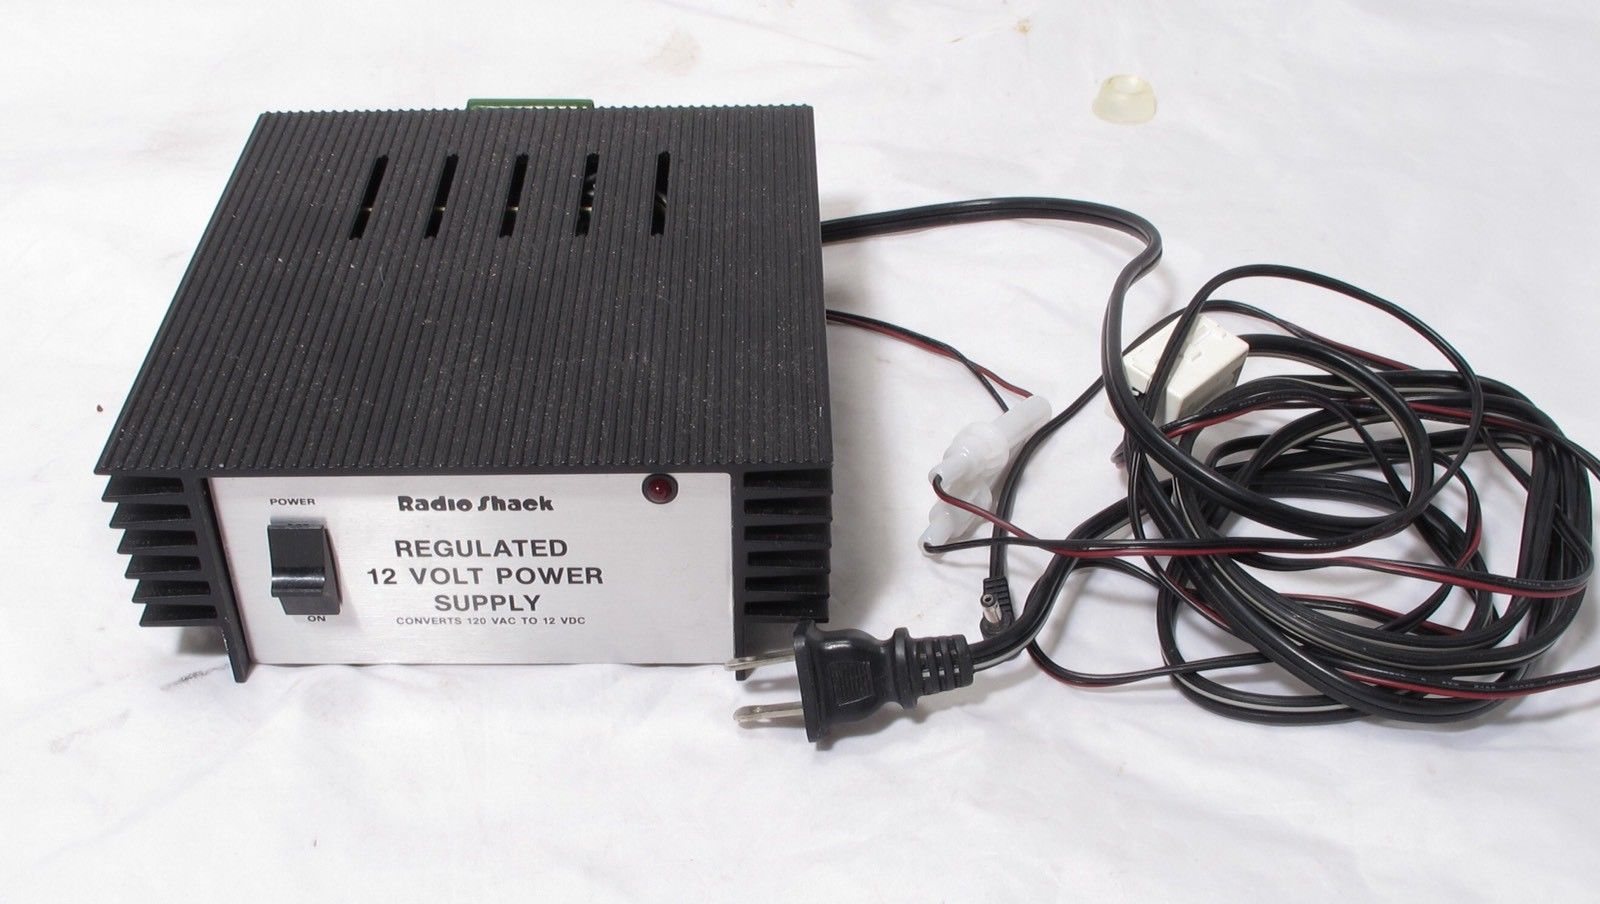
I went through several of the Astron 20 and 35 amp models early on (during my ICOM days). Believe it or not, every one of my Radio Shack supplies have not only survived, but remain in service to this day, after decades of 24/7 use. If you look through some of my shack pictures over the years you’ll no doubt notice them!

Radio Shack 12 volt Power Supply
I have several of these in continuous operation since the 1990’s

I found my RS-70A on eBay of all places. Someone bought it for a project that fell through and dumped it on eBay at half price. Lucky for me, this was yet another bona fide ‘score’. It arrived in a rounded out cardboard box, but luckily, made the trip unharmed. It was obviously brand new. I almost felt bad for the seller.

Astron RS-70A Regulated Power Supply
Plenty of ‘headroom’ in the RS-70A at 57 amps continuous

Astron RS-70A Regulated Power Supply Specifications:

Fold-Back Current Limiting Protects Power Supply from excessive current &
continuous shorted output.
Crowbar Over Voltage Protection
Maintain Regulation & Low Ripple at low line input voltage.
Heavy Duty Heat Sink
Chassis Mount Fuse
Three Conductor Power Cord

Specifications

Input Voltage 105 – 125Vac
Output Voltage 13.8Vdc +/- 0.05Volts (internally Adjustable 11-15V)
Ripple Less than 5mV peak-peak (full load & low line)
Continuous Duty 57 Amps
ICS 70 Amps
Size 6″ x 13-3/4″ x 12-1/2″
Shipping Weight 48 lbs.

Astron RS-70A Regulated Power Supply
The ‘business end’ of the RS-70A

I have my Flex 6300 connected directly to the RS-70. I also directly connected an MFJ-1118 DC Power Panel to supply 12 volts to the rest of the 12v equipment in the rack.

I am currently on the lookout for a second RS-70A to keep as a backup. My current RS-70 is a central point of failure and redundancy is a must. I doubt I’ll find another new one at half price, but when I find one with the ‘right’ price, I’ll have a spare!

Back to the front