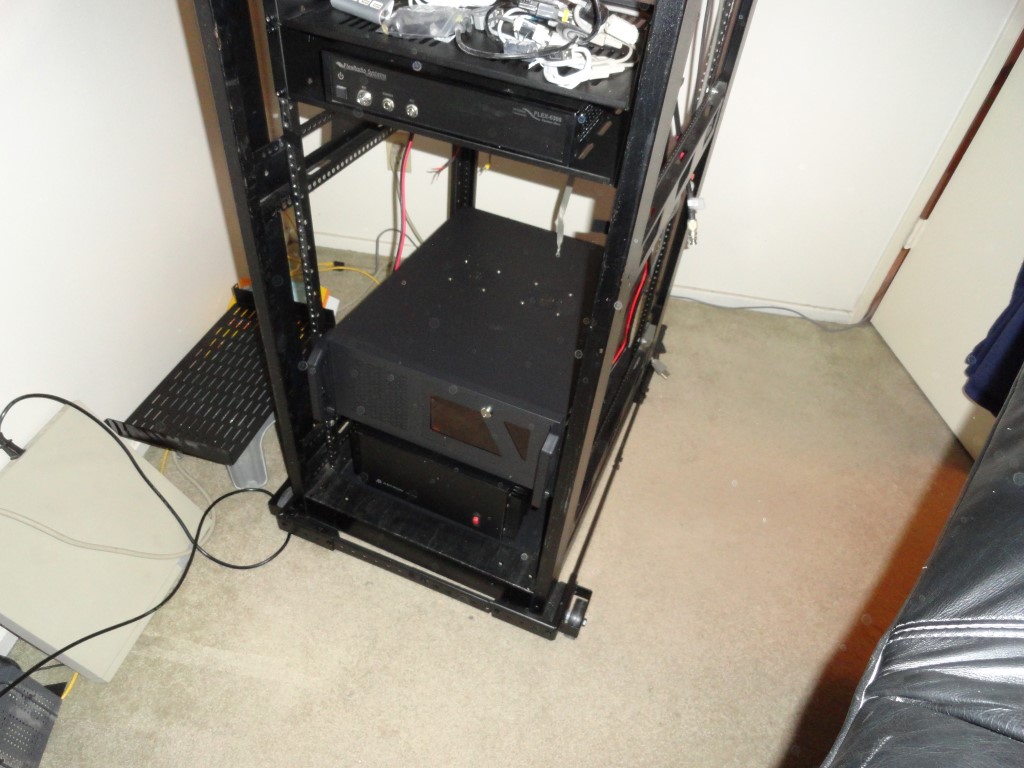
Here we go! The station is disassembled and most of the equipment is in the rack. I got a lot done today. Back to work tomorrow so progress will slow during the week. I was able to rack mount almost everything.
Now you can see why I needed to get moving on this. Whenever I needed to trace a cable back there it was virtually impossible. It was a rat’s nest, and, I could no longer reach behind the gear once I added the TV riser. This is what happens when you don’t have a walk space behind your desk. Even worse, every time I added gear, I would just overlay the cables in the back! Hence the rat’s nest.
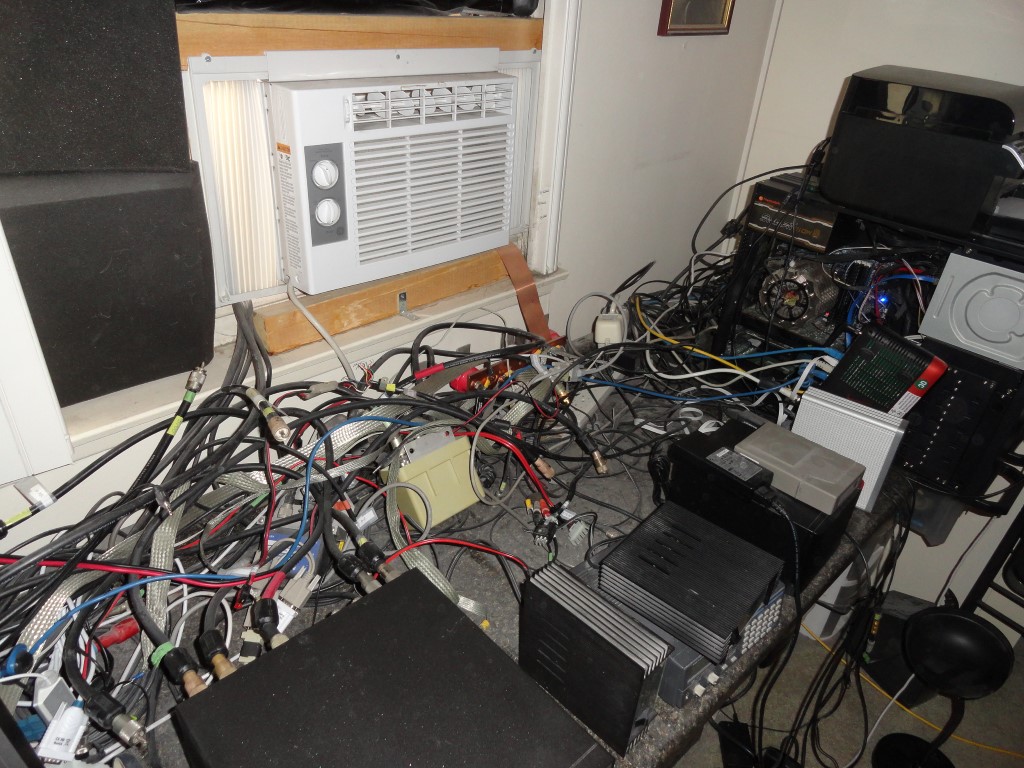
During my research for this remodel I looked at a lot of shack photos for ideas. Special thanks to Roger K7ERQ for the detailed desk plans and layout he sent me, that really got me thinking. All these great looking and functional shacks had one thing in common…They all had a walk space behind them. So I knew I had to have the ability to walk behind and work behind my gear, albeit for the first time after all these years!
The dust was unbelievable today. I was choking on the dust. Never again! The new shack will employ an oversized HEPA Filter. By the time I’m done, this room will be dust free, and stay that way thanks to the air purifier. I know, why didn’t I think of the HEPA filter sooner!
The Astron RS-70A power supply will have a PC mounted above it. The PC case is much deeper than the RS-70 which would have made it difficult to access the power supply. So, I came up with the idea to use this leftover cover from a PC to sit the power supply on.
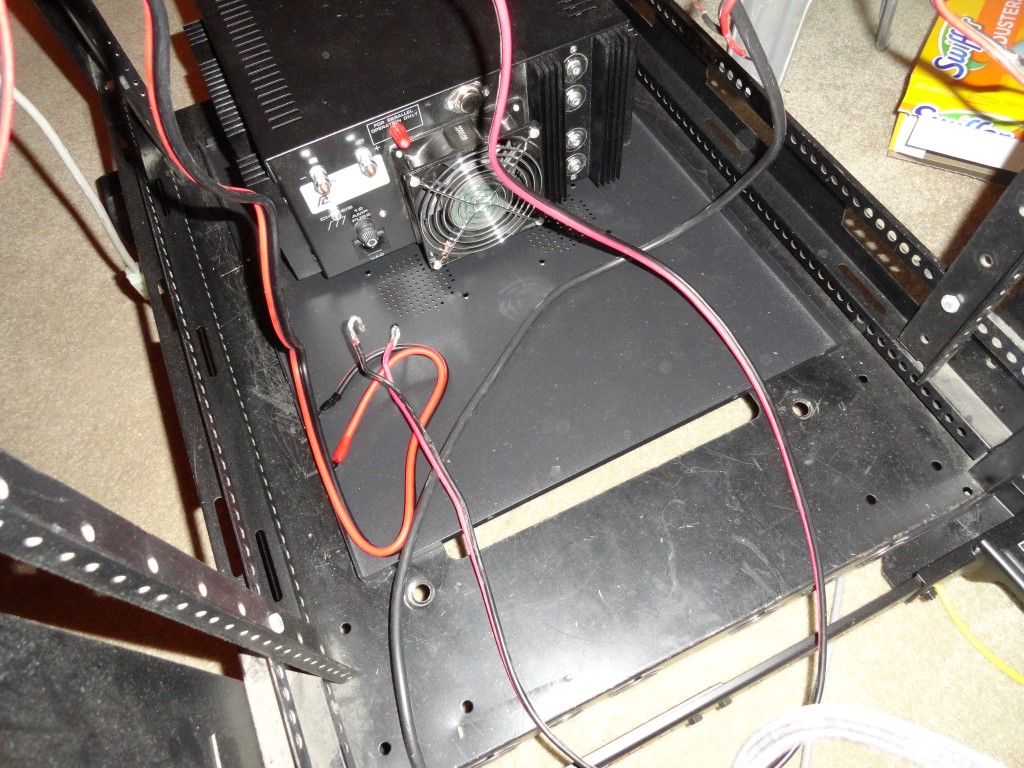
There’s enough clearance with the PC mounted above so I can slide the power supply forward or backward for service!
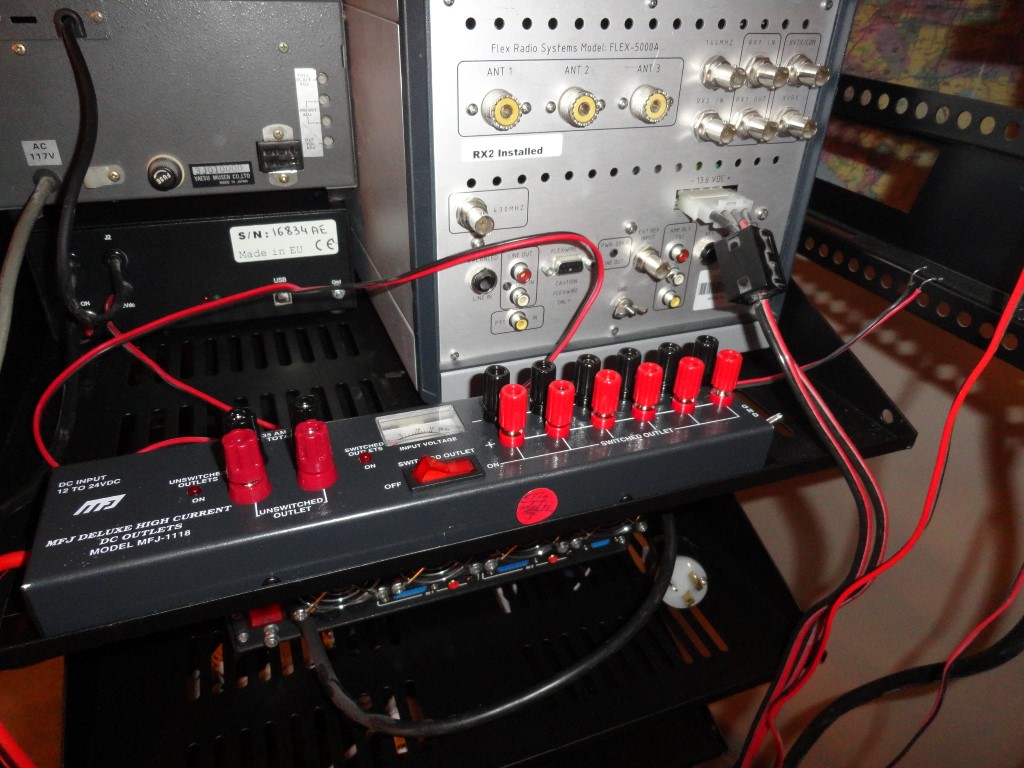
I connected the Flex 6300 directly to the power supply. I also connected an MFJ-1118 to get DC distribution to all the other components. I’m considering some of the Samlex power supplies to replace my aging RS supplies.

I’m connecting the Flex 5000 to the 35A terminals on the MFJ after discovering during planning that the 5000’s power lead would be too short to reach the RS-70 at the bottom of the rack. The 5000 only draws 25A max on TX, so the 35A DC distro panel was chosen. When I add the 6600/6700 radio later this year, it will also be connected directly to the power supply.
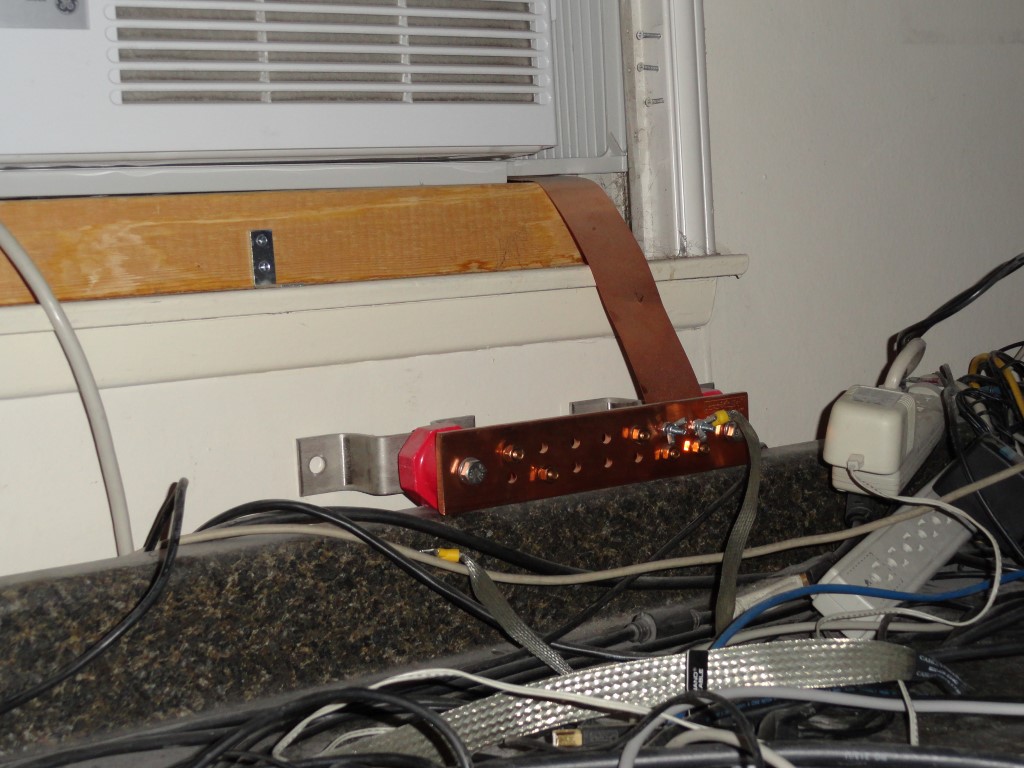
I also connected all the Single Point Ground leads. They will all tie to the station Grounding Bar which will be mounted on a rear pack panel when the project nears completion.

All the leads will be trimmed and dressed to make the wiring as clean and concise as possible. The complete opposite of what it was before. I also ordered sufficient numbers (and sizes) of Mix 31 Snap-On Ferrites. I will have proper fitting ferrite beads on both ends of every cable in the rack for RFI suppression.

I’ll continue wiring weeknights after dinner.