New Years Day 2018 – Rack Mount Day

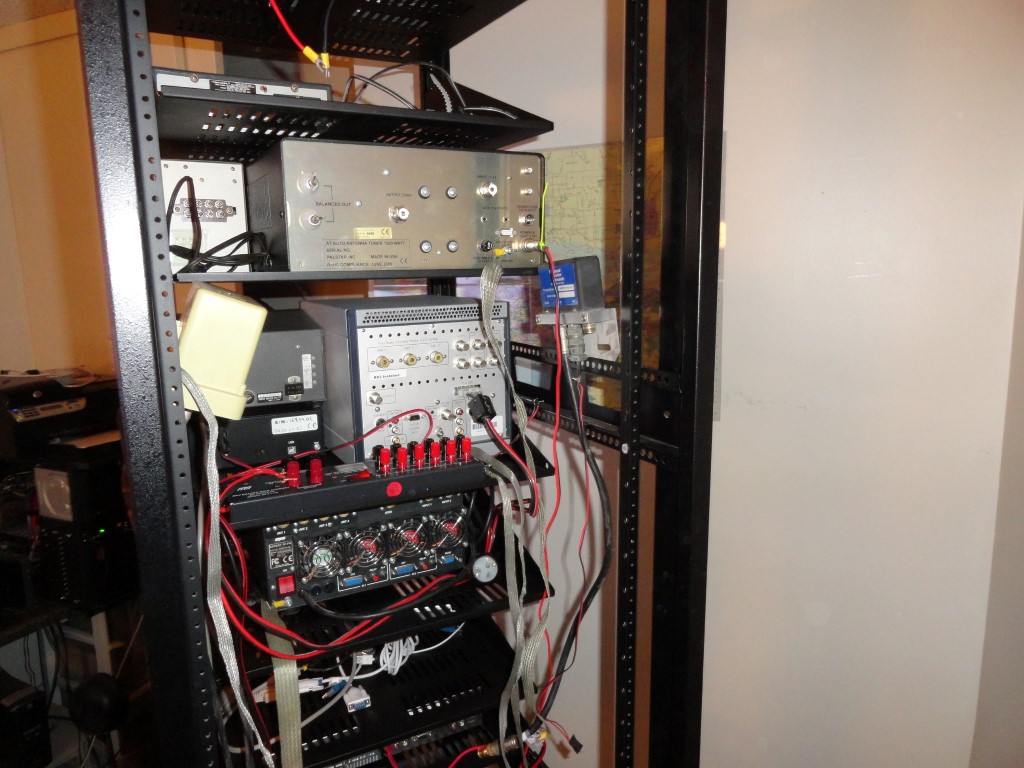
Here we go! The station is disassembled and most of the equipment is in the rack. I got a lot done today. Back to work tomorrow so progress will slow during the week. I was able to rack mount almost everything.

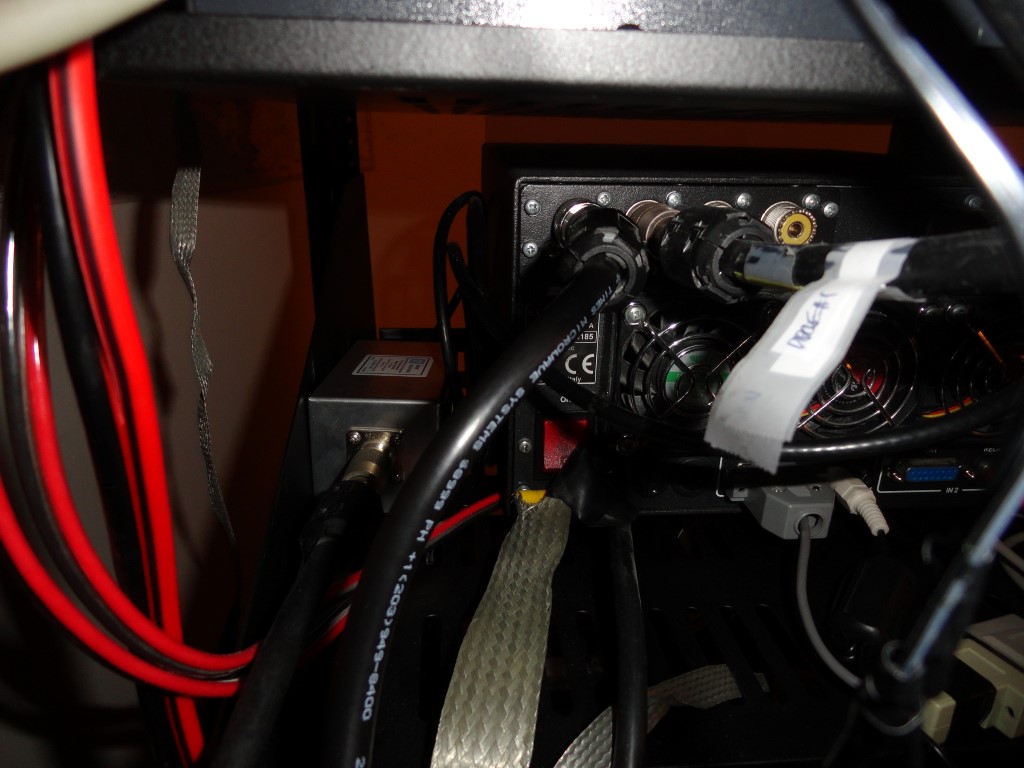
Now you can see why I needed to get moving on this. Whenever I needed to trace a cable back there it was virtually impossible. It was a rat’s nest, and, I could no longer reach behind the gear once I added the TV riser. This is what happens when you don’t have a walk space behind your desk. Even worse, every time I added gear, I would just overlay the cables in the back! Hence the rat’s nest.
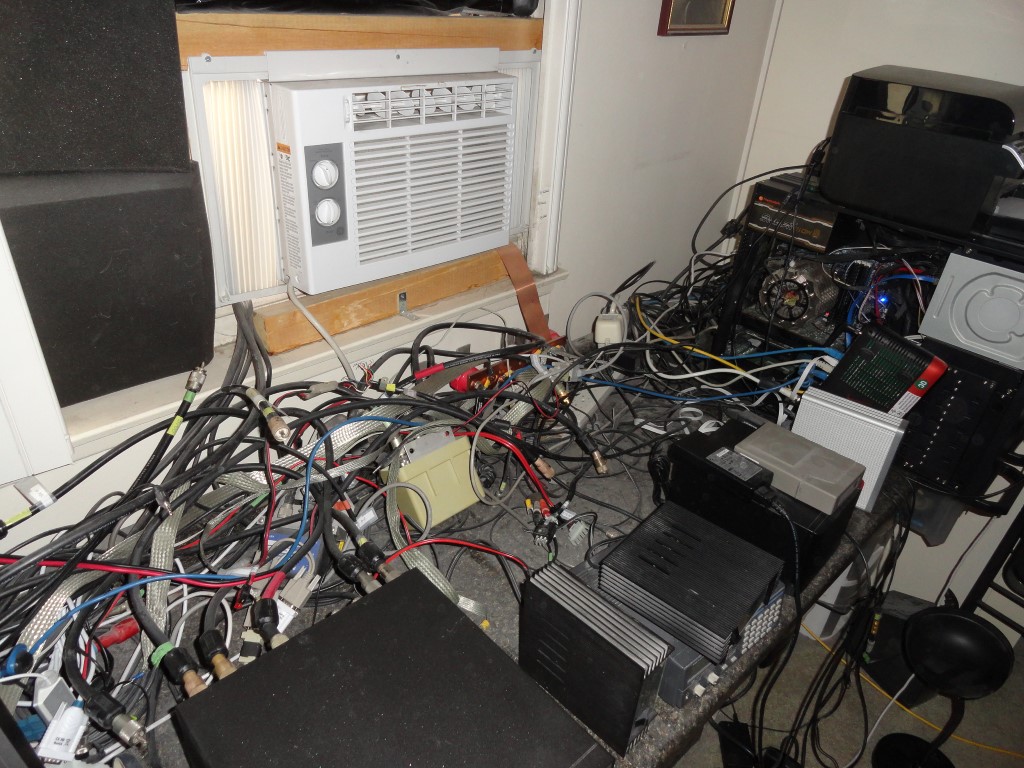
Cabling rats nest
This is what it looked like behind the TV riser. Never again…

During my research for this remodel I looked at a lot of shack photos for ideas. Special thanks to Roger K7ERQ for the detailed desk plans and layout he sent me, that really got me thinking. All these great looking and functional shacks had one thing in common…They all had a walk space behind them. So I knew I had to have the ability to walk behind and work behind my gear, albeit for the first time after all these years!

The dust was unbelievable today. I was choking on the dust. Never again! The new shack will employ an oversized HEPA Filter. By the time I’m done, this room will be dust free, and stay that way thanks to the air purifier. I know, why didn’t I think of the HEPA filter sooner!

The Astron RS-70A power supply will have a PC mounted above it. The PC case is much deeper than the RS-70 which would have made it difficult to access the power supply. So, I came up with the idea to use this leftover cover from a PC to sit the power supply on.
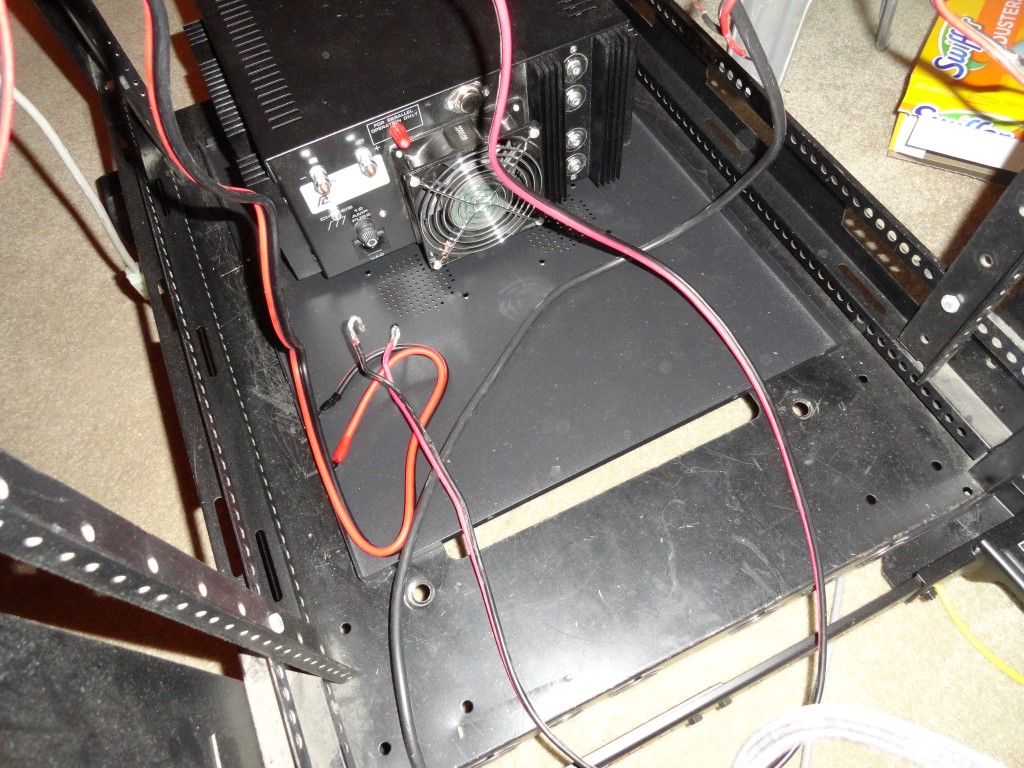
Astron RS-70A
Makeshift sliding shelf for the Astron RS-70 Power supply

There’s enough clearance with the PC mounted above so I can slide the power supply forward or backward for service!
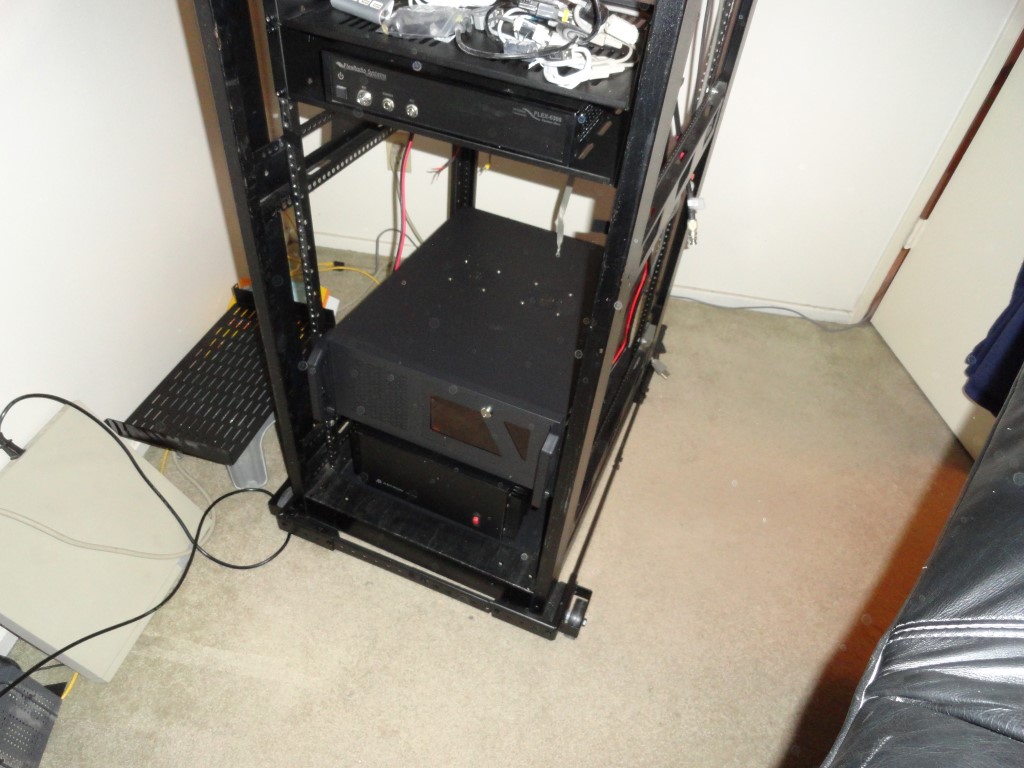
Astron RS-70A
The Windows 10 PC mounted above the Astron Power Supply is deep!

I connected the Flex 6300 directly to the power supply. I also connected an MFJ-1118 to get DC distribution to all the other components. I’m considering some of the Samlex power supplies to replace my aging RS supplies.
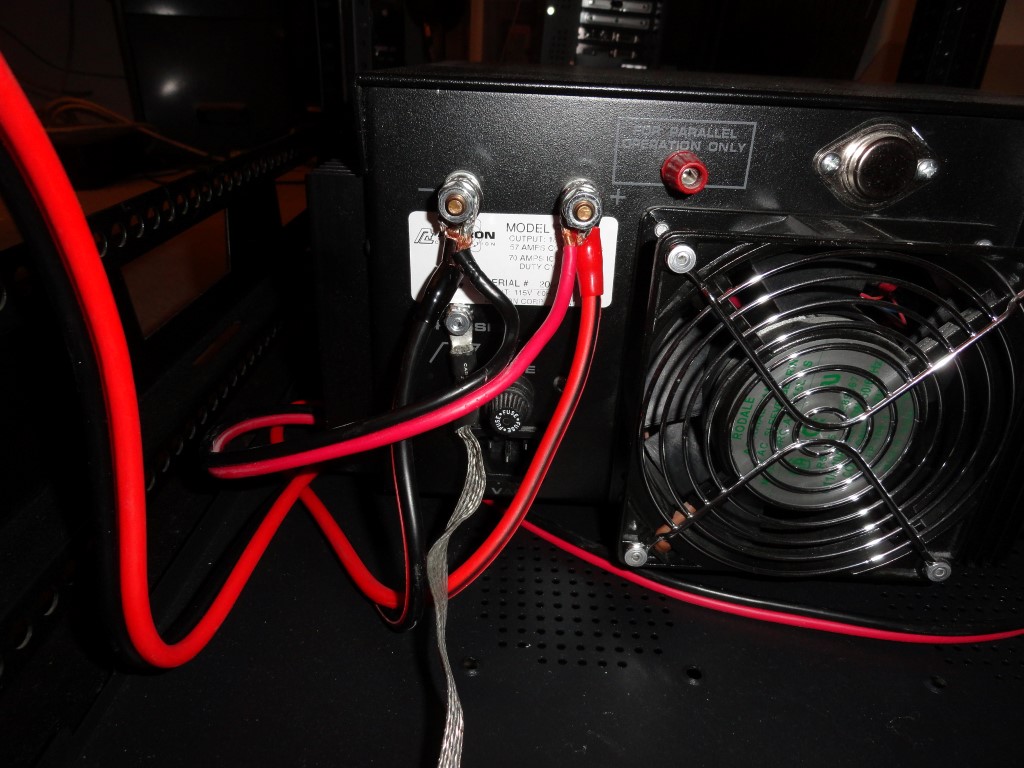
Astron RS-70A
Only two direct connections to the Astron RS-70A

I’m connecting the Flex 5000 to the 35A terminals on the MFJ after discovering during planning that the 5000’s power lead would be too short to reach the RS-70 at the bottom of the rack. The 5000 only draws 25A max on TX, so the 35A DC distro panel was chosen. When I add the 6600/6700 radio later this year, it will also be connected directly to the power supply.
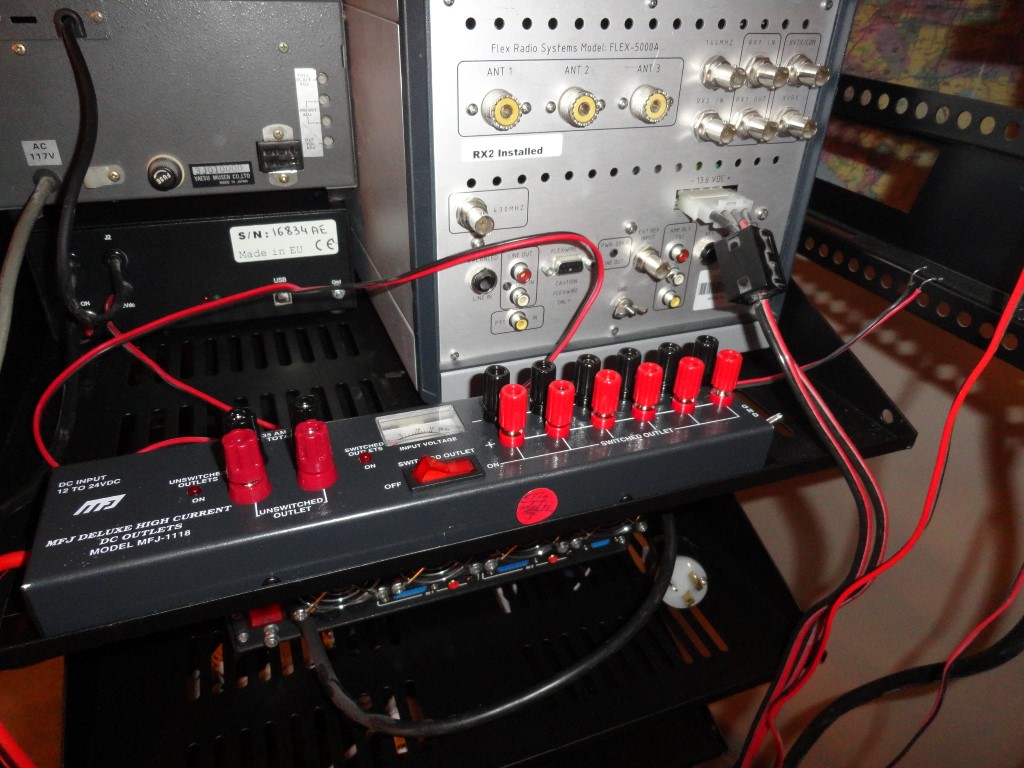
MFJ-1118
The Flex 5000 will connect to the 35A terminals on the MFJ DC Distro

I also connected all the Single Point Ground leads. They will all tie to the station Grounding Bar which will be mounted on a rear pack panel when the project nears completion.
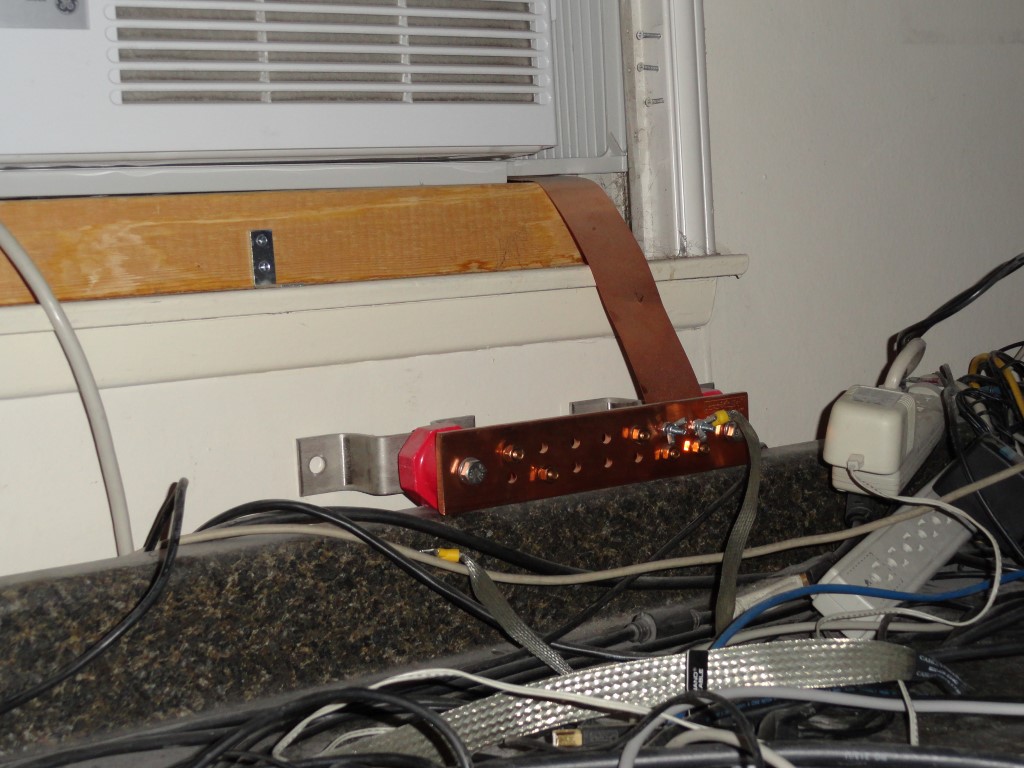
Georgia Copper
The Ground Bar will be mounted on a rear rack panel. The 2″ strap will be extended to meet the rack in the corner of the shack.
Single Point Ground
The Single Point Ground leads are also in place.

All the leads will be trimmed and dressed to make the wiring as clean and concise as possible. The complete opposite of what it was before. I also ordered sufficient numbers (and sizes) of Mix 31 Snap-On Ferrites. I will have proper fitting ferrite beads on both ends of every cable in the rack for RFI suppression.
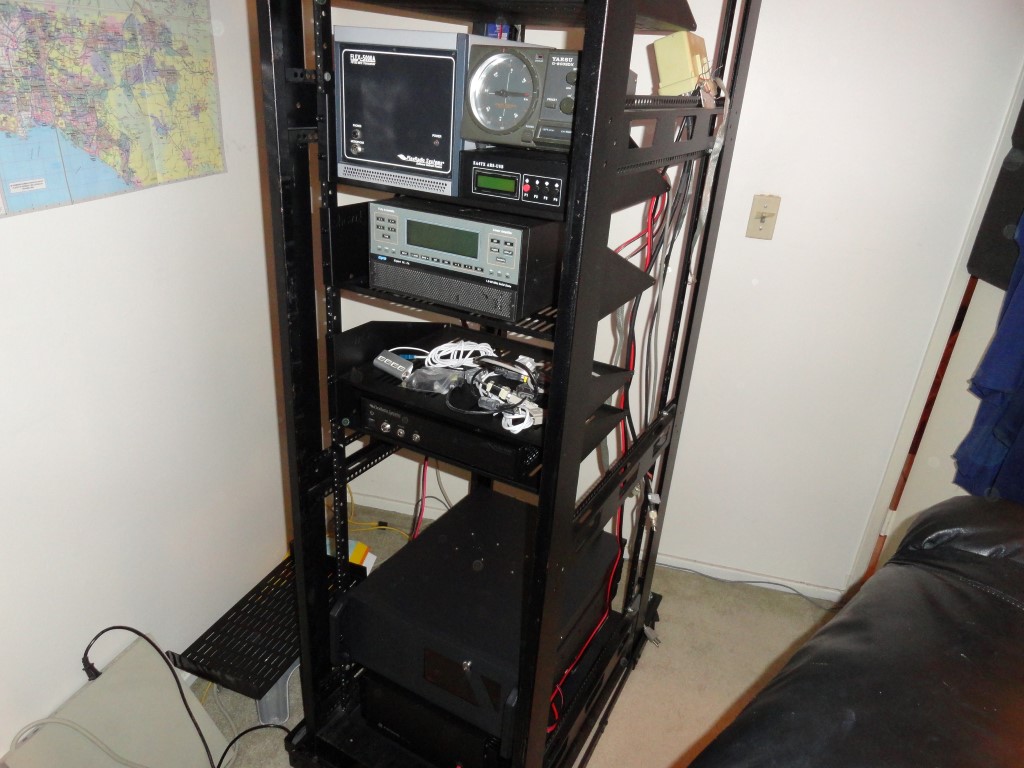
Rack Mount everything
Good progress made today! The rack is getting heavy, but still rolls like a champ on the carpet!

I’ll continue wiring weeknights after dinner.
Back To The Front

RFI Battle! Choking Everything!

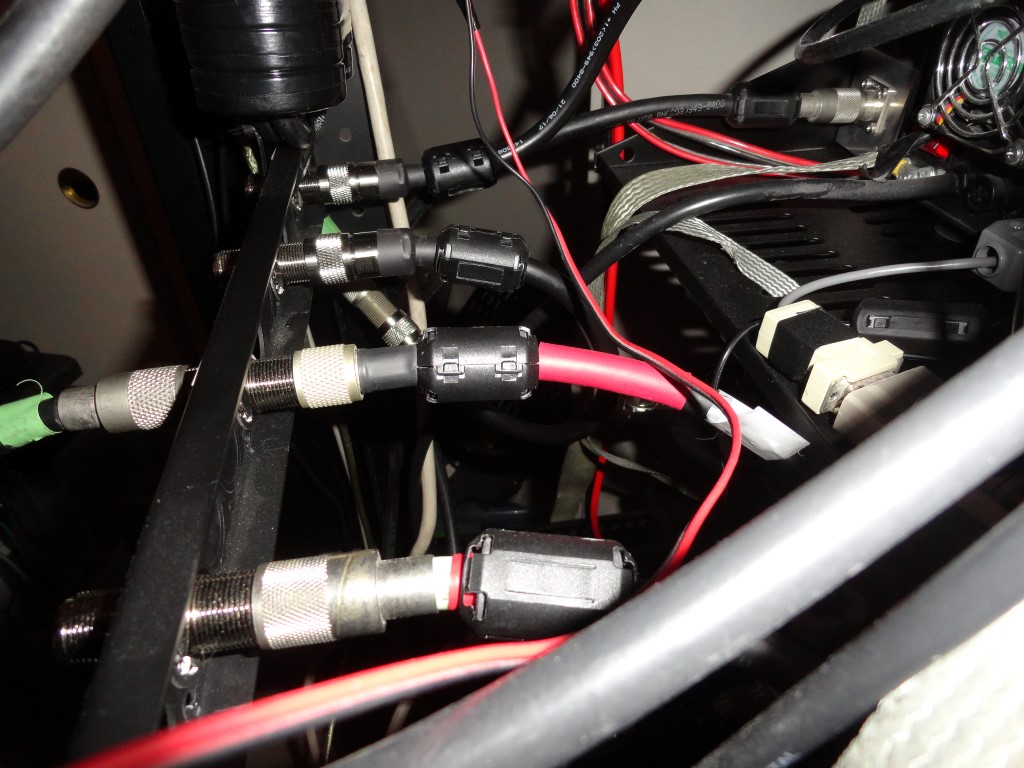
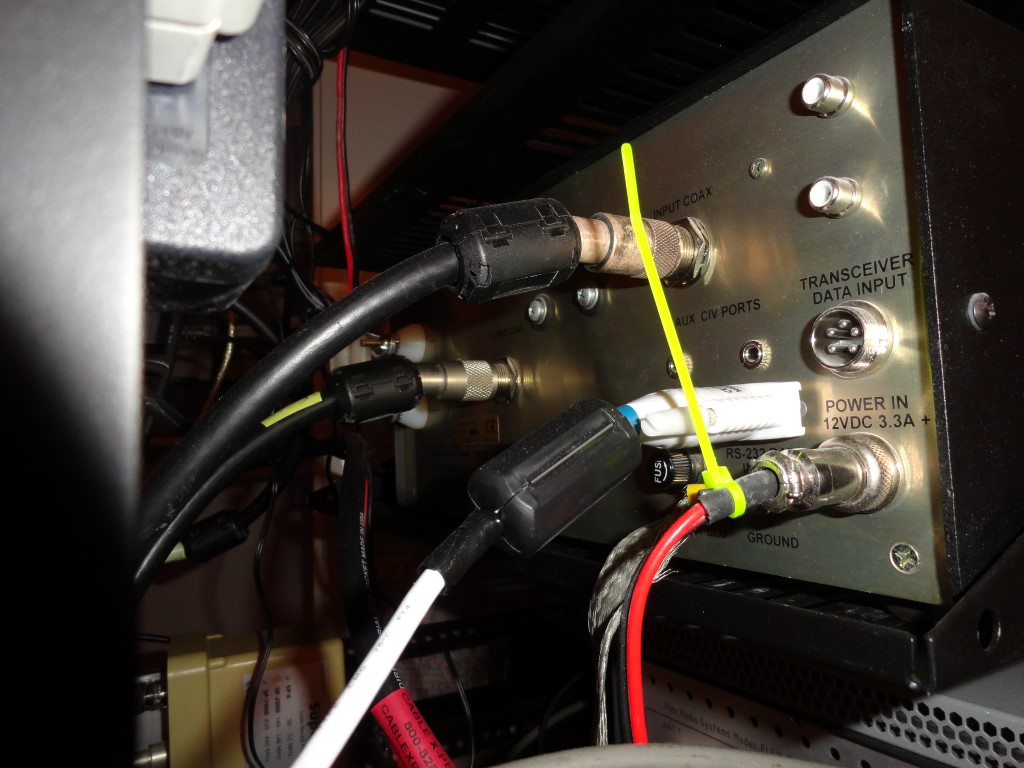
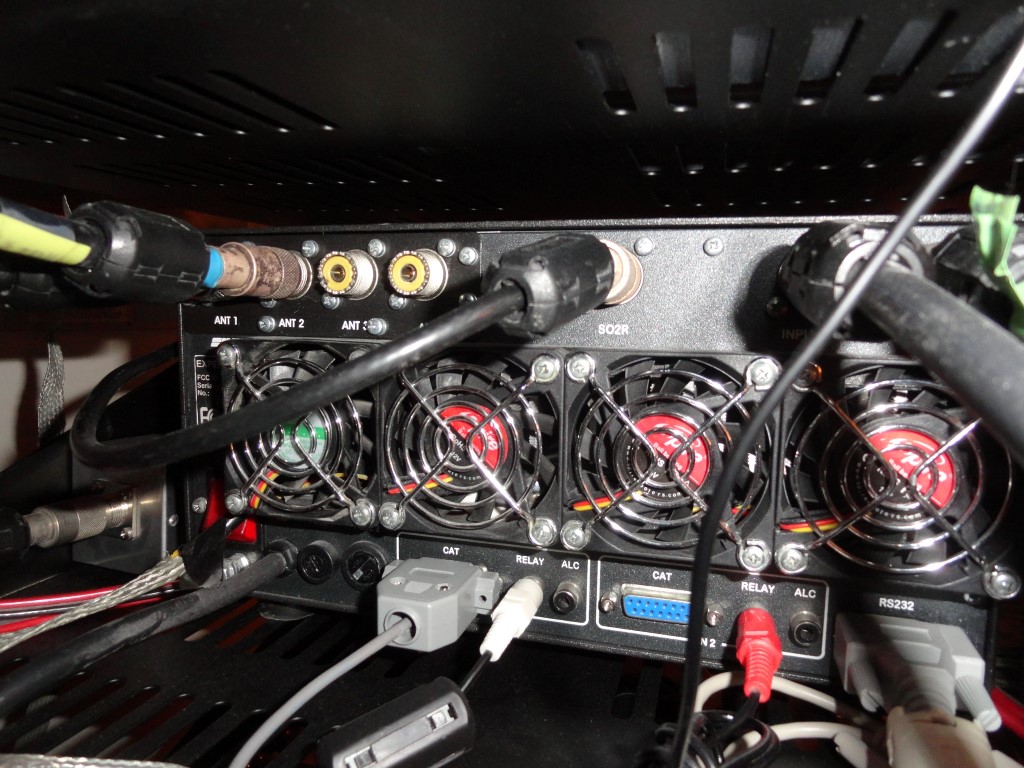
Choking everything! I’m still working through placing all the snap-on ferrite chokes. When complete, virtually every cable will have a proper fitting choke on each end. I plan to be choking everything. This really helps keep things quiet and eliminate RFI in the shack. In my previous setup I added ferrites one by one to eliminate problems, but couldn’t choke as many cables because I couldn’t reach half of them! In the rack it’s easy and I expect great results. The goal is to be RFI free at full RF output. Research showed you can never have too many ferrites. RFI suppression done right.

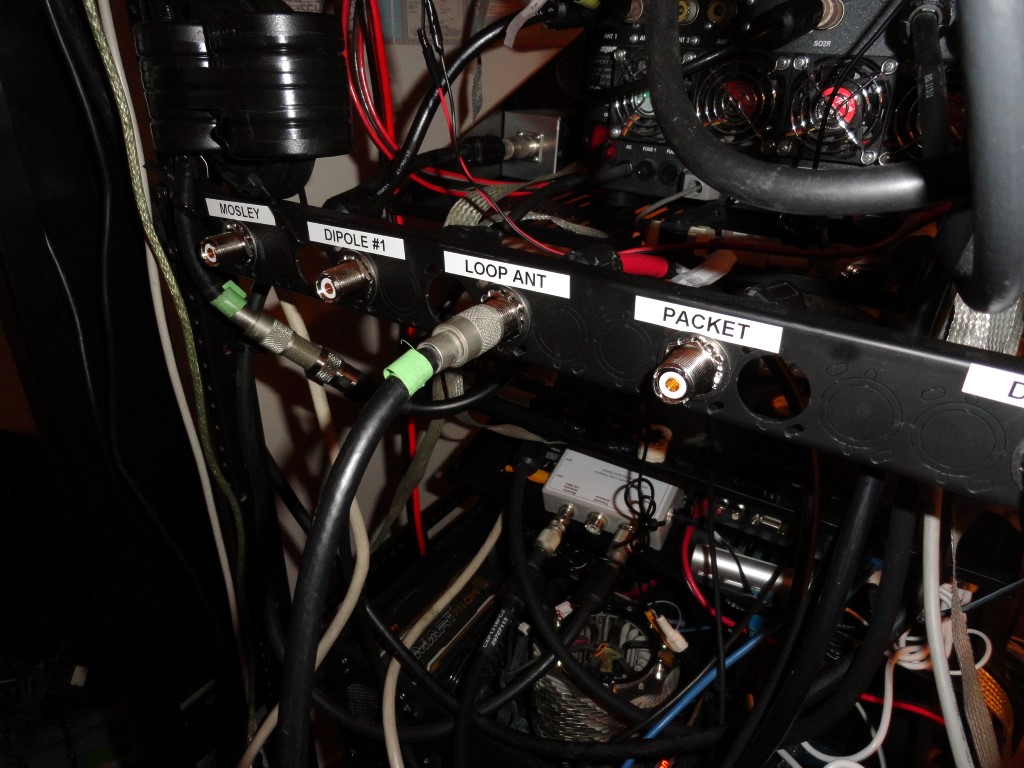
Labeled the antenna panel
Choking everything
All antenna leads have ferrite chokes on both ends
choking everything on at-auto
The business end of the AT-AUTO tuner
RFI suppression everywhere
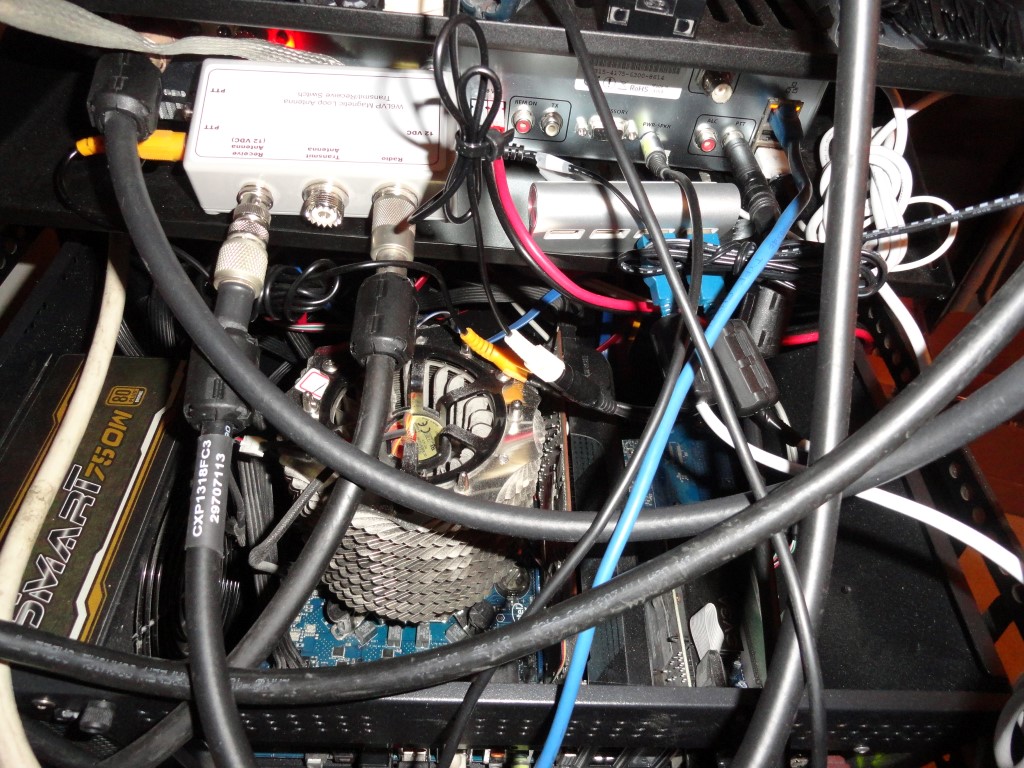
The W6LVP Loop TX Switch will have a dummy load connected

The TX relay for the W6LVP Magnetic Loop Antenna will switch over to an MFJ-260C Dummy Load in the event the TX is engaged on “Radio #2” when the SPE 1K-FA is powered off. Better to be safe than sorry, even if only at tuning level output.

Both sides of the Array Solution Front End Protector are choked off also

Between the ferrite chokes and the Low Impedance Single Point Ground System the rack should perform quietly and be 100% RFI free. Of course there’s always the “Luck Of The Irish” so I won’t count my chickens just yet. High power testing this weekend!

Back To The Front

Now That’s What I Call A Snap On Ferrite!

Now That’s What I Call a Ferrite!

The DX Engineering order arrived today, and I was delighted to see the new and improved .5” id Mix 31 snap on ferrite!

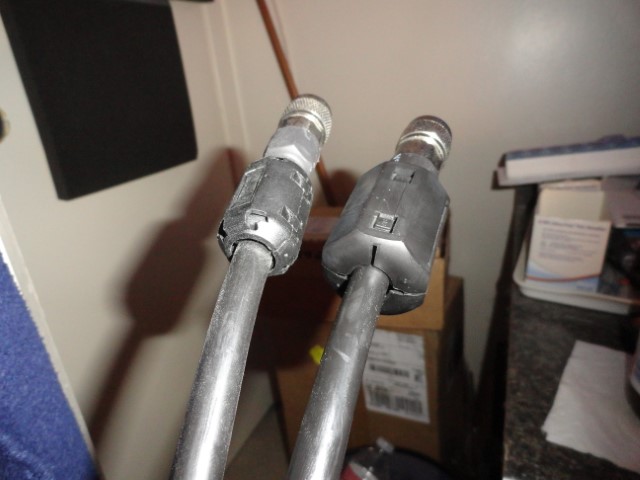
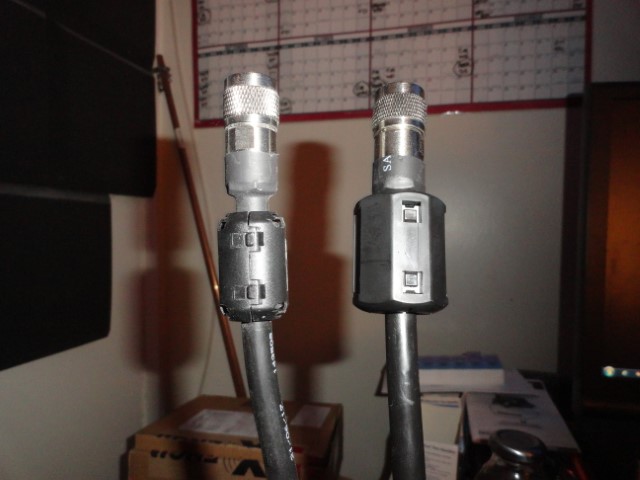
First DXE Ferrite (L) vs. New DXE Snap On Ferrite (R)

Apparently the buyers at DXE are always looking for better deals on better materials. This is a prime example. Pictured on the left is a sample of the .5″ id mix 31 ferrite that I received in my first order from DXE, on the right, is the new version received today. Both are pictured on LMR-400 coax.

DX Engineering .5 id Mix 31 Snap On Ferrite

Mix 31 snap on ferrites are a must have to keep the equipment rack free of stray RF. All the new 2018 RF Hardware Upgrades will be interconnected using LMR-400 UF coax jumpers with these snap on ferrites on each end.

Back to the front

Final Ferrite Blitz

My Final Step in RFI Elimination

During the CQWW SSB Contest last week, I discovered two USB related RFI issues. Stray RF was getting into the USB serial adapter used for the Kantronics KPC-3 “Packet Communicator” TNC. I could see the USB device disconnecting/reconnecting over each TX. Stray RF was also getting into one of my APC UPS Back Up batteries, (also connected via USB) causing it to ‘bounce’ as well. The plan was to have all the cable choking done before the contest, but there was a delay. Once I had the problems sorted, I embarked on the final ferrite blitz to choke off ALL remaining unprotected cable ends.

I suppose I could just reduce power and the RFI issues would subside. But what’s the point when top output is 1.2 kw. Of course, I must have the FULL GALLON with ZERO RFI!

I heard about it on the radio!

I heard a QSO on 80m where the topic was the best prices for snap on ferrite chokes. This caught my attention quickly, as I still had a need for dozens more. In short, I learned I had overpaid for the first batch I purchased from one of the major U.S. ham dealers. For the price of 20 pieces there, I was able to buy 30 pieces at the same cost from proaudioeng.com

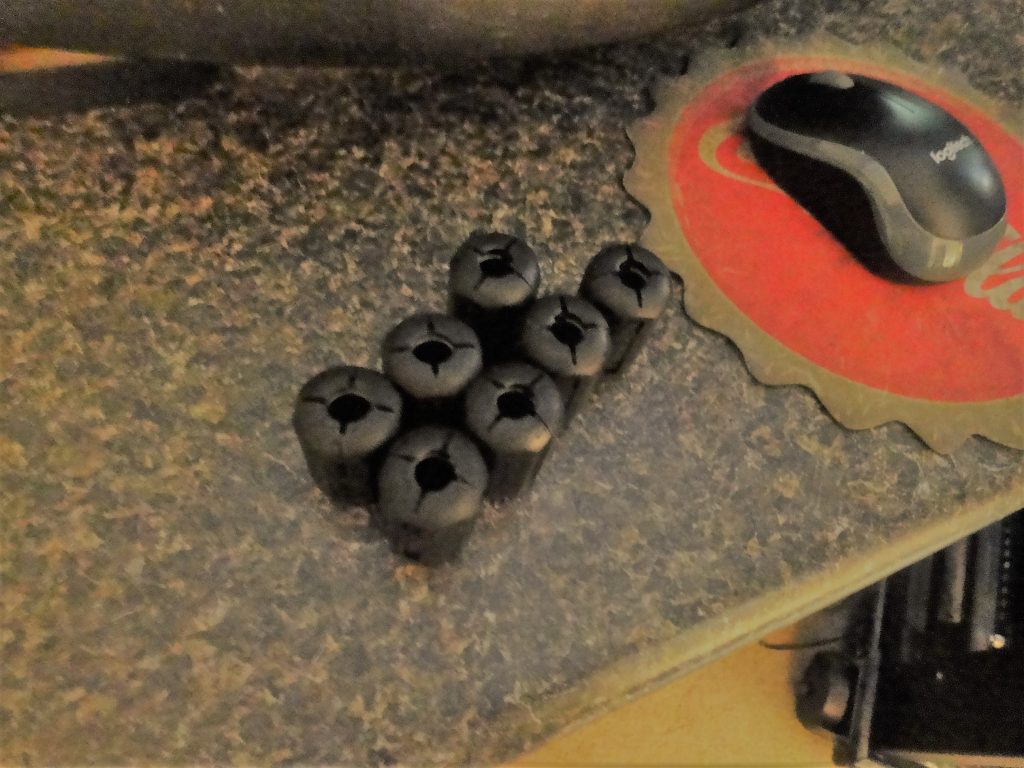
FAIR-RITE Mix 31 0.4" I.D. Snap On Ferrite Chokes
FAIR-RITE Mix 31 0.4″ I.D. Snap On Ferrite Chokes

I saved a few bucks and purchased 30 more pieces, enough to completely finish all the remaining cabling. Every cable in the rack is fully protected from RFI.  By using the 0.4″ I.D. ferrites, I was able to get two turns on most of them. At this point the only cables without ferrites are the ground straps! A true ferrite blitz!

I was happy to see the problem devices were not protected. Why? Because if they were protected (and still bouncing) I would likely have to relocate them.

I’ll go through high power testing again to determine if either of the trouble devices need to be physically relocated. A few trips up and down the 20 meter band at full power will duplicate the contest conditions, and should be a good indicator of whether or not the problem has been resolved. After all I’ve learned about choking cables, I’m confident I’ll find both device issues have been resolved now that they are completely choked off.

There are just enough ferrites leftover to choke off all the cabling for the upcoming 6500 transceiver installation. I also have the cables set aside for the LP-500 all choked off and ready to go as well.

I’m getting close to the top of the LP-500 waiting list!

Back to the Front